I’m a big fan of cover crops both on the farm and in the garden. Cover crops are not harvested, instead they’re used for other purposes such as preventing erosion or improving soil tilth.
One of my favorite cover crops is buckwheat, the same plant that gives us grain for buckwheat pancakes. It is very fast growing, so fast in fact, that it will beat out most weeds in a race to the finish.
For use as a cover crop, buckwheat can be planted any time during the growing season. If planted early, it will mature quick enough that you’ll be able to till it into the soil and grow a second crop if need be. I often grow a late crop of buckwheat that gets tilled into the soil. I then follow that with a crop of winter rye. Growing buckwheat as a grain to harvest is a different story.
This time of the year I’m growing buckwheat for a few reasons. First, it makes a fine placeholder in the garden, a kind of living mulch. If I have a large spot that is not going to be planted, I’ll sow it with buckwheat. It keeps the area from being overrun with weeds by overpowering and smothering them.
Buckwheat helps maintain soil fertility. While it grows, it picks up and holds minerals in its leaves, stems and roots. Later, when the plant is eventually tilled into the soil, those minerals will be released back into the soil for the next crop to use. Plus, plenty of valuable organic material from the roots and tops will improve topsoil.
Buckwheat’s flowers produce an enormous amount of nectar making it a valuable plant for honeybees and other pollinating insects. For example, an acre of buckwheat can provide enough nectar to allow honeybees to produce as much as 150 pounds of honey. Less than a month after planting, buckwheat will begin to flower and not long after, seeds will appear. It will continue producing flowers and seeds until frost. Its flowering habit provides honeybees with a source of food when few other plants are flowering.
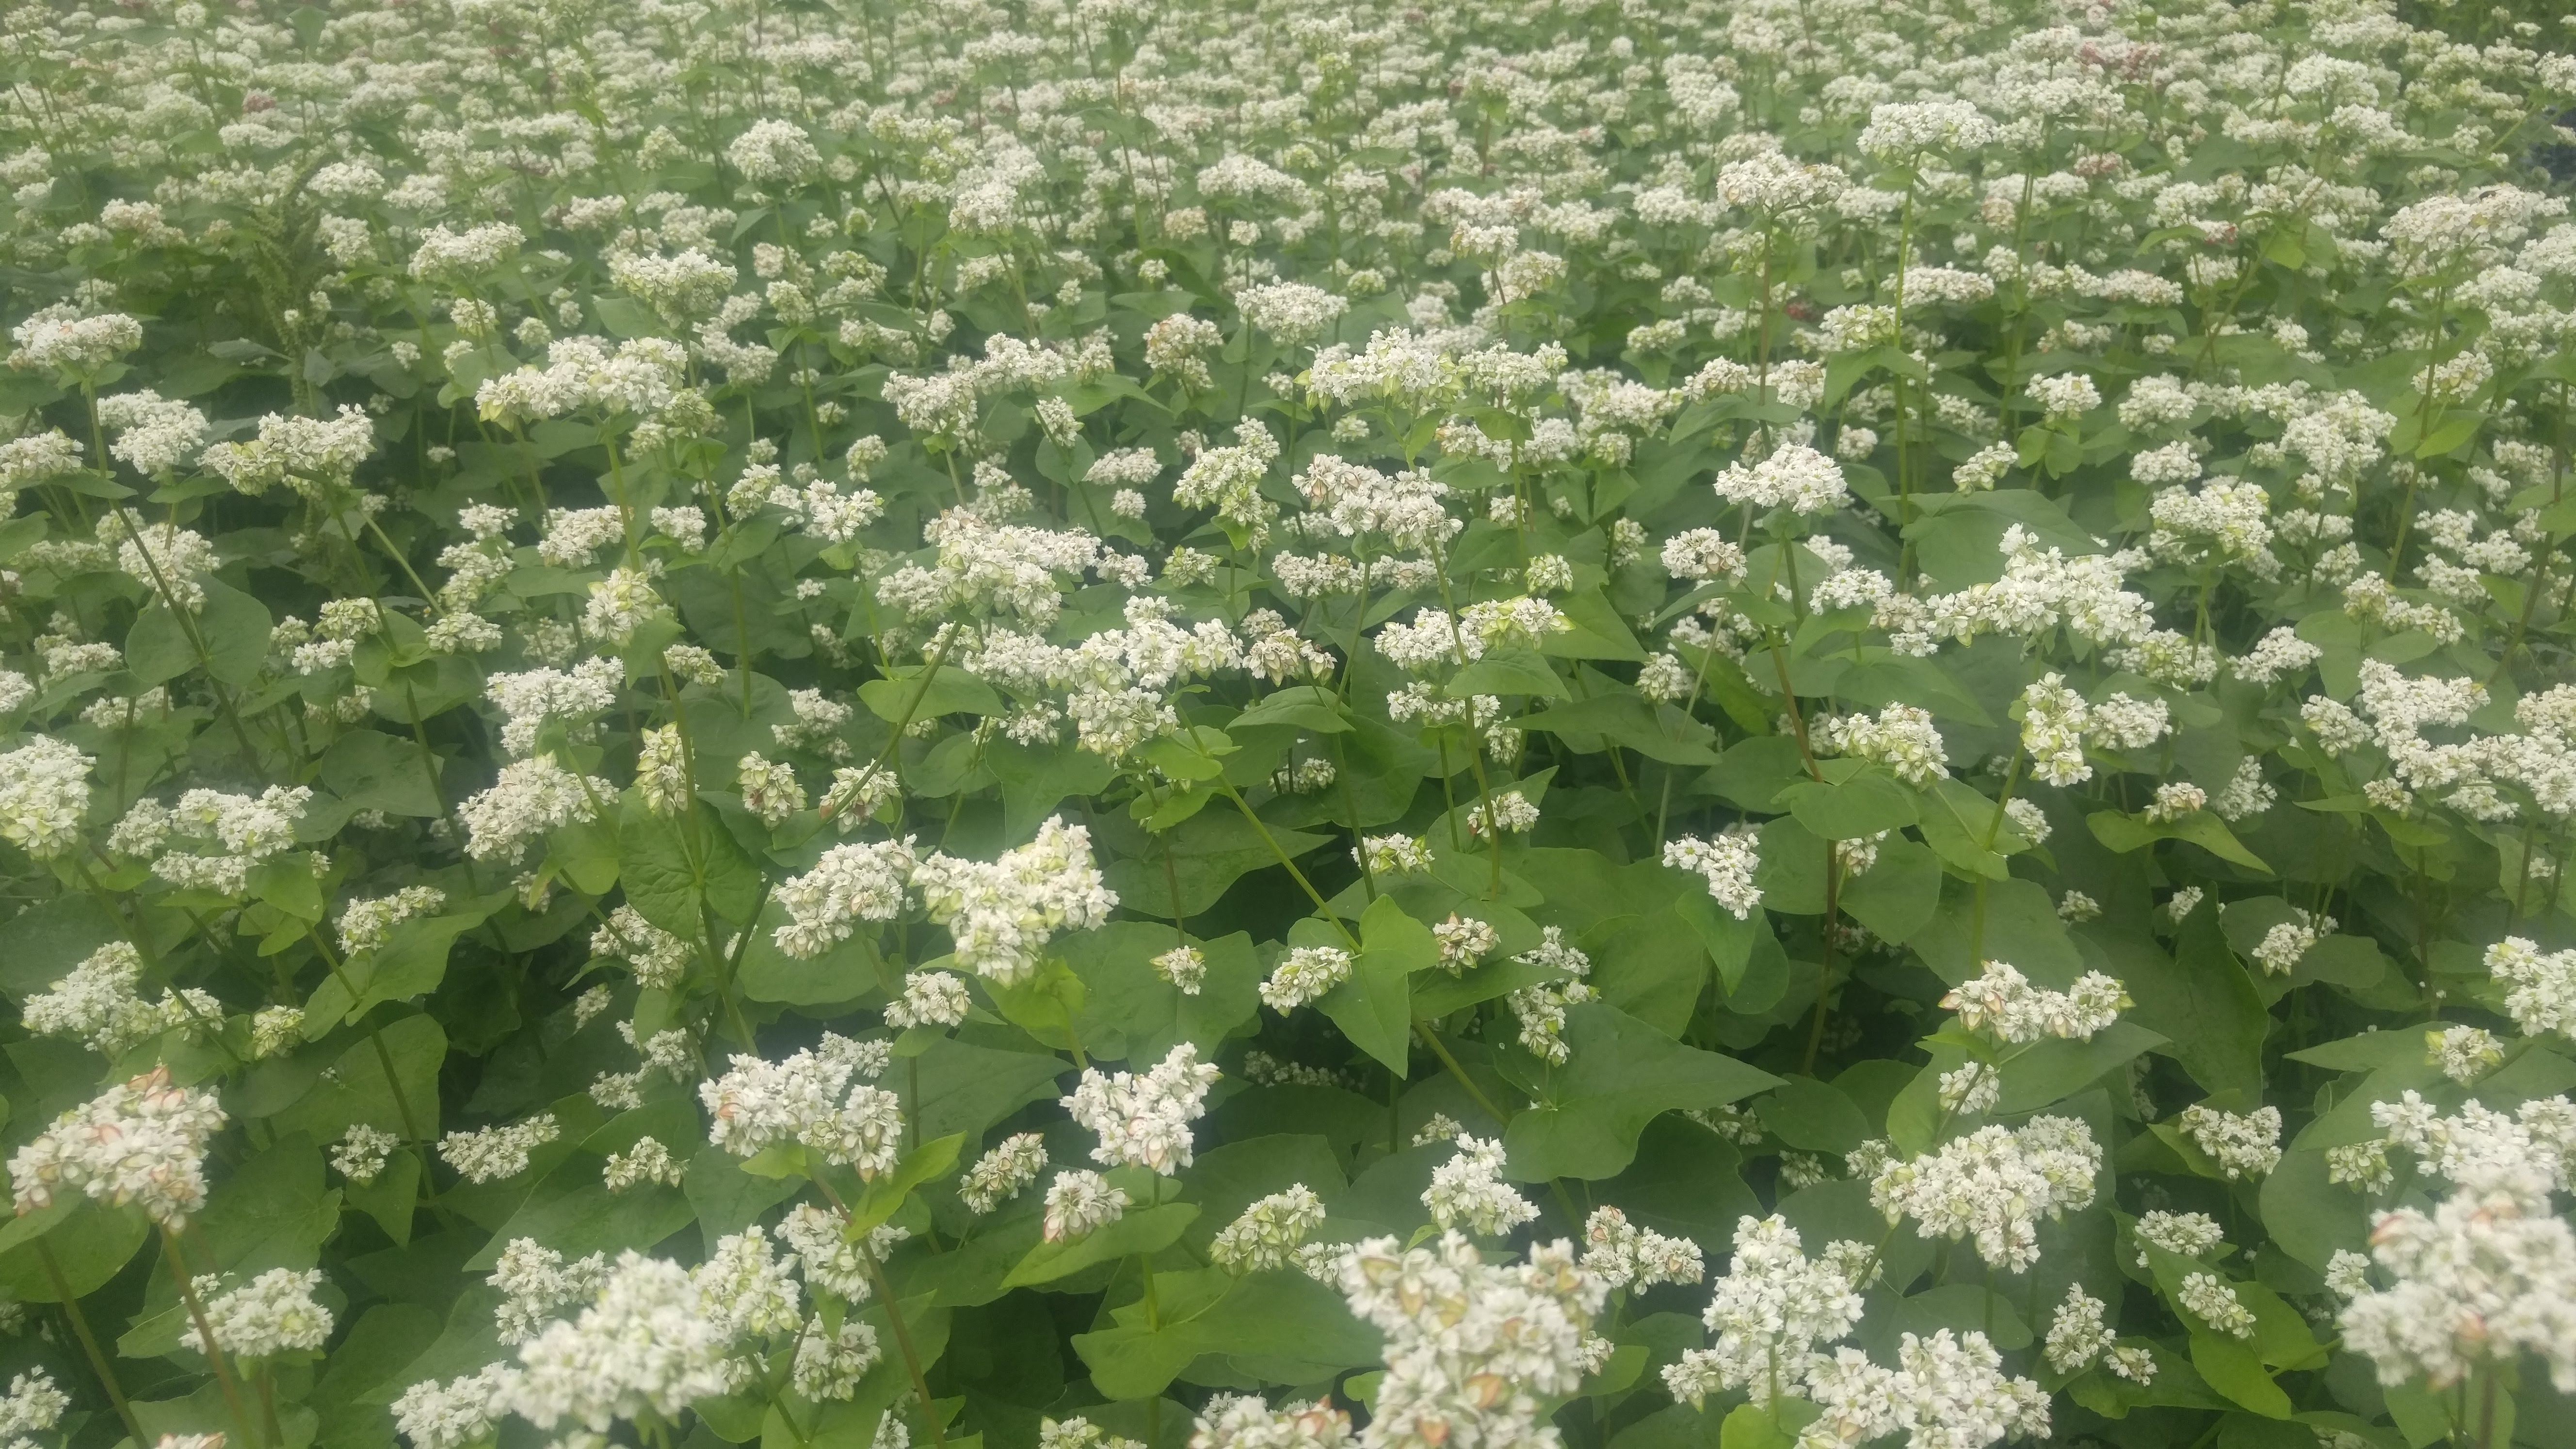
Buckwheat produces nectar only in the morning, you won’t see bees in your buckwheat during the afternoon.
Seeds are available online and at rural farm supply stores. Plant buckwheat by scattering the seeds over the surface of a freshly tilled area so that the seeds end up being around three or four inches apart. Then rake the area to cover the seeds with soil.
Buckwheat can re-seed itself and sometimes become a minor annoyance the following year. If you find that’s the case in your garden, mow or till it before it produces too many seeds.
Bob