The Yellow Farmhouse Garden

May 3, 2019

Monitor soil temperatures often this spring

Soil temperatures have been cool enough during April that it has slowed down plant growth. My winter rye cover crop looks to be a week behind last year at this date and last year was later than normal as well. So that means we’re really behind. The apple tree buds have finally, slowly opened.

This may be the year to monitor soil temperatures more closely than usual if this cooling trend continues.

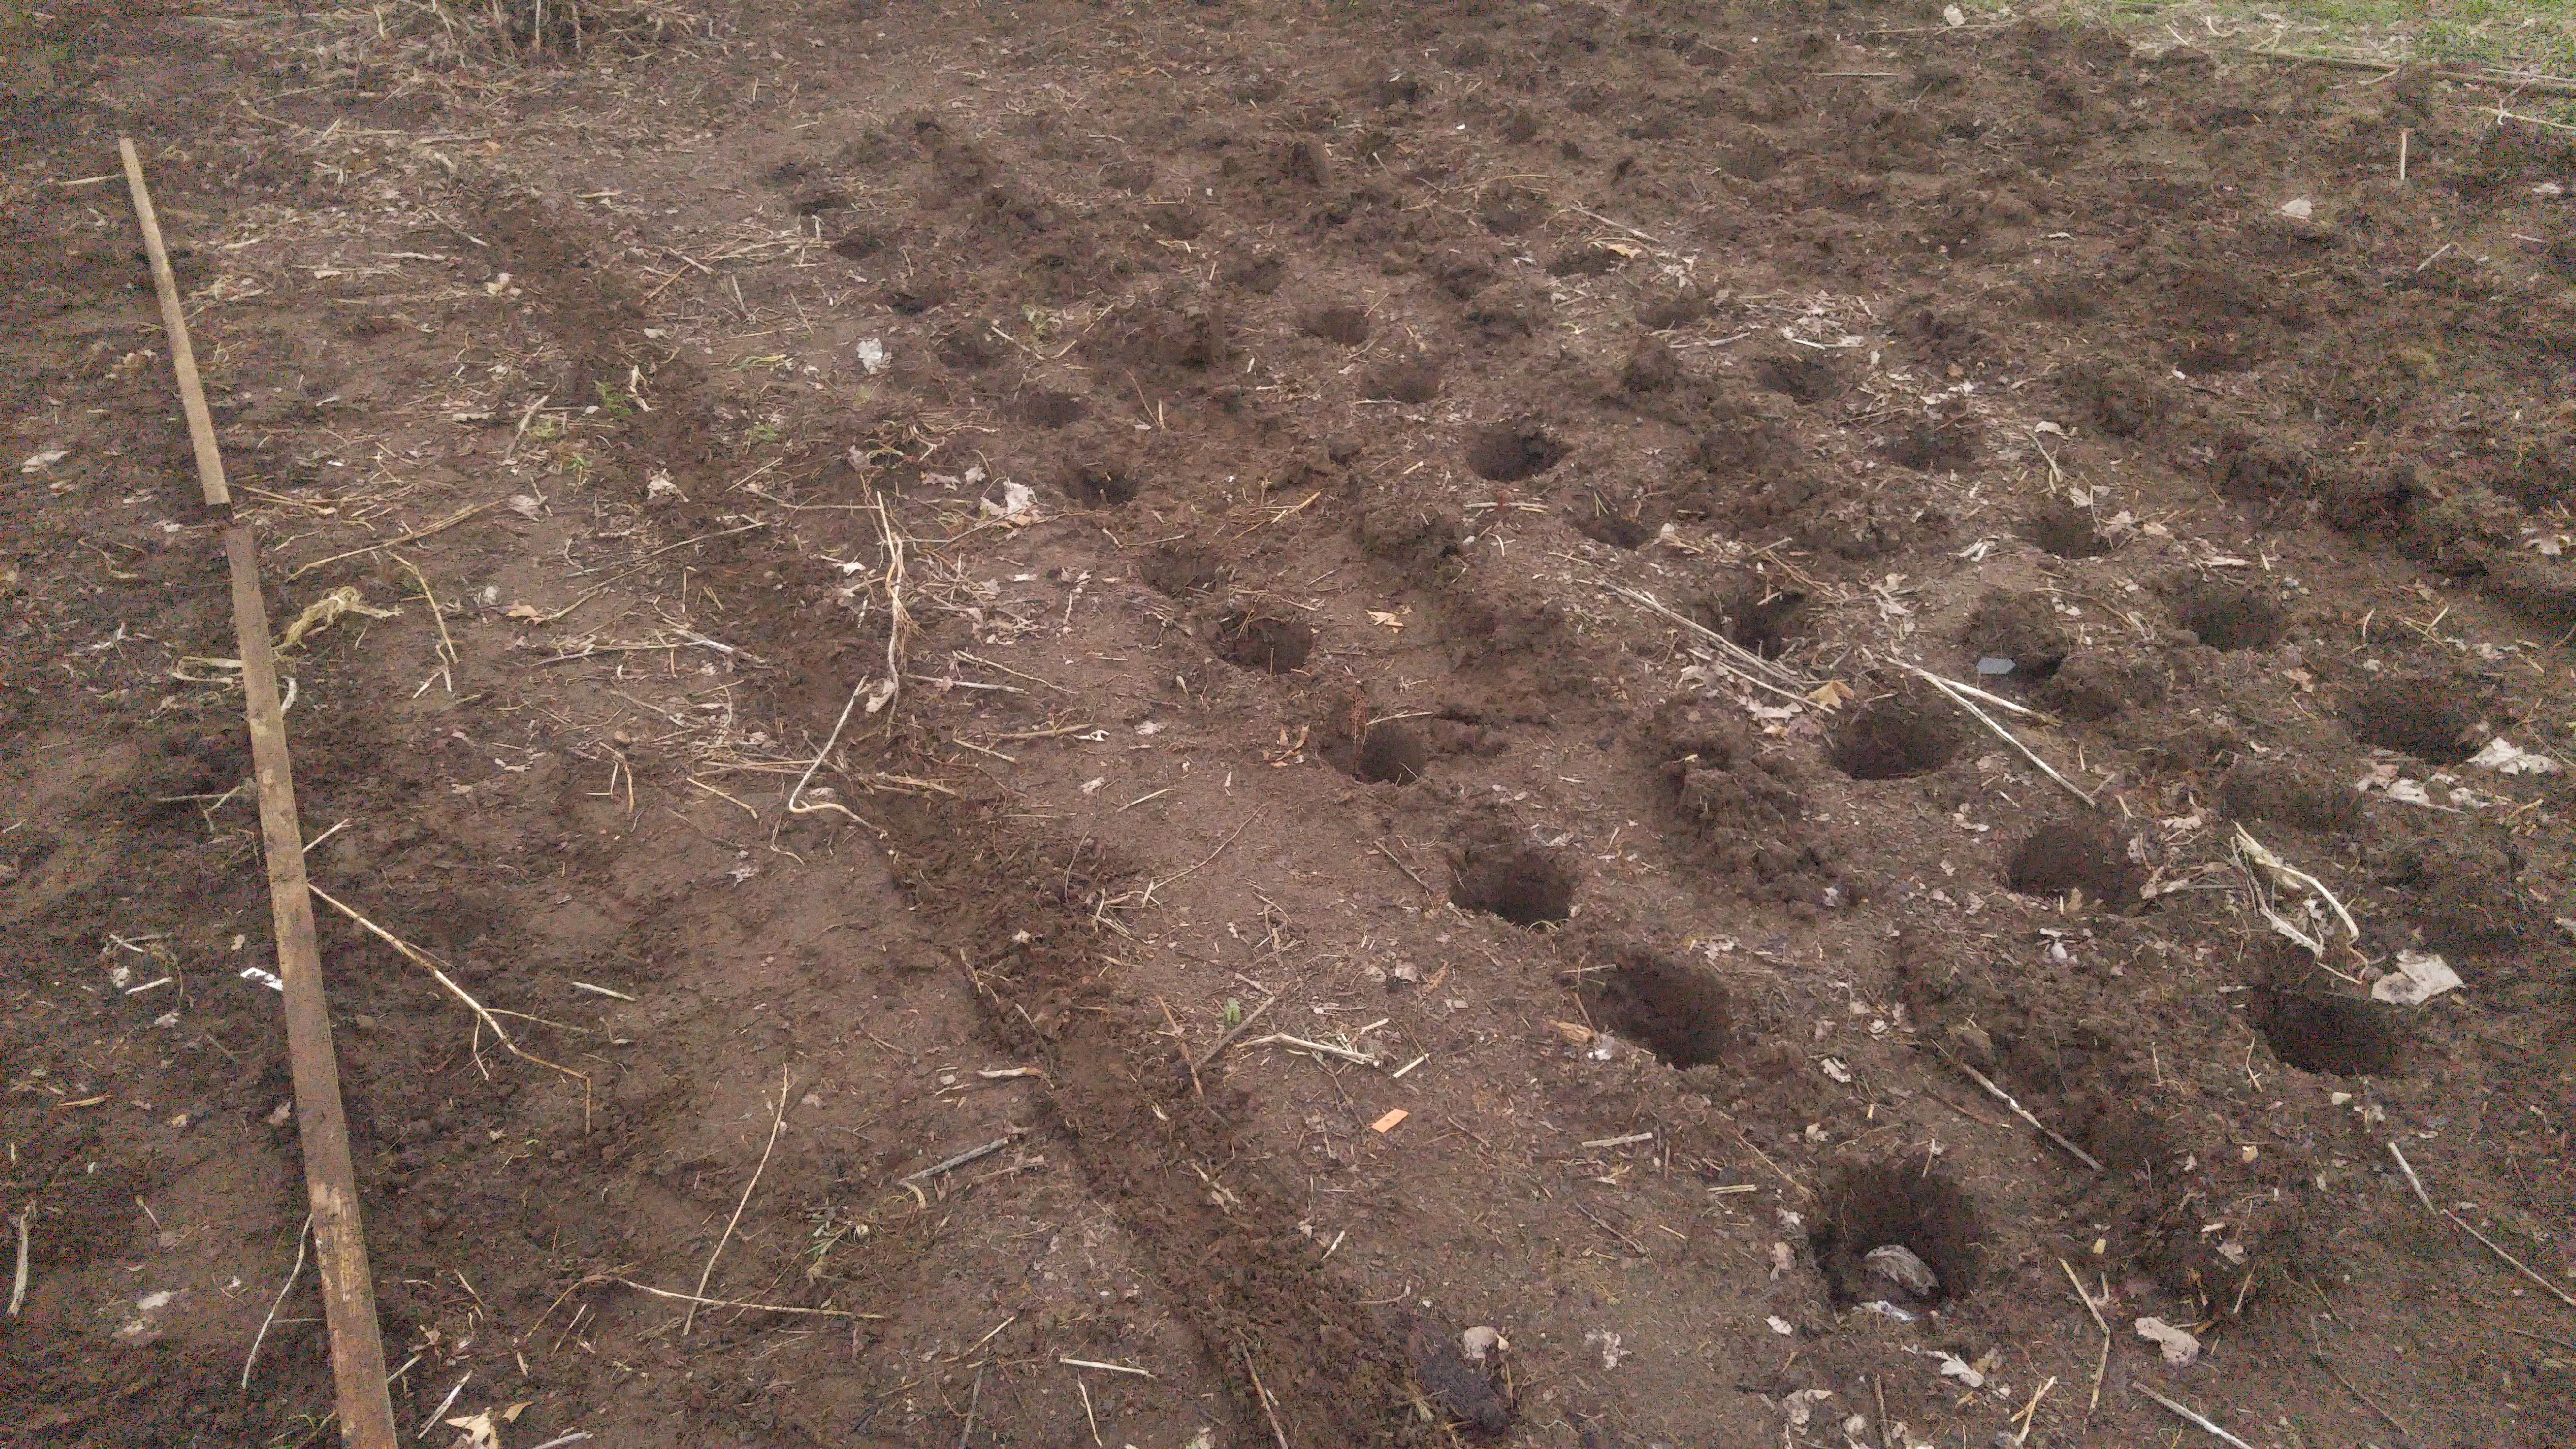
Some vegetable crop seeds can be sown into cold soil and do quite well under those conditions while others will not germinate or grow at all. There are certain minimum temperatures that seeds need in order to germinate. Seeds languishing in cold soil will be damaged or more likely, rot in place before they sprout.

For example, at 35 F you can expect spinach, onions, parsnips and lettuce to germinate. We’re well past that point by now.

.

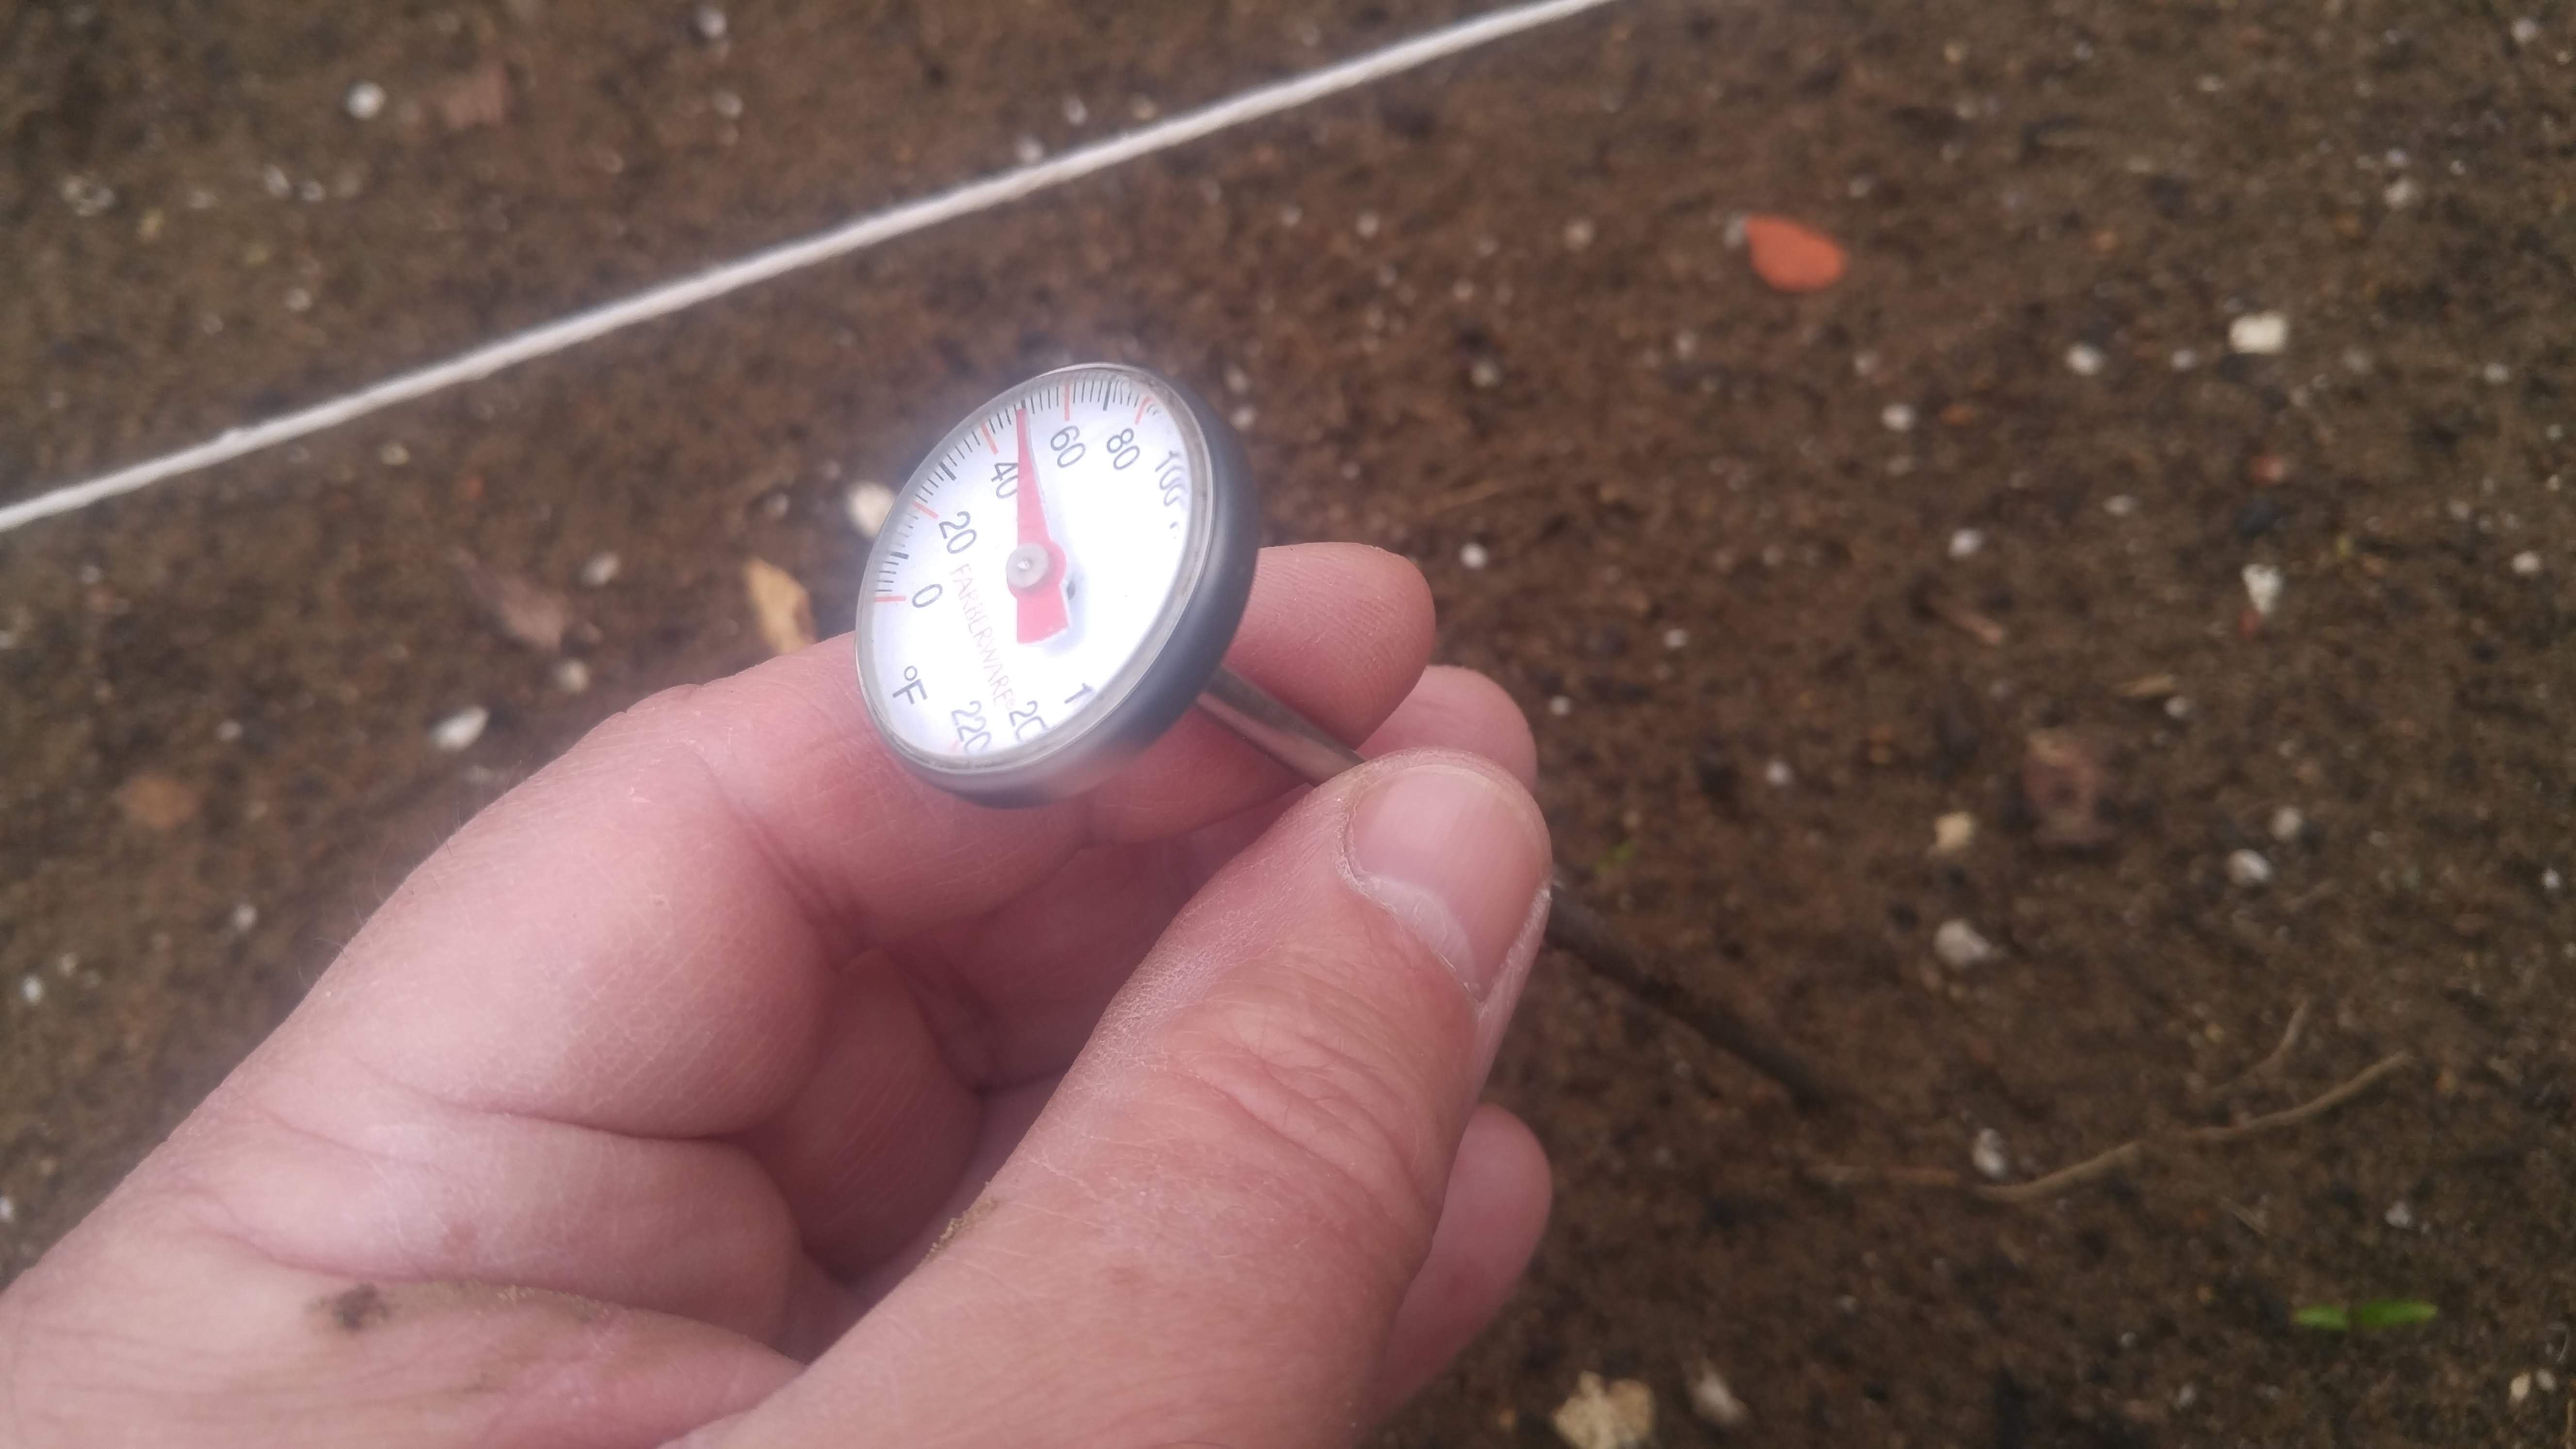
Although not as durable, a kitchen thermometer makes an adequate replacement for a soil thermometer

Beets, cabbage, cauliflower, swiss chard, radishes, turnips, peas, and broccoli will all germinate at 40 F. Even though they are not technically seeds, seed potatoes will begin to grow at that temperature too.

Sweet corn requires the soil temperature to be at least 50 F. If they are pinched for time, some farmers will plant corn at lower soil temperatures but they always use seeds treated with fungicide to keep them from rotting in the soil.

A minimum soil temperature of 60 F is needed for warm weather crops like beans, cucumbers,melons,pumpkins and squash seeds to sprout.

Keep in mind that these are minimum required temperatures. Optimum germination temperatures may be five, ten or even twenty degrees higher in some cases.

You may have noticed that I didn’t include many common vegetables like peppers or tomatoes in these lists. That’s because in our growing area, those plants are generally grown as started transplants, not from seeds planted directly into the ground.

Bob

April 17, 2019

Reproduce forest soil to help trees get off to a good start

Filed under: Shrubs,Soil,Trees — Tags: , , — bob @ 5:26 pm

Spring is the best time of year to plant trees. During the winter the dormant buds and roots are in a kind of holding pattern until the right growing conditions happen in the spring. Then they have the entire growing season to establish themselves before next winter.

No doubt you’re aware of the requirements for a proper sized planting hole and the need to water the young tree after planting. Proper planting depth is also very important. I’ve mentioned in previous posts how important it is to remove the wrapping from the root ball, even though it can be a hassle.

I always set aside any sod and never use it to back-fill the planting. Actually, I don’t use the topsoil to back-fill either. I just use the subsoil from the hole for back-fill and save the topsoil for the very top of the hole. That way the original soil profile is maintained.

After I’ve taken great pains to get the tree into the ground, there’s one more thing I like to do to and that is to create an artificial forest floor covering.  It’s something I’ve been doing for decades and I like the results.

It’s really a way of mulching that small trees seem to respond to. I first apply a thin layer of partially decomposed wood chips around the newly planted tree, over the topsoil,  maybe a couple of inches deep. Then I cover that with a layer of chopped leaves. Chopping the leaves prevents them from matting down which can slow down rain water penetration into the soil.

Here the mulch is applied  about four feet in diameter.

Here the mulch is applied about four feet in diameter.

The layering combination of subsoil in the hole, with topsoil over that then covered with the chips and leaves mimics the soil conditions of a forest. I don’t mix the layers, I let the soil microbes do their thing. Eventually as the mulch decomposes, humic acid and related compounds are formed providing an environment for a wide variety of beneficial soil microbes. All of that allows the tree to adapt to its new home and grow to its full potential.

Not everyone will want to fuss with their trees like this and some will say it’s overkill and I certainly wouldn’t expect a landscaper to do it. but it’s something I’ve found to work for me.

Bob

March 28, 2019

Fixing seed starting mix that won’t absorb water

We’re sowing our seeds right now for growing transplants that we’ll plant out in the garden. It takes some work, but you can save quite a bit of money growing your own transplants.

Another huge advantage that may be even more important is being able to grow the varieties you want rather than relying on what the garden center grows. They usually chooses varieties that are the easiest to grow, not necessarily the tastiest. That makes sense in their business model. People who have success with their plants are more likely to return the following season.

Starting your own seeds is not without its problems. Some of them you can plan ahead for and minimize, others pop up out of the blue.

We’ve had a great start with our seeds this spring, the cabbages and related cool weather crops are up and growing well. We were using the last of last year’s seed starting mix but ran out. The local hardware store had plenty of bags of mix in stock so we bought a small bag so we could keep working. It felt a little light and fluffy when I carried it, that should have been a warning sign but I was in a hurry.

When we got it home and started working with it, we found that it would not absorb water. Even after sitting  in water overnight, not a drop was absorbed by the mix! It was a “hydrophobic” mix; it was repelling water. That happens whenever potting soils dry out too much. Usually manufacturers make sure a minimum amount of moisture is present to keep that from happening or they include a small amount of  a”hydrophillic” ingredient in the mix to help it absorb water.

The soil on left has absorbed water normally, the other on is hydrophobic.

The soil on left has absorbed water normally, the other on is hydrophobic.

One explanation is we grabbed one of last year’s bags of soil that had completely dried out while in storage. But who knows?

To avoid this in the first place, always make note of how heavy the bags are compared to one another. Mixes are sold by volume, not weight so you don’t have to worry about wasting money on buying water. Pick the one that feels a little heavier because it is more likely to have the proper moisture ratio.

If you do happen to pick a bad one, like me, you can still fix it by applying small amount of surfactant. Even professional greenhouse have this problem from time to time. They use specially formulated surfactants that are not available to the general public but dish washing detergent will work just as well.

Here’s the recipe: dissolve one teaspoon (not tablespoon) of liquid detergent to one pint of water. Use the cheapest off-brand detergent you can find, there’s a practical reason for it. The name brands like Joy, Dawn or Palmolive make too many suds for this purpose. I have a bottle of off-brand detergent left over from several bottles I picked up many years ago when Farmer Jack went out of business. How long ago was that?

Place your solution in a spray bottle and spray it on the surface of your mix, that should give you enough surfactant to allow the water to soak in.

Sometimes the soil in a container will dry out and become hydrophobic even when a plant is growing is growing in it. When that happens, the plant will quickly die from lack of water. Your surfactant spray will fix that situation too. Just spritz a light spray on the top of the soil. It will help water penetrate but won’t harm the plant.

Bob

May 15, 2018

Planting almost no-till potatoes

This year I’ve decided to try a minor experiment with my potatoes. I guess you might call it a kind of no-till planting.

There are a couple of reasons I thought it might work well. First, the spot where they’re going was recently an area where some of my older chickens were penned in. I purposely kept them confined to a relatively small area to help clear it from weeds. They did a great job eliminating all of the existing weeds and keeping new ones from getting a foothold. Chickens enjoy grazing on fresh green plants and those wild greens provide plenty of vitamins.

Even though they are small, chickens can disturb a lot of soil in a short period of time. That makes them destructive if they get loose into a flower garden or other valuable spot and start scratching. Believe me, I had plenty of experience shooing chickens out of  flower gardens. It’s that relentless scratching that makes them such good helpers in the garden before planting time.

The area where my no-till potatoes are going there were no visible weeds. Under the surface however, there were thousands of recently germinated seedlings ready to pop up into the sunlight. Instead of using my rototiller, I used my sharpened swan hoe to skim along top half inch or so. I was able to cut off the weed seedlings before they had a chance to get started.

The theory is that while roto-tilling will destroy young weeds, at the same time it also drags up new seeds to the soil surface where they will germinate and grow. Shallow hoeing will kill weeds but not drag up new seeds. That Sounds like a good idea but there are plenty of dormant weed seeds waiting to take the place of their lost cousins. But over time, if done consistently, you can eventually reduce the number of viable seeds.

Back to my potato patch.

The second reason why I feel my quasi-no-till will work is because the soil is a sandy loam that really doesn’t need tilling to provide a good seed bed. If it was a finer textured soil with more clay content, I would probably not plant them without tilling.

Instead of using a trowel or shovel to dig the planing holes, I got out my two-handled post hole digger. That way I was able stand straight up to do the digging and I got a great upper body workout to boot.

Marking the rows with a hoe first made digging the holes go faster.

Marking the rows with a hoe first made digging the holes go faster.

The holes are plus or minus a foot apart with the rows around 28 inches apart.  At that planting density, the potato plants should eventually grow together enough to shade the soil surface keeping it cool and shading out weed seedlings.

I know I’ll have to keep up with my hoeing through the season, “no-till” doesn’t mean “no-work”. I’ve seen many inexperienced gardeners learn that the hard way. Real no-till involves the use of herbicides to control weeds but I’ve never used herbicides in my vegetable garden and plan to keep it that way.

While hoeing will be my main method of weed control, I’ll mulch what I can.

Bob

April 24, 2018

An intensive way of building garden soil

A couple of posts ago I discussed a hands-off style of flower gardening that works some in established gardens. In those cases the soil is usually in pretty good shape after having had plants growing in the same spot for many years. Not everyone is fortunate enough to have such a garden space.

Sometimes the soil in a potential garden spot requires a lot of work before it is fit to grow vigorous plants. Take for example the case of the typical yard of a newly constructed home. It’s not unusual for the builder to remove the existing topsoil and haul it away to be sold. Then, usually, soil excavated for the basement is spread over the new yard area leaving the new homeowner to struggle with the poor soil. The homeowner often ends up buying topsoil (most likely from a different housing project) to add to the yard.

New topsoil may be adequate to grow a lawn but not necessarily good enough to grow flower and vegetable plants. In that case, the laissez-faire method of gardening will have to be put on hold until the garden has built up fertility and the soil structure has improved. That may take years or decades without major help from the gardener.

There’s a way to drastically improve a garden spot so it can be in tip-top shape the first year. It’s a method called “double digging”. Double digging is not for the faint of heart. I did it one time many years ago for a problem area and I can tell you it’s a heck of a lot of work but the results were impressive.

I suggest starting with a small garden bed in case you run out of energy or patience before the project is done.

A sturdy garden fork is an essential tool for double digging and general garden work.

A sturdy garden fork is an essential tool for double digging and general garden work.

Start by digging a trench about a foot wide and the depth of of your shovel along the entire lenght of one side of your new bed. Pile the soil from the trench along side your excavated area. Then insert a garden fork into the soil of the bottom of the trench. Use the tines to break up that layer of dirt and incorporate some compost as deep as you can.

Dig another trench along your original trench, again over the entire length of that same side. Take the soil  that you remove from digging  your second trench and place it into your original excavation, right on top of the loose soil and compost. Once the second trench is done, dig another and another until you eventually reach the far side of the bed. Fill the final trench with the soil that you took out of your very first trench.

The final step is to spread more compost over the entire garden bed and deeply dig it in to the soil with your garden fork. If you plan to add fertilizer, now would be the time.

The soil will be fluffy and full of air-pockets so you’ll need to water the area a few times to help settle the soil before planting.

In some gardens, double digging seem like over-kill but in certain circumstances it’s the ideal way to build a garden bed.

Bob


Older Posts »

Powered by WordPress