The Yellow Farmhouse Garden

November 14, 2019

Witch Hazel blooming in the snow

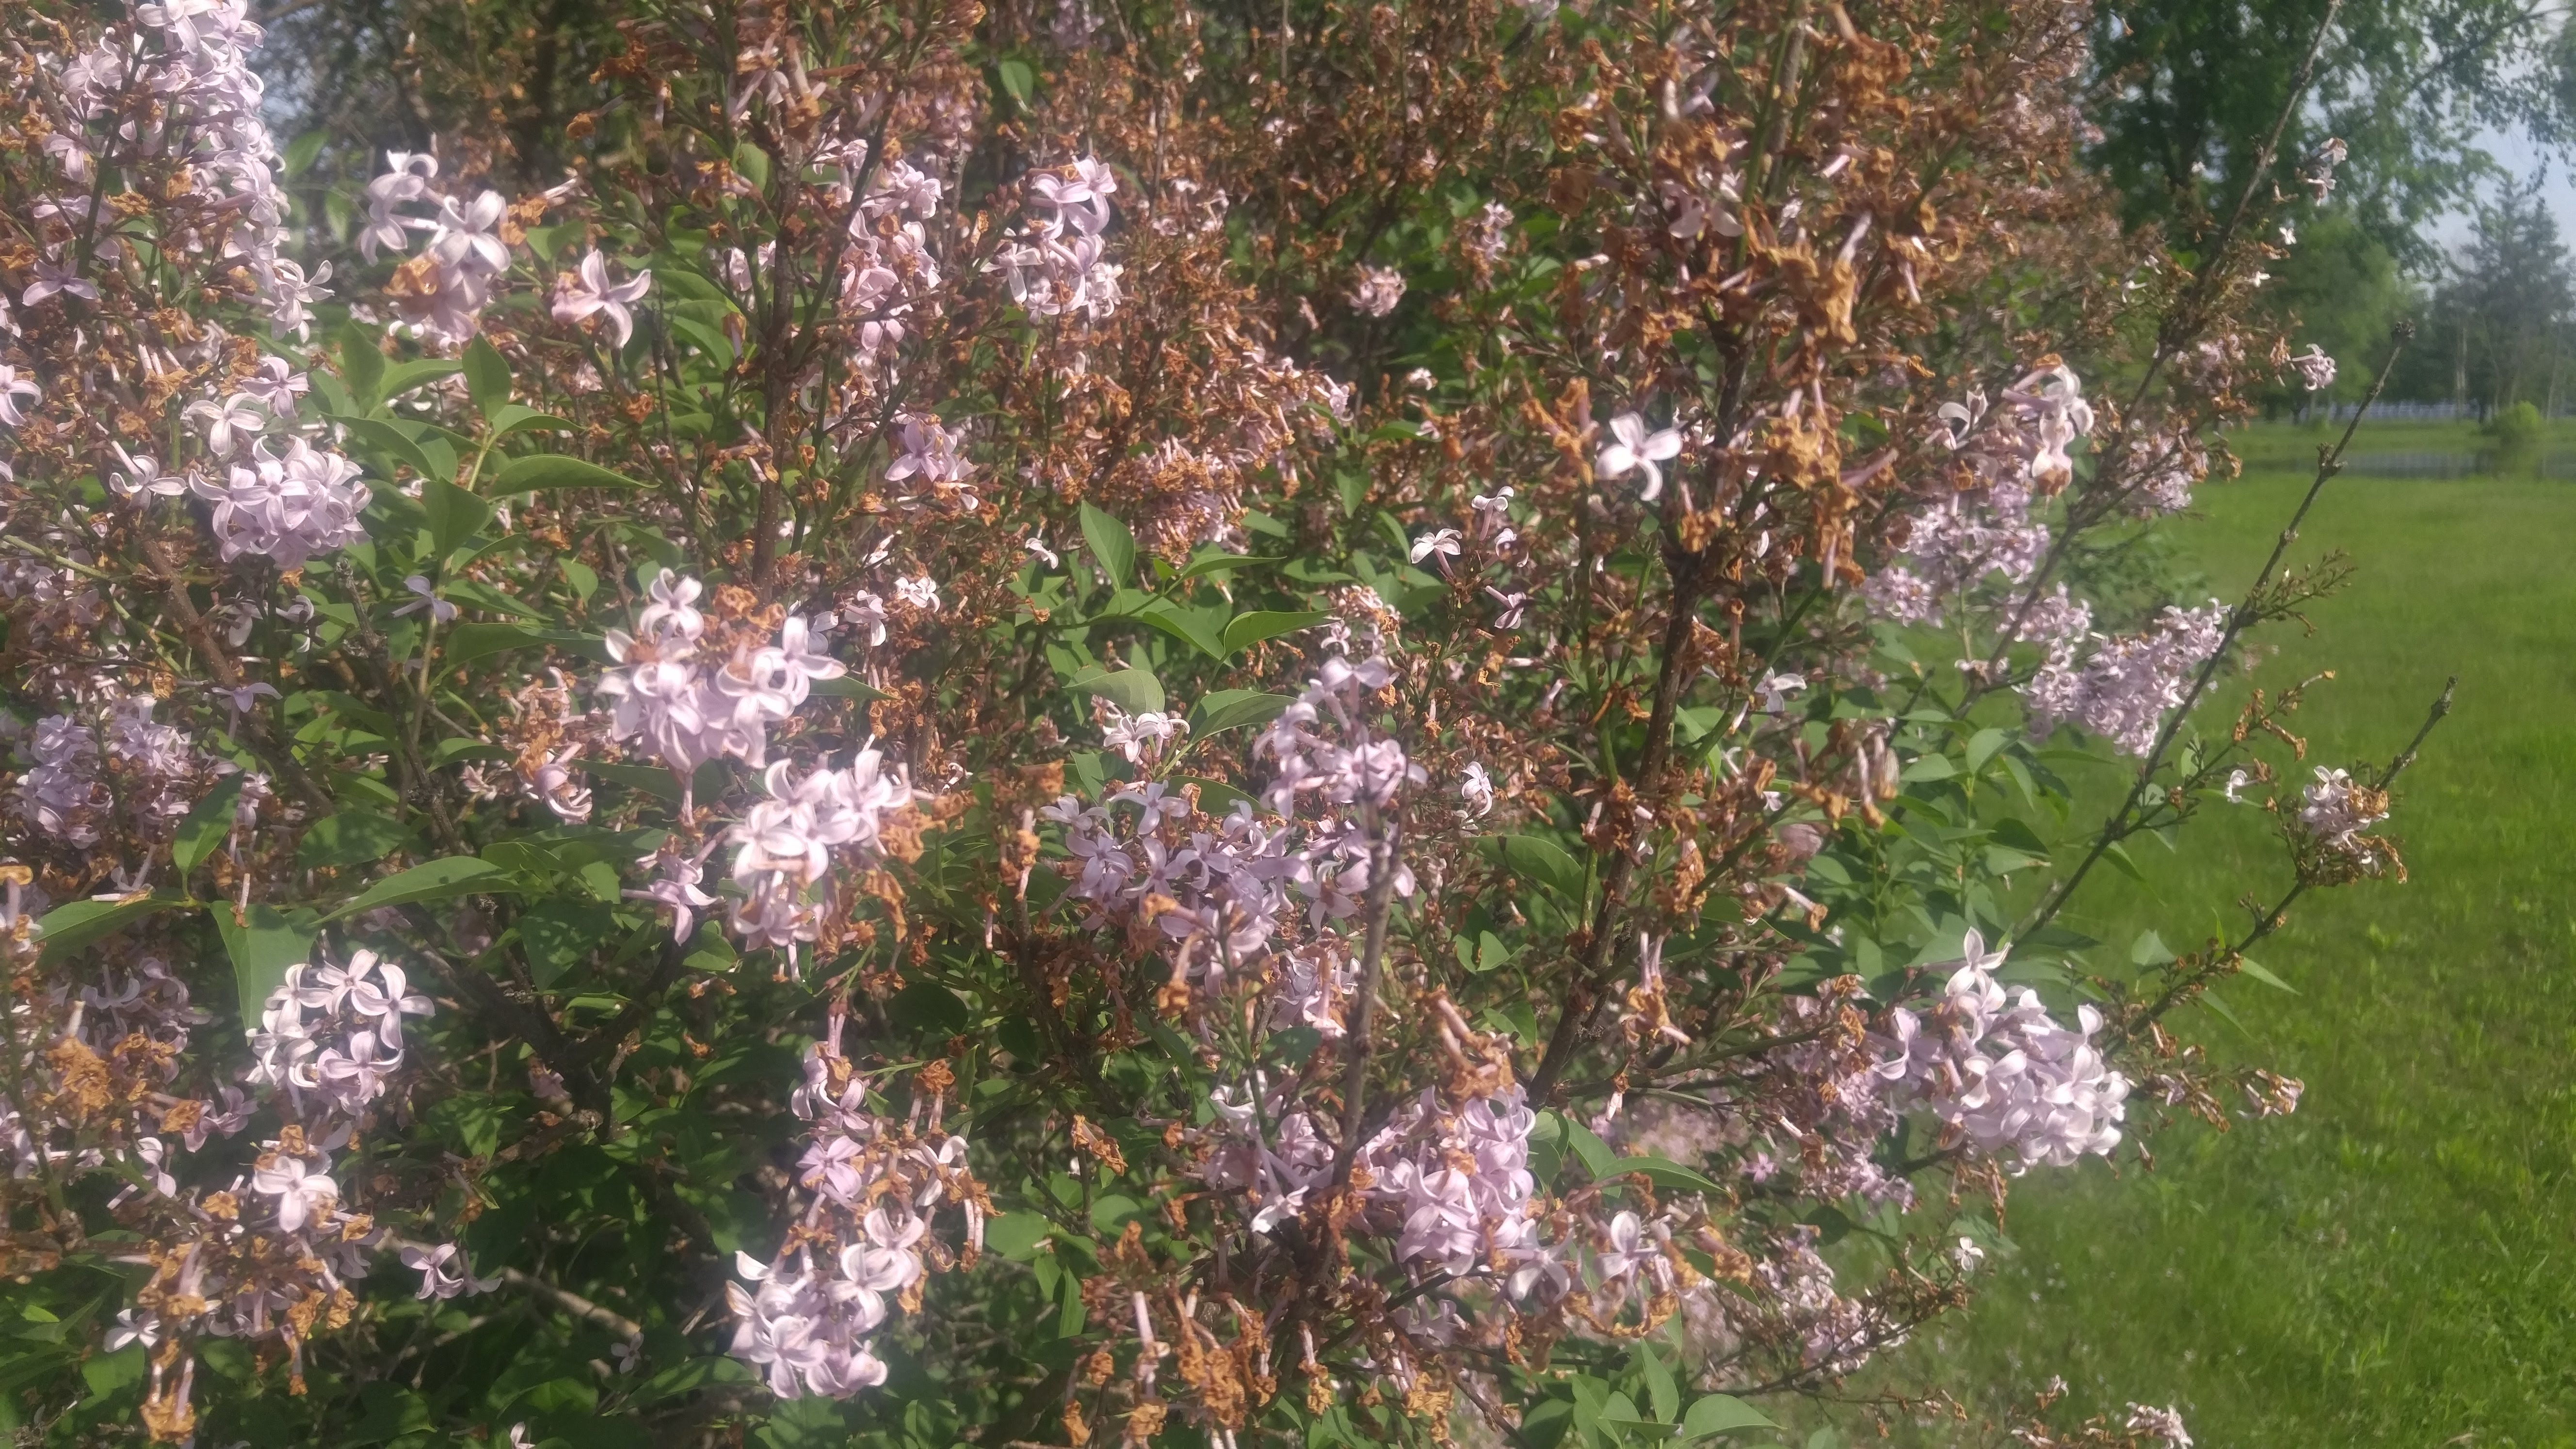
Even though the meteorologists had it in their forecasts, the recent big snow and cold temperatures still took us all by surprise. With normal highs in the low fifties and lows in the mid-thirties, some parts of the natural world were caught unprepared too.

I’m sure our witch hazel bush wasn’t expecting over a half-foot of snow and temperatures down in the single digits. Late fall is the normal blooming time for witch hazel. Sure enough, there it was, blooming in the middle of all that extreme weather.”"

We have our witch hazel planted near a window so we can enjoy its flowers indoors while looking outside.

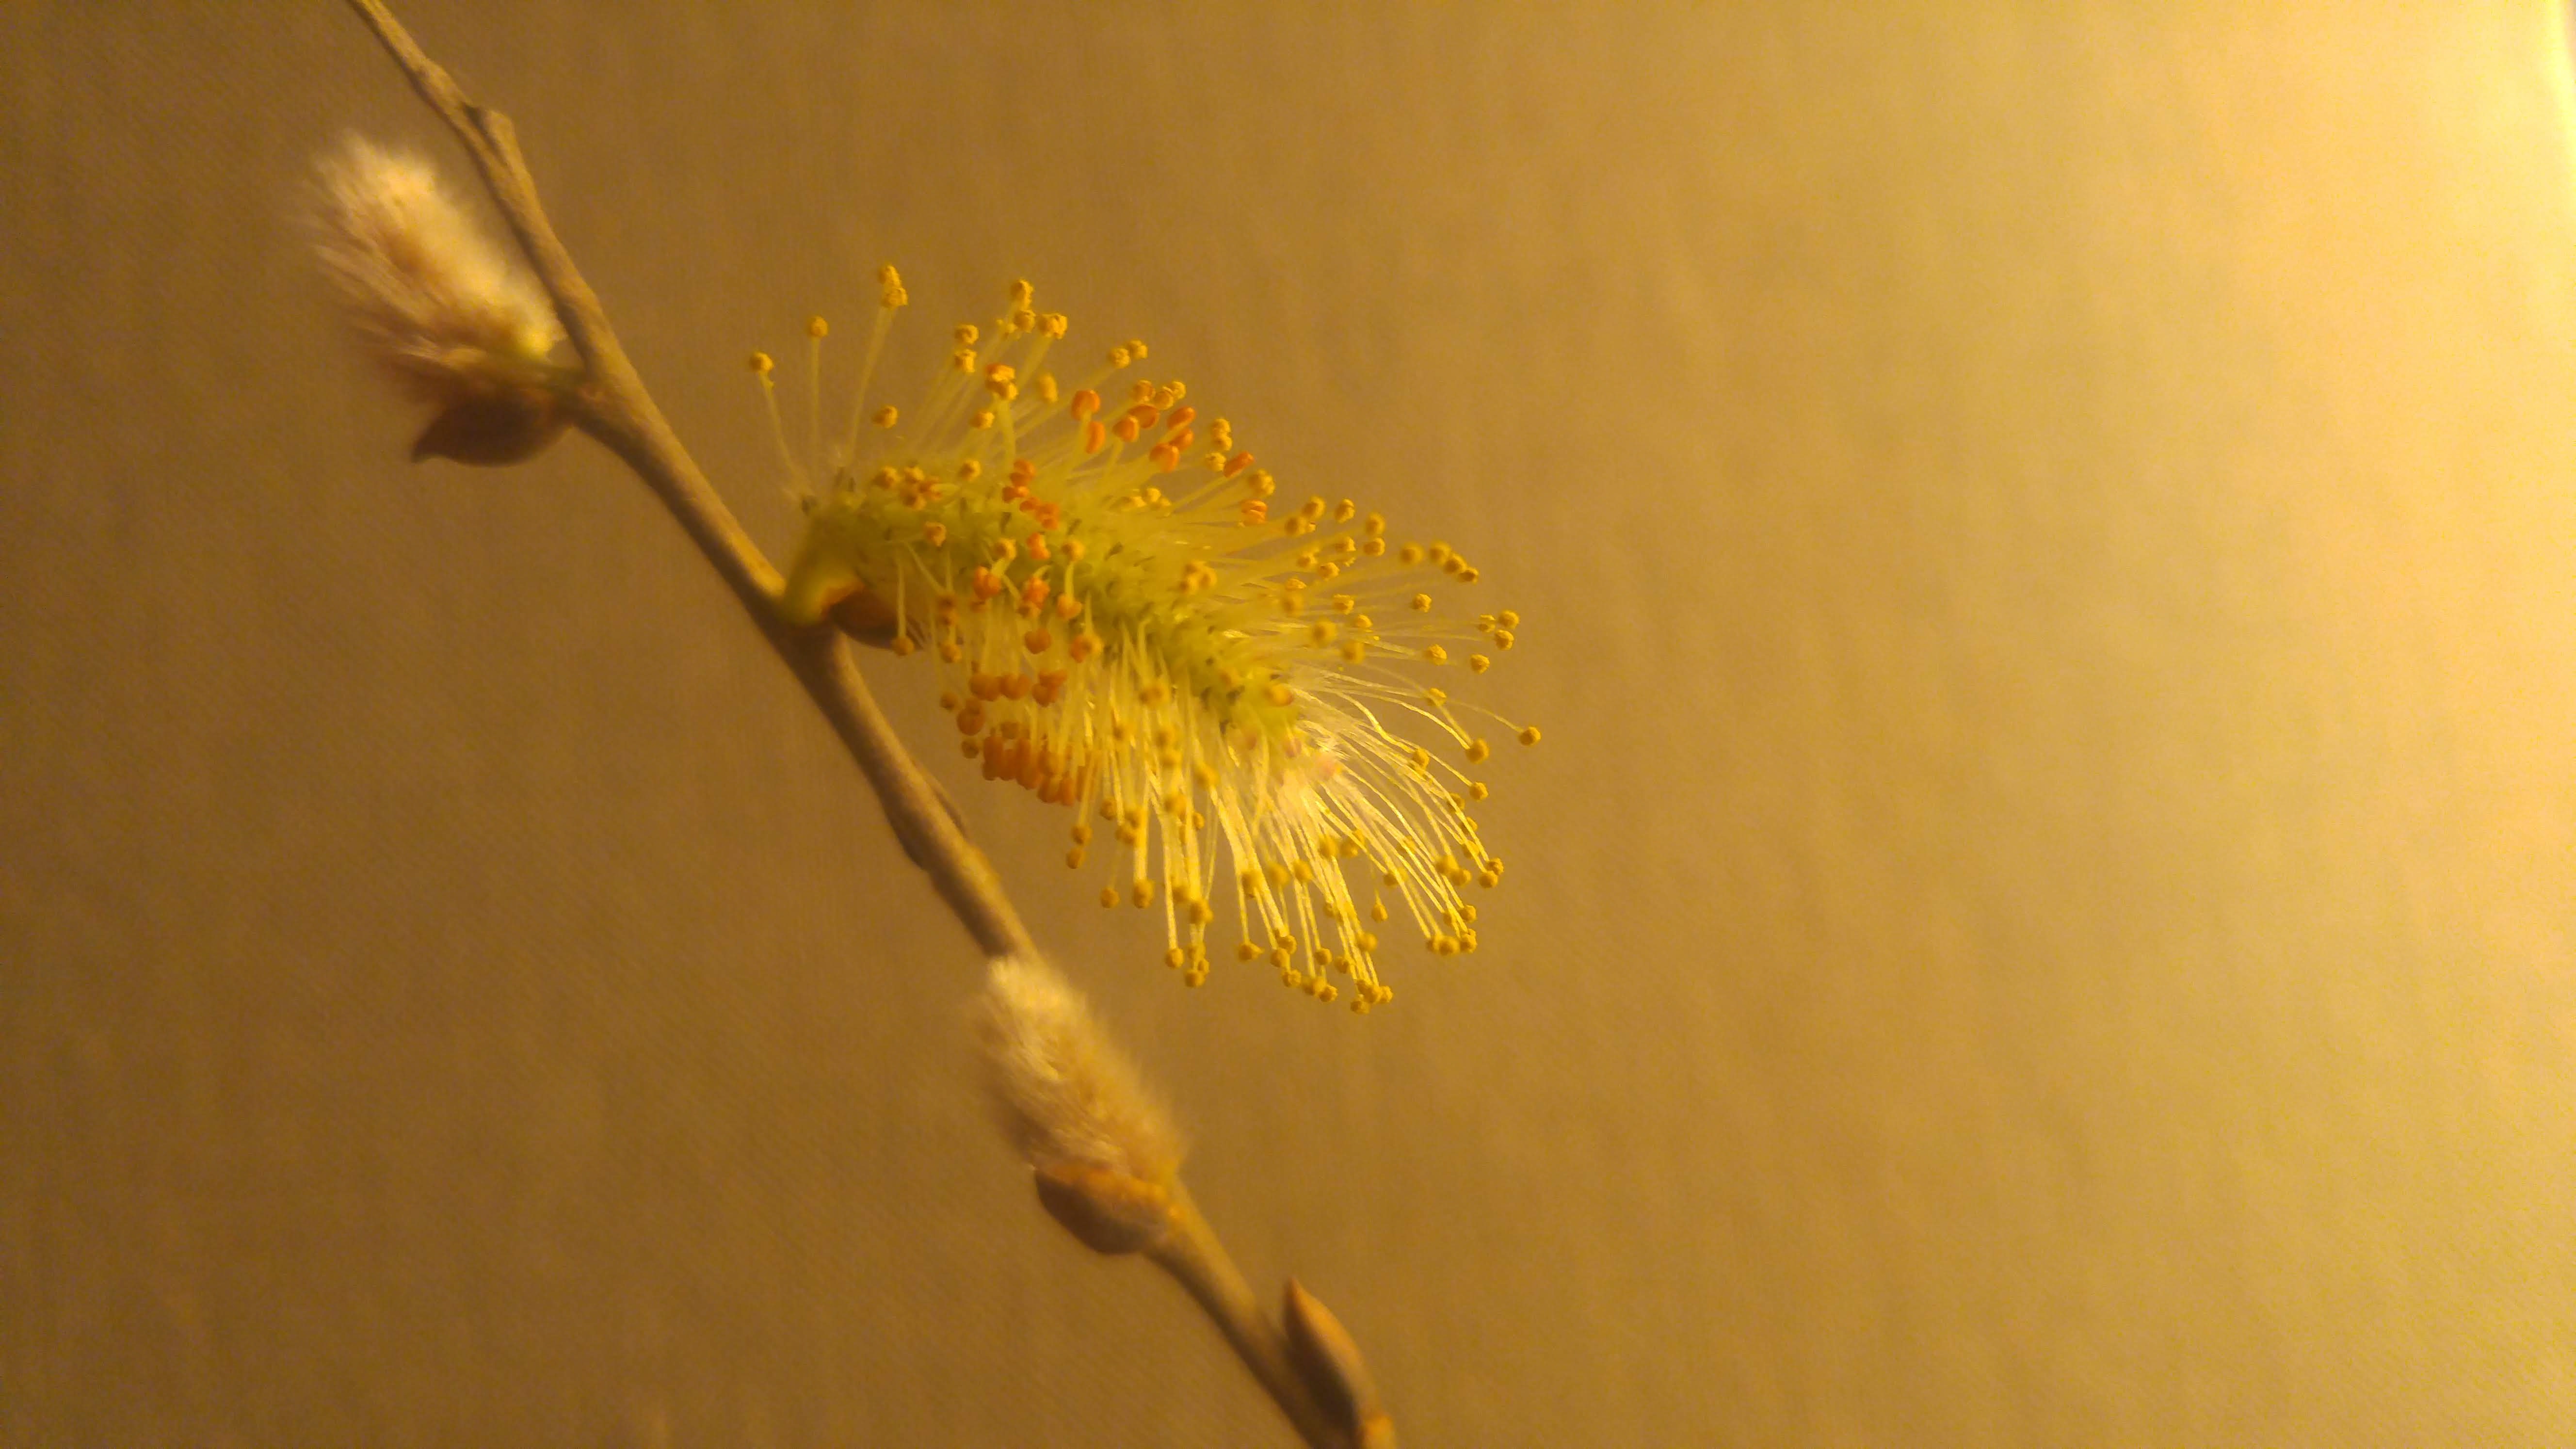
In addition to flowering in November, witch hazel is kind of unusual for a native plant in that it has both seeds and flowers on its branches at the same time.

The seeds that are present this fall are from flowers that were pollinated last fall. They begin developing in late fall then over-winter on the plant. The following spring the seeds begin growing again and develop into a full-mature seed in the fall. Once the seeds are mature, they are ejected from their seed capsules with a pop! that sends them many feet away. It really is a fascinating plant.

One question you might have is,if witch hazel flowers in the fall when it’s cold outside, how are they pollinated ? All of the bees, wasps, flies, ants or other usual pollinators are not flying or dormant this time of year.

It turns out there are moths that stay active during freezing weather. These moths belong to the owlet moth family (Noctuidae). They fly at night looking for sources of nutrition such as tree sap. And it just so happens witch hazel nectar is a perfectly acceptable food for them. Just like bees, when the moths feed on the nectar, they also inadvertently move pollen around allowing pollination to occur.

We rarely see these moths because they fly at night. I remember back when I was a young kid, I once saw some moths flying in the cold weather. It struck me at that time as being pretty odd.

So did the early snow bury the owlet moths and prevent witch hazel pollination this year? Probably not, the witch hazel was blooming well before the snowstorm and probably were already pollinated by that time.

Bob


June 6, 2019

Prune off faded lilac flowers now

Filed under: Flowers,Shrubs — bob @ 9:43 am

Many of the lilacs I’ve seen have put on a nice show of flowers this spring. Some could have been even better if their owners had removed the spent flowers last spring.

Not many people are aware that deadheading lilacs is the best thing you can do for them to stimulate better flowers next year.

I don’t fault those who didn’t get around to doing that last year. If you remember, we had a wet spring last year and in the rush to get things planted, lilac deadheading was pushed far down on the list of gardening priorities.

Several years ago I was responsible for a dozen or more lilacs. My helpers and I always took the time to take off those spent blossoms and it really paid off. It’s another one of those delayed gratification things that gardeners always seem to be dealing with.

The ideal time to dead head lilacs is right after blossoming.

The ideal time to dead head lilacs is right after blossoming.

Deadheading is very easy work if you have a sharp pair of pruners. Just snip off the expired flower right at its base and let it fall. It can be time consuming on a large bush but after a bit you fall into a rhythm. To me it’s a satisfying job because you can see the old flowers accumulate on the ground as you work at it.  Plus you are aware that next year’s flowers will will be even showier.

Old lilac flowers never fall off. Instead their panicles turn brown as seeds begin to form making the shrub look messy. So taking off the old flowers also keeps your shrub looking nice and neat. To do the most good, deadhead before the seeds set. I like to do it just as the last of the flower color is left.

Don’t worry too much if can’t get around to snipping off the flowers, your lilac will still do fine without any attention. In addition to its reliable flowering habit, low maintenance is another reason why lilacs have remained popular since colonial times.

Lastly, a light application of fertilizer after deadheading will give your lilac the nutrients it needs to regrow its flowers buds.

Bob

May 30, 2019

Epsom salts for better roses

In order to grow  and flourish all plants, including roses, require basically the same nutrients. One is carbon which is supplied to the plant by carbon dioxide in the air. Another, even though we may not think of it as a nutrient, is water.

In the soil, there are three primary nutrients that plants use in large quantities: nitrogen (N), phosphorus (P) and potassium (K). Together the primary nutrients are known as NPK. Good garden soil usually contains much of the required NPK . But sometimes soil is low in one or more of the primary nutrients so we supplement it with either organic or conventional fertilizers.

Secondary nutrients are need but in far less concentrations. They include calcium, magnesium and sulfur.

A long time ago rose growers noticed, even though roses were growing in very fertile soil, sometimes their blossoms still weren’t as nice as roses in other gardens. After much trial and error they found by adding Epsom salts, roses blooms would be noticeably improved. The missing ingredient was magnesium supplied by magnesium sulfate, more commonly known as Epsom salts.

The same Epsom salts you use in your bathwater can be used for your roses.

The same Epsom salts you use in your bathwater can be used for your roses.

There are other sources of magnesium but some of them like dolomitic limestone can raise the soil pH. That would cause problems if your soil pH was already on the high side.

Add Epsom salts at the beginning of the growing season. For each mature rose bush apply a half cup of Epsom salts to the soil around the bush. You can do this either in dry form and water it in or dissolve it in water and apply as a solution. Do this every year to replace any magnesium used by the plant or leached out of the soil.

Bob


April 17, 2019

Reproduce forest soil to help trees get off to a good start

Filed under: Shrubs,Soil,Trees — Tags: , , — bob @ 5:26 pm

Spring is the best time of year to plant trees. During the winter the dormant buds and roots are in a kind of holding pattern until the right growing conditions happen in the spring. Then they have the entire growing season to establish themselves before next winter.

No doubt you’re aware of the requirements for a proper sized planting hole and the need to water the young tree after planting. Proper planting depth is also very important. I’ve mentioned in previous posts how important it is to remove the wrapping from the root ball, even though it can be a hassle.

I always set aside any sod and never use it to back-fill the planting. Actually, I don’t use the topsoil to back-fill either. I just use the subsoil from the hole for back-fill and save the topsoil for the very top of the hole. That way the original soil profile is maintained.

After I’ve taken great pains to get the tree into the ground, there’s one more thing I like to do to and that is to create an artificial forest floor covering.  It’s something I’ve been doing for decades and I like the results.

It’s really a way of mulching that small trees seem to respond to. I first apply a thin layer of partially decomposed wood chips around the newly planted tree, over the topsoil,  maybe a couple of inches deep. Then I cover that with a layer of chopped leaves. Chopping the leaves prevents them from matting down which can slow down rain water penetration into the soil.

Here the mulch is applied  about four feet in diameter.

Here the mulch is applied about four feet in diameter.

The layering combination of subsoil in the hole, with topsoil over that then covered with the chips and leaves mimics the soil conditions of a forest. I don’t mix the layers, I let the soil microbes do their thing. Eventually as the mulch decomposes, humic acid and related compounds are formed providing an environment for a wide variety of beneficial soil microbes. All of that allows the tree to adapt to its new home and grow to its full potential.

Not everyone will want to fuss with their trees like this and some will say it’s overkill and I certainly wouldn’t expect a landscaper to do it. but it’s something I’ve found to work for me.

Bob

February 26, 2019

Forcing spring tree and shrub branches

We’re getting an early taste of spring at our house by forcing branches into bloom. It’s something gardeners have done for centuries ever since someone figured out if you cut some branches and bring them into a warm room during the winter, they will bloom.

When I was in elementary school, forcing pussy willow branches in the classroom during the winter was a regular thing. Do they still do that?
Right now we have willow branches blooming that Judy cut a couple of weeks ago. They’re not the large-budded pussy willows but they are still attractive. They just happened to be the ones growing in our yard.

Our willow branches have buds that range in color from light pink to yellow all on the same branch.

Our willow branches have buds that range in color from light pink to yellow all on the same branch.

In addition to willows, just about any kind of spring-blooming tree or shrub will work including, forsythias, vernal witch hazel, most fruit trees and many others.

In its simplest form , all you really do is cut off some branches and stick them in some water. You can improve the odds of getting better blooms by choosing branches that have more closely spaced buds — more buds means more flowers. Branches that are thicker than the average on the plant, work best too since they contain more of the nutrients the buds need to open and grow.

It's a lot of  fun watching the buds slowly progress through their development.

It’s a lot of fun watching the buds slowly progress through their development.

Cut the branches you want to force two to three feet long for best results. Once cut, remove all buds and side twigs that would be under water in your vase or other container.

Sometimes making a slit at the bottom of the stem will help it take up water more easily. Branches from lilacs and possibly other plants benefit from being lightly crushed at the bottom, best tool for that is a hammer. Just put the end of the branch on a scrap of wood and tap it until it is crushed.

Placing the entire branch in lukewarm water will help jump-start the process. The only big enough container we have to do that is the bath tub, plus there’s plenty of warm water handy right from the spout. A couple of hours in the tub will do it.

Change the water in the vase every couple of days or so to prevent mold and algae from growing and clogging up the water-conducting parts of the branch.

When forcing branches, keep in mind that not only are the flowers fun to see but the shape of the branch itself is also part of the arrangement. Don’t be tempted to cram too many branches into the vase or you may lose the pleasing design effect the branches add.

To extend your forcing season, cut new branches every week now until spring to have a fresh set of buds opening all the time.

Bob

Older Posts »

Powered by WordPress