We’re getting an early taste of spring at our house by forcing branches into bloom. It’s something gardeners have done for centuries ever since someone figured out if you cut some branches and bring them into a warm room during the winter, they will bloom.
When I was in elementary school, forcing pussy willow branches in the classroom during the winter was a regular thing. Do they still do that?
Right now we have willow branches blooming that Judy cut a couple of weeks ago. They’re not the large-budded pussy willows but they are still attractive. They just happened to be the ones growing in our yard.
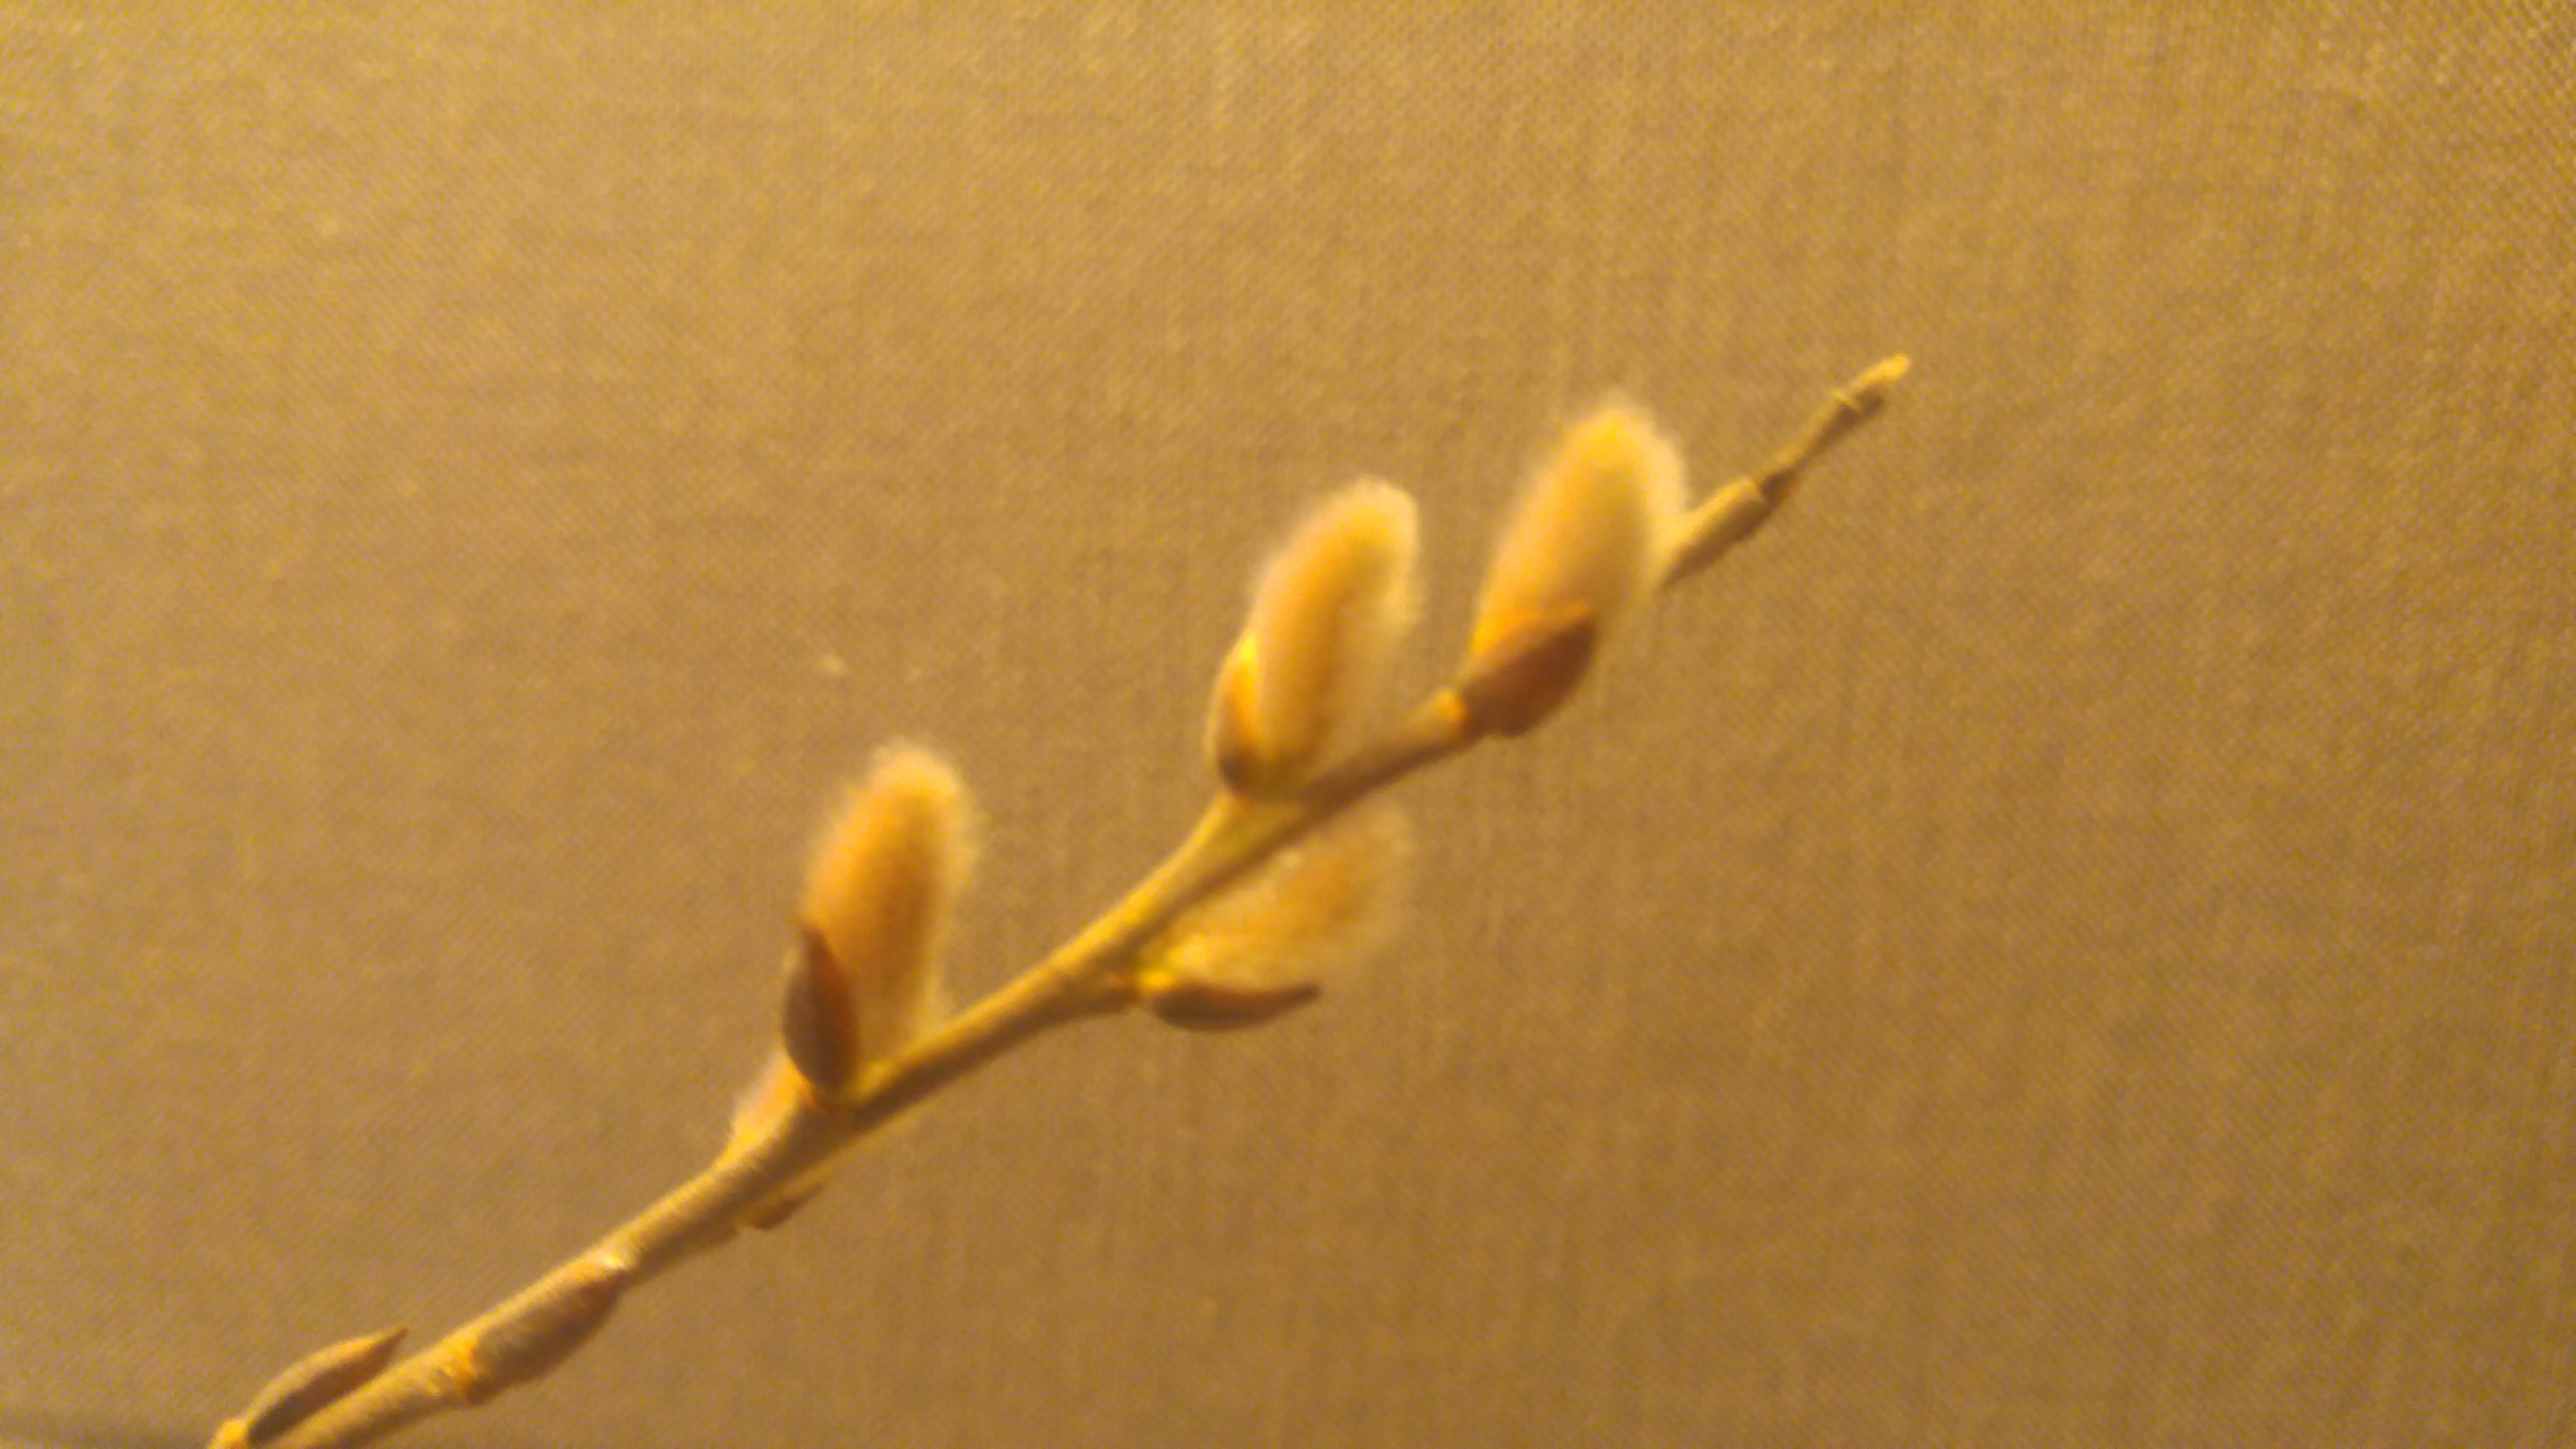
Our willow branches have buds that range in color from light pink to yellow all on the same branch.
In addition to willows, just about any kind of spring-blooming tree or shrub will work including, forsythias, vernal witch hazel, most fruit trees and many others.
In its simplest form , all you really do is cut off some branches and stick them in some water. You can improve the odds of getting better blooms by choosing branches that have more closely spaced buds — more buds means more flowers. Branches that are thicker than the average on the plant, work best too since they contain more of the nutrients the buds need to open and grow.
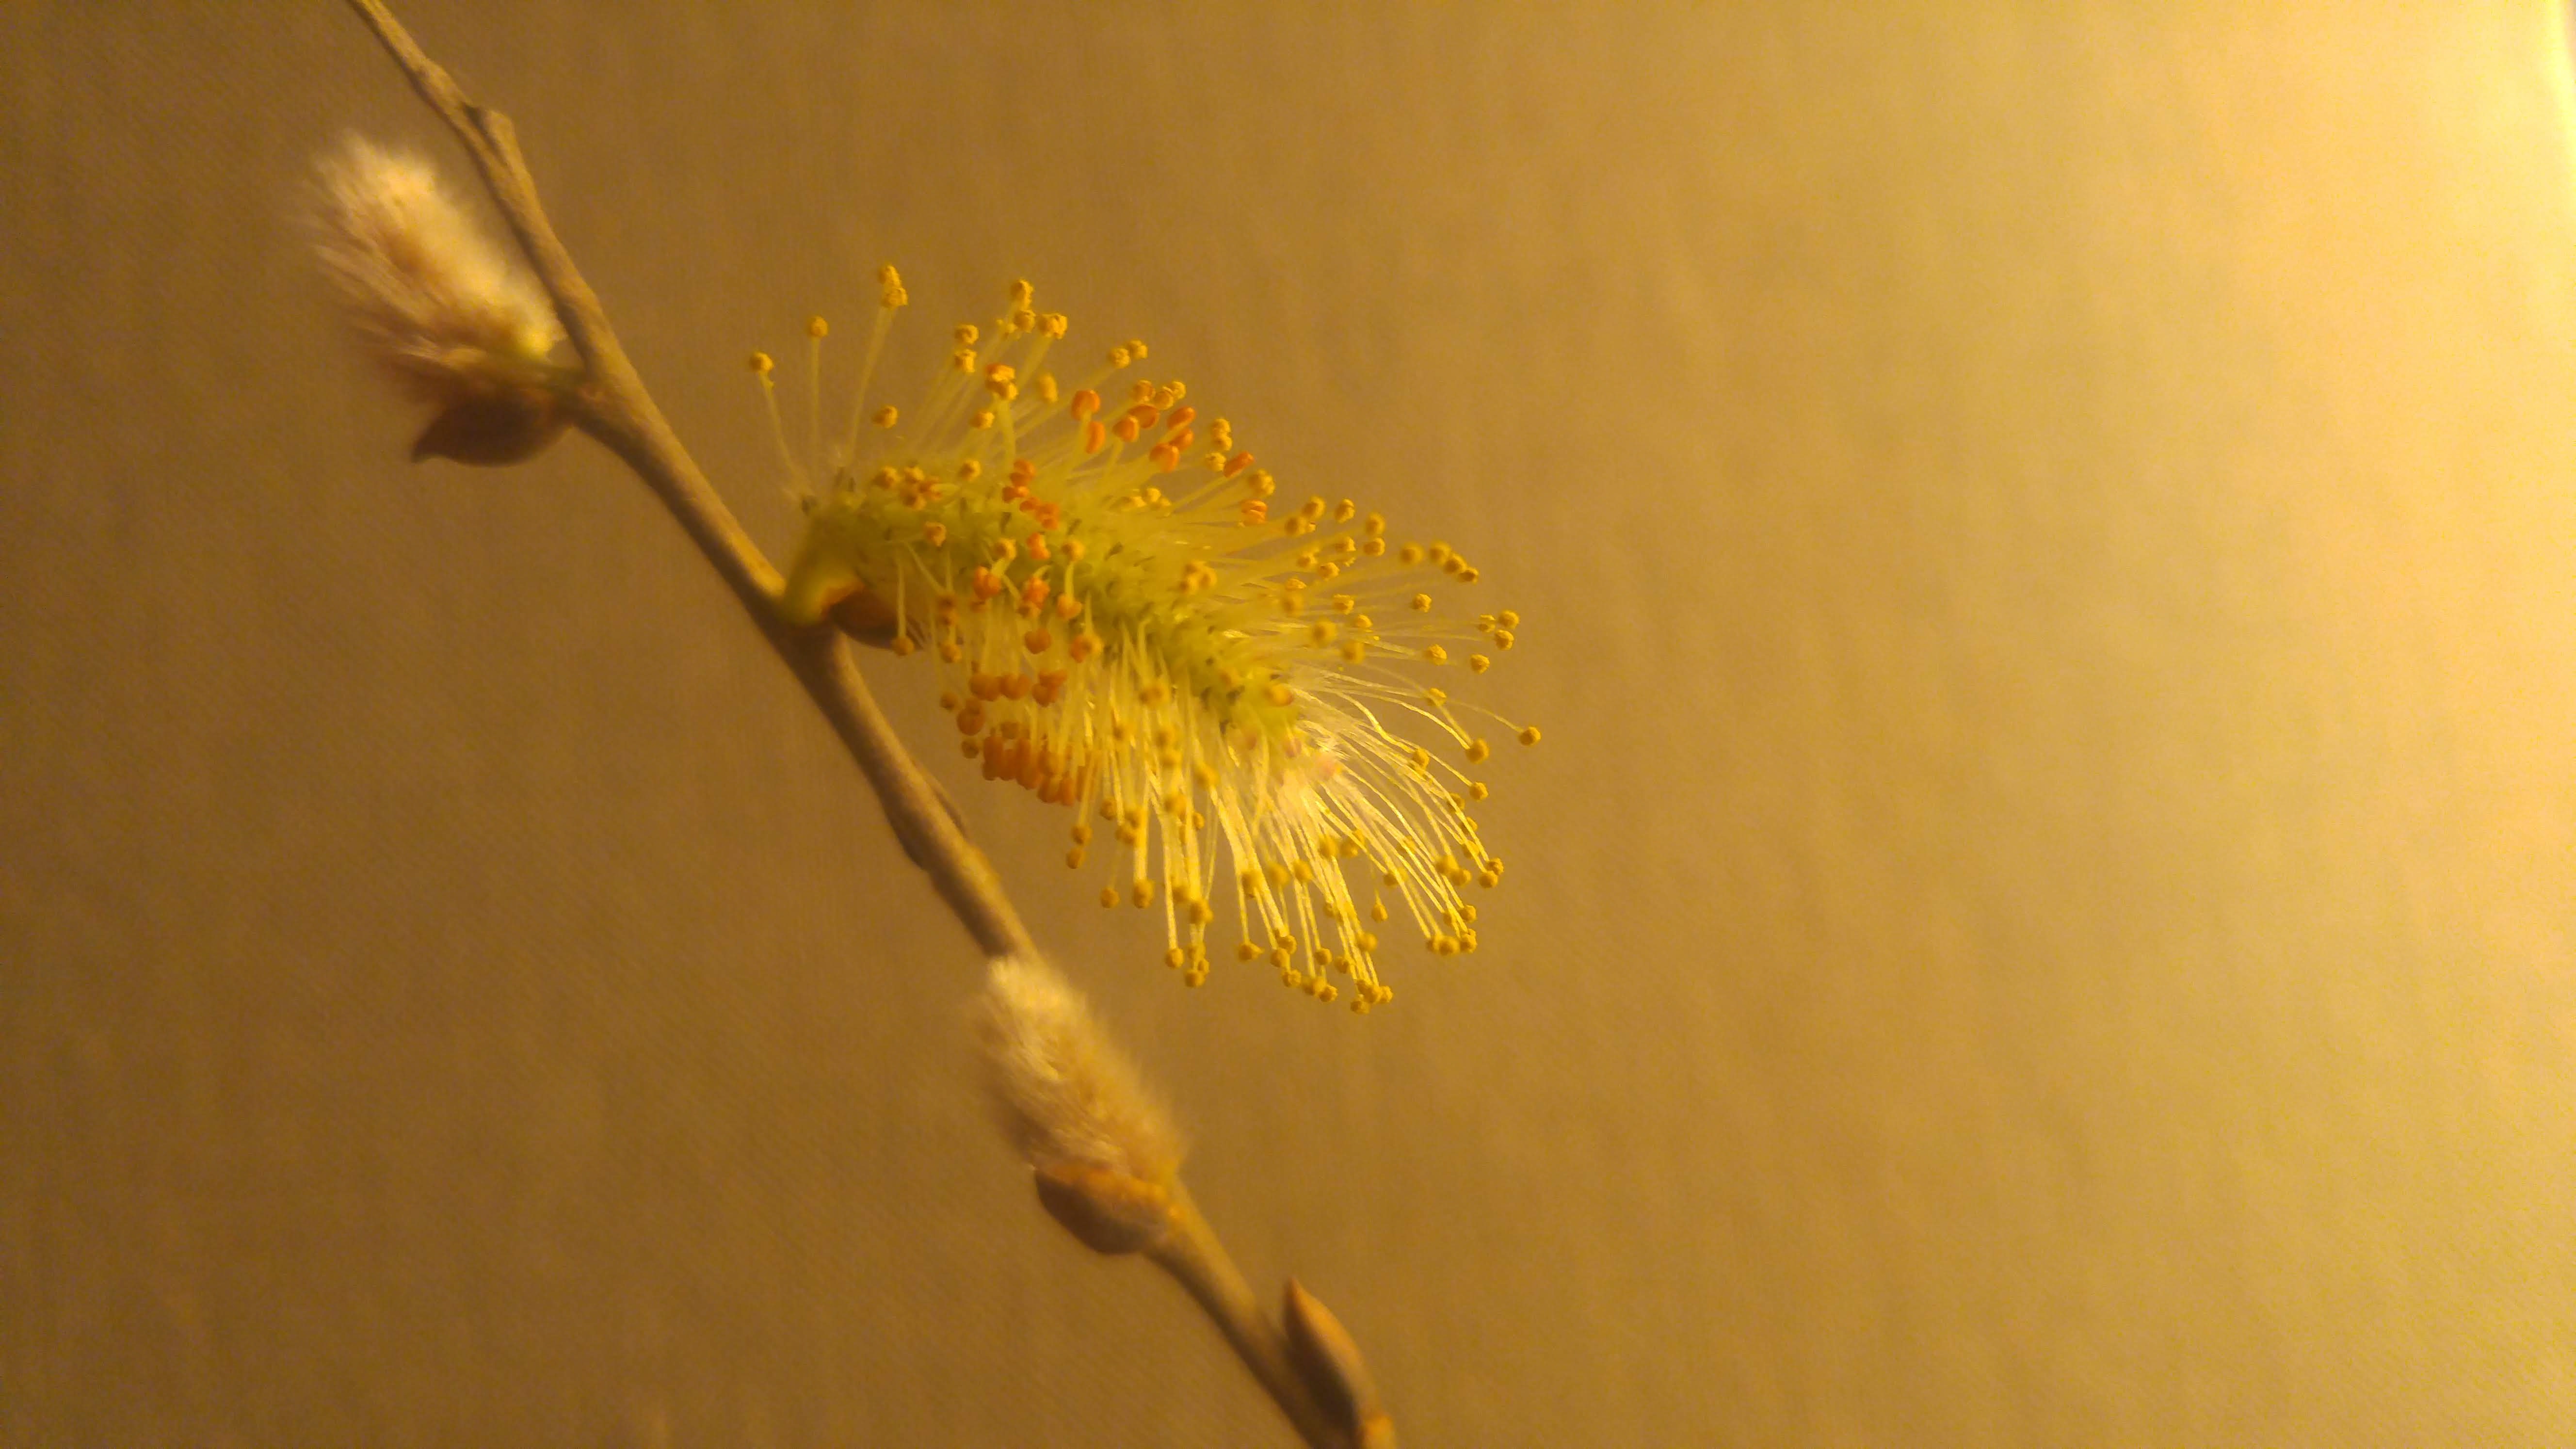
It’s a lot of fun watching the buds slowly progress through their development.
Cut the branches you want to force two to three feet long for best results. Once cut, remove all buds and side twigs that would be under water in your vase or other container.
Sometimes making a slit at the bottom of the stem will help it take up water more easily. Branches from lilacs and possibly other plants benefit from being lightly crushed at the bottom, best tool for that is a hammer. Just put the end of the branch on a scrap of wood and tap it until it is crushed.
Placing the entire branch in lukewarm water will help jump-start the process. The only big enough container we have to do that is the bath tub, plus there’s plenty of warm water handy right from the spout. A couple of hours in the tub will do it.
Change the water in the vase every couple of days or so to prevent mold and algae from growing and clogging up the water-conducting parts of the branch.
When forcing branches, keep in mind that not only are the flowers fun to see but the shape of the branch itself is also part of the arrangement. Don’t be tempted to cram too many branches into the vase or you may lose the pleasing design effect the branches add.
To extend your forcing season, cut new branches every week now until spring to have a fresh set of buds opening all the time.
Bob