There’s some talk among weather prognosticators about a speed bump developing in the polar vortex this winter. Some are saying very cold, below normal temperatures are just over the horizon and heading our way. If you haven’t already done so, now’s the time to finish up prepping your garden for winter.
I’ve done all I can for my gardens making sure they are all set for the cold weather . The last item I had on my outdoor things-to-do list was winterizing my bonsai trees. Usually I have them all tucked in around the first week of December but this year it’s been so mild that I left them out until this week.
Every year I change the way I winterize them but there are a couple of important things I always make sure happens. First, the roots and tops are protected from the extreme cold and fluctuations in temperature. I do that by digging an over-sized hole in a protected area big enough to bury my pots.
The second thing is to make sure melt water doesn’t settle in to the pots. Re-freezing of water in the pots can cause them to break due to the expansion that occurs when water freezes. So, I tip the pots on their sides keeping the water out.
Placing them on their sides also allows part of the top branches to be in the hole. The surrounding soil helps moderate the temperatures that they are exposed to.
This year I dug my hole in a well-drained area near a group of white pine trees. The trees will slow down brisk winter winds lessening the chance of desiccation.
After placing the trees in the hole I covered them with a layer of white pine needles. That will help insulate them and make it easier to clean off the soil when I take them out in the spring. Then I took the soil that was left from digging the hole and covered the needle covered plants. I also banked up the soil on the pot end of the hole giving additional protection to the roots.
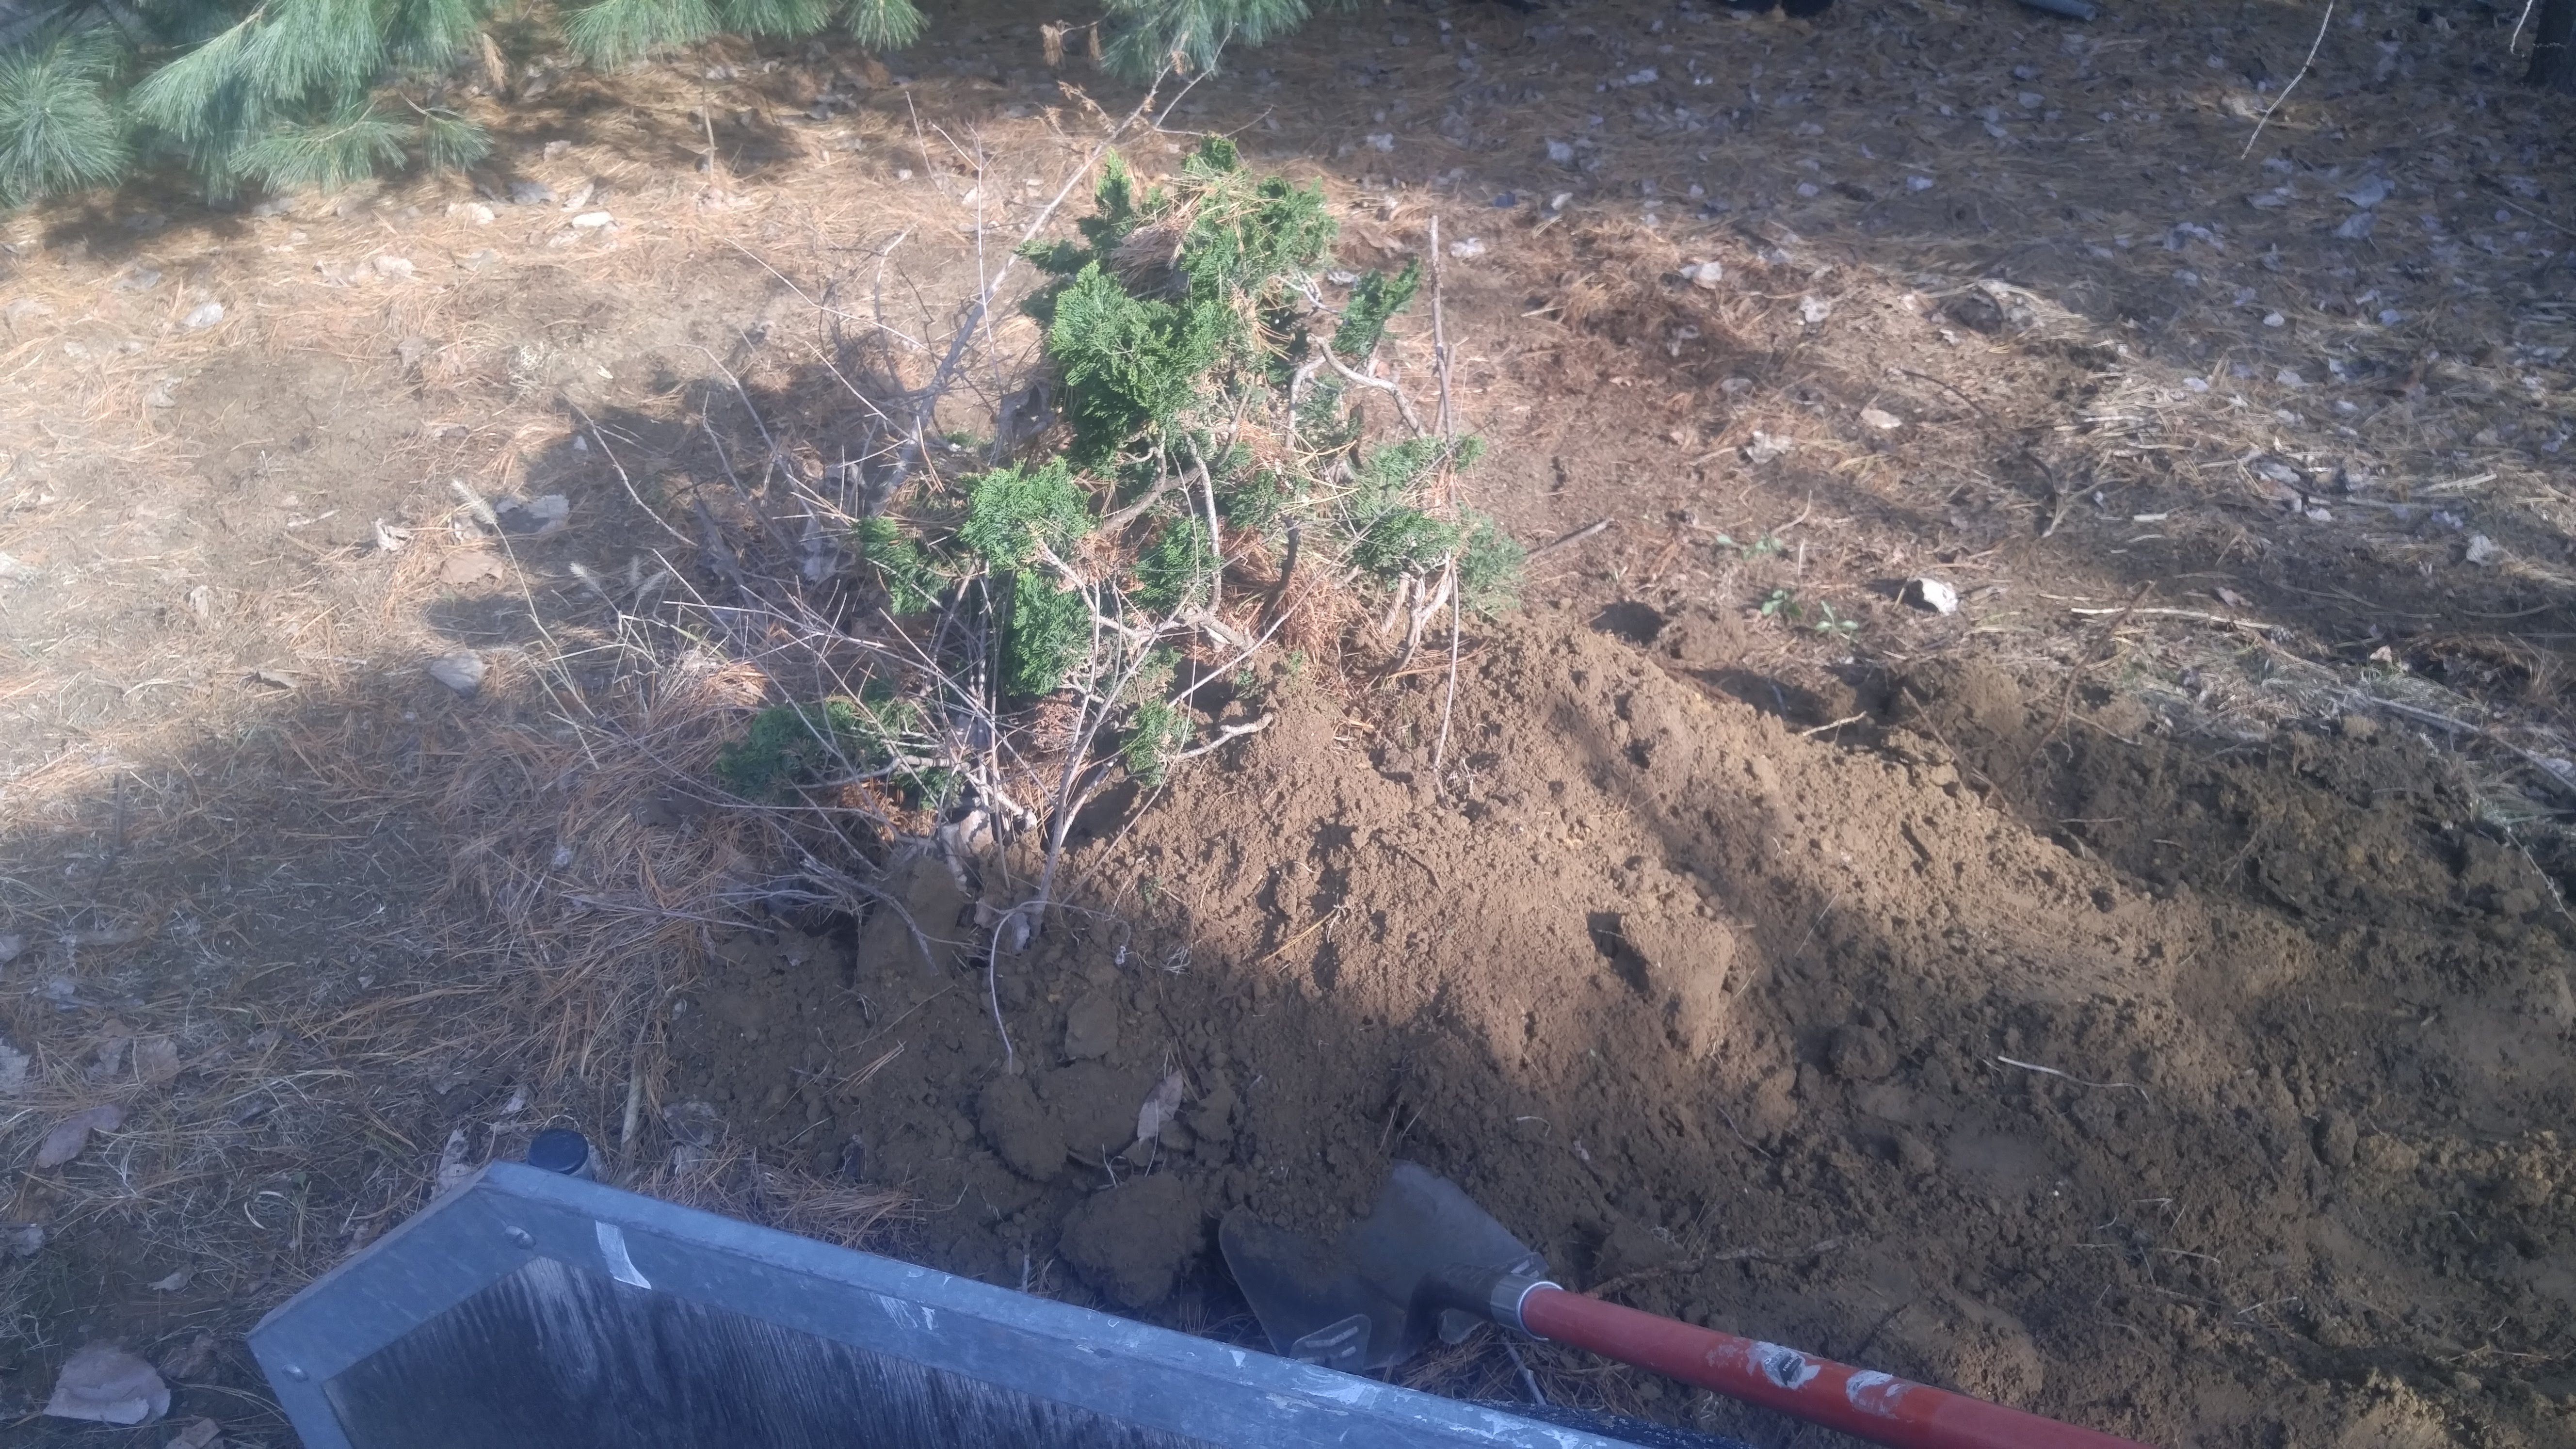
Here the plants are in the hole and partially covered.
Finally, I hauled in tree leaves and covered the entire area including the plants. A small amount of branches are still peeking up through the leaves. Later, when the Christmas tree comes down I’ll cut off boughs from it and lay them over the mound. The boughs will help catch snow allowing it to drift over the spot and provide even more insulation.
I know this sounds like a lot of work for a few plants but my bonsai are valuable to me. I’ve been caring for one tree for seventeen years so I sure don’t want to lose it now.
Bob