The Yellow Farmhouse Garden

May 30, 2013

Ladybug larvae in the garden

Filed under: Insects — bob @ 12:54 pm

Ladybugs are the most well-known beneficial insects in our gardens.  With their spotted  orange body, adult ladybugs are immediately recognized by everyone, even young children.

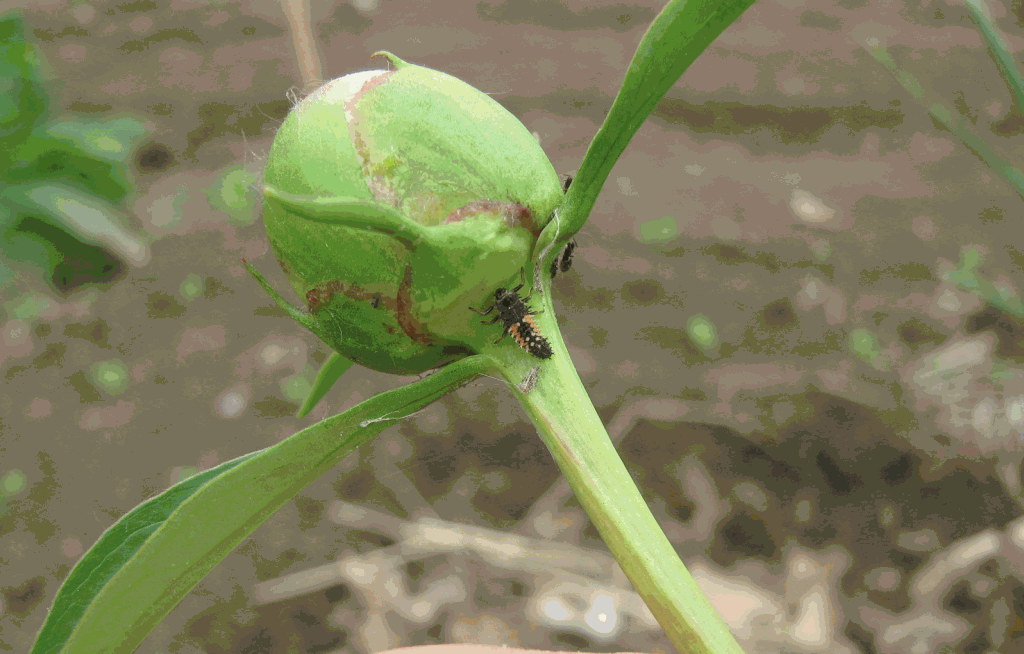
It’s the adult stage of the beetle that we usually see. But, if you look closer sometimes you can find the larval stage. The larvae are not as attractive as the shiny adults. Some people say they look like little alligators.

Ladybug larva on peony bud.

Beginning gardeners get concerned when they see these insects. Not realizing that they are young ladybugs, they reach for the insecticide to kill them, “just in case”.

The larval stage eats as many insect pests as do the adults.  As a matter of fact,they’re out there roaming the garden right now looking for harmful insects to eat.

Keep in mind that insecticides — even organic ones — will kill all insects, both good and bad. So, keep an eye out for these garden helpers before you decide to spray.
May 23, 2013

Acclimate new plants before transplanting into the garden

Filed under: Transplants — bob @ 2:09 pm

Memorial Day weekend is traditionally the time when gardeners buy plants to transplant into their gardens.

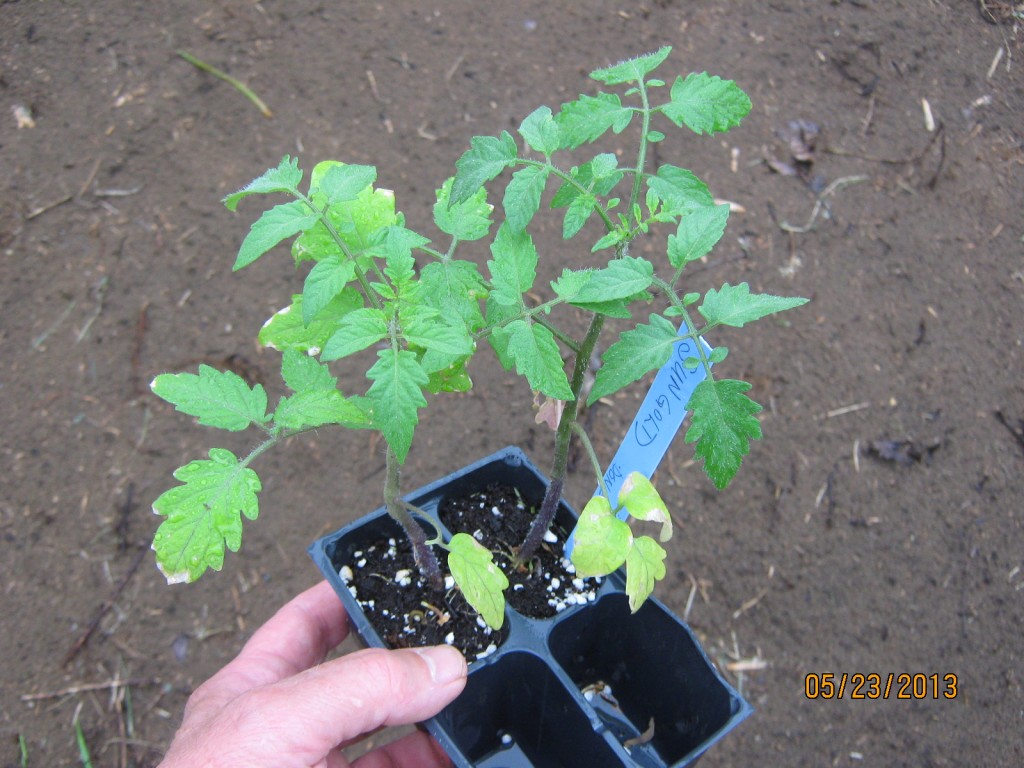
Most plants sold in garden centers, especially the small plants in trays, have spent their whole lives growing under glass in a greenhouse.  As a result, they are quite tender and not always able to handle the conditions outdoors.

The tips of the leaves on these tomato plants show symptoms of sunburn.

You can help your new plants get off to a good start by acclimating them to your garden. The horticultural term for this is “hardening off”.

Here’s what I do with new plants: After bringing them home, I water them and set them in a sheltered area under partial shade for the first day.

On the second day, they get moved to a spot that gets a couple hours of direct sunlight; the rest of the day they’re back in partial shade. Each day after that, I expose the plants to another additional couple of hours of direct sunlight until they get full sun for an entire day. I usually stretch the process out over four to seven days, depending on the condition of the plant.

By the time the conditioning period is done, the plants are tough enough to handle the sun, wind and rain.

If you don’t have days to wait before planting, even a couple days of hardening off is better than nothing.

Bob

May 16, 2013

Remove flower stalks from tulips, hyacinths and daffodils after blooming

Filed under: Flowers — bob @ 9:08 am

Most of our daffodils, tulips and hyacinths are done blooming for the season. That doesn’t mean that we can forget about them.  There’s still some work left to be done that will greatly improve our chances for flowers next year.

Right now the plants are beginning  to form seed pods at the end of the flower stalks — where the old flower is attached. This is normally what happens when the plants are left to fend for themselves.

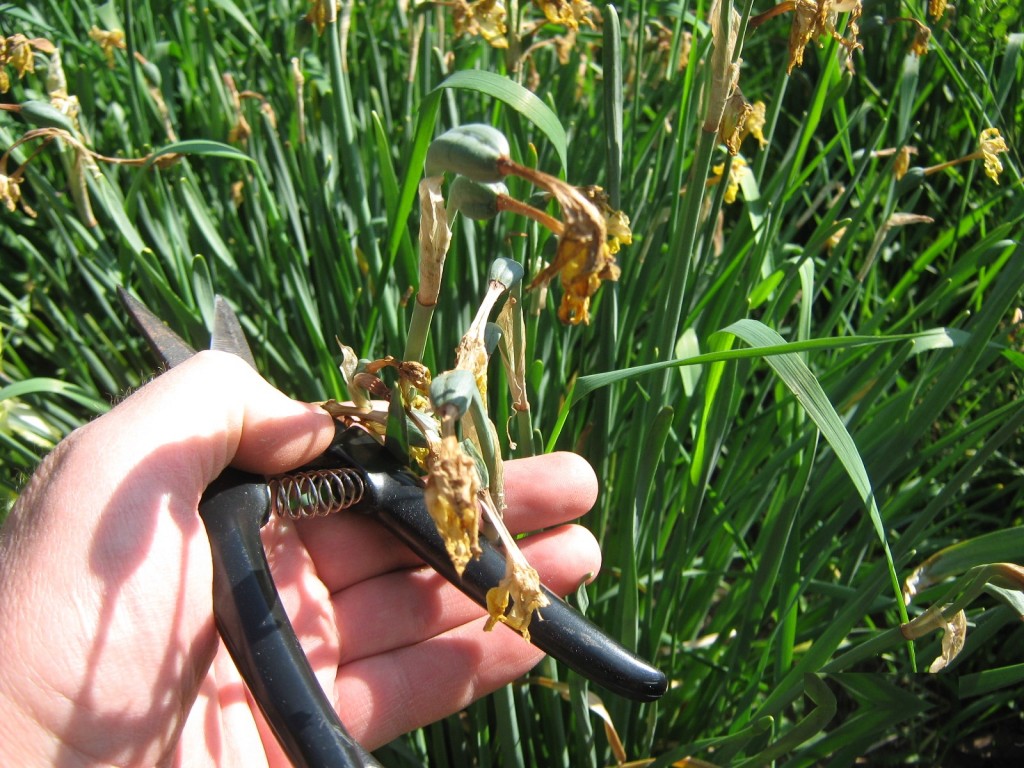
The seed pods are formed on the ends of the flower stalk where the old flower is attached.

The problem with seed pods is they take too much energy to grow and we don’t need seeds to grow tulips, hyacinths or daffodils. To conserve that wasted energy, we need to remove those flower stalks as soon as possible after the flowers have faded. I try to cut the flower stalks as close to the base of the plant as I can being careful not to cut off the leaves. Plants need their leaves to produce energy for growth, reproduction and other plant functions.

Since I don’t plant as many bulbs now as I did in past years, this job for me is not as demanding as it used to be. This year I only have a few hundred stalks to cut.

Bob

May 15, 2013

Common mistake when sowing carrot seeds

Filed under: Seeds,Vegetables — bob @ 9:42 am

One common mistake beginning gardeners make when sowing carrot seeds is planting them too deep.

The seed packages say something like “place the seeds in a furrow, cover with soil and press the soil down firmly”. This makes it sound like you have to dig a small trench and heap garden soil over the top.

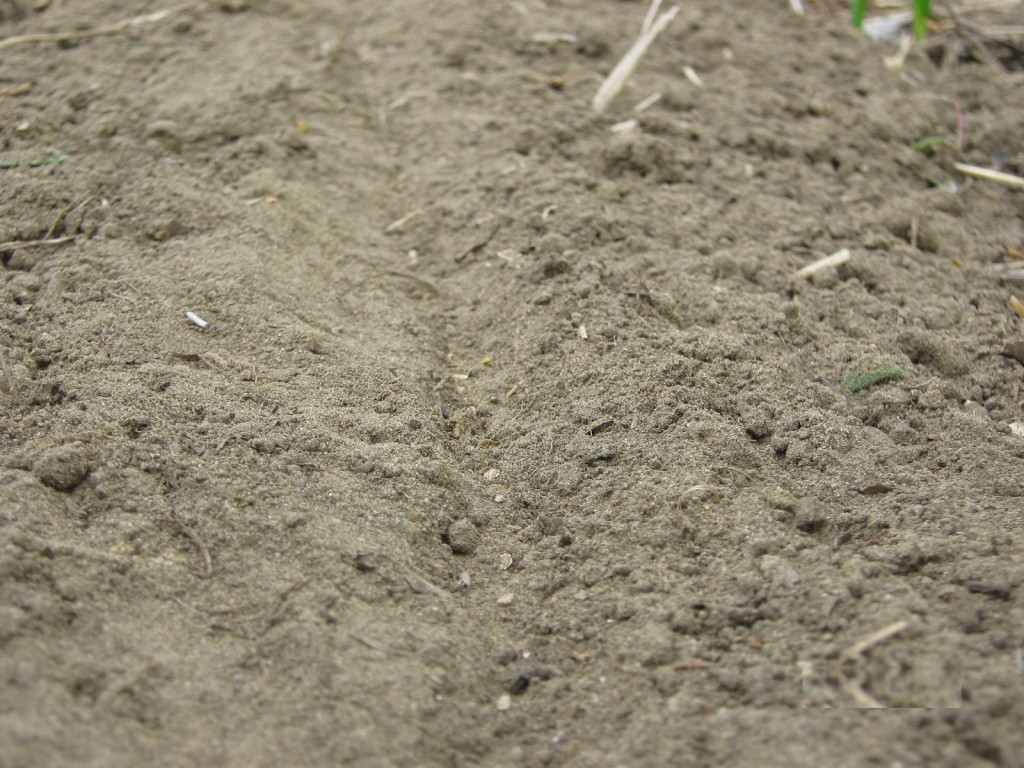
Actually, carrot seeds only need a shallow depression about one-quarter of an inch deep or so.

Cover them with a small amount of loose garden soil. Mixing some sand with the soil you use for covering will help keep it from crusting over. Crusted soil will hurt seed germination. Finally press the soil down firmly enough so the seed has good contact with the soil particles.

A shallow furrow for carrot seeds should be no deeper than 1/4 to 1/2 inch deep.

Carrot seeds take anywhere from one to two weeks to sprout.

Bob

May 9, 2013

Gypsy moths hatch

Filed under: Insects — bob @ 9:29 am

Those of you who are regular readers of this blog may remember a post from last fall. It was about a gypsy moth caught in the act of laying eggs. I decided not to destroy that eggs mass.

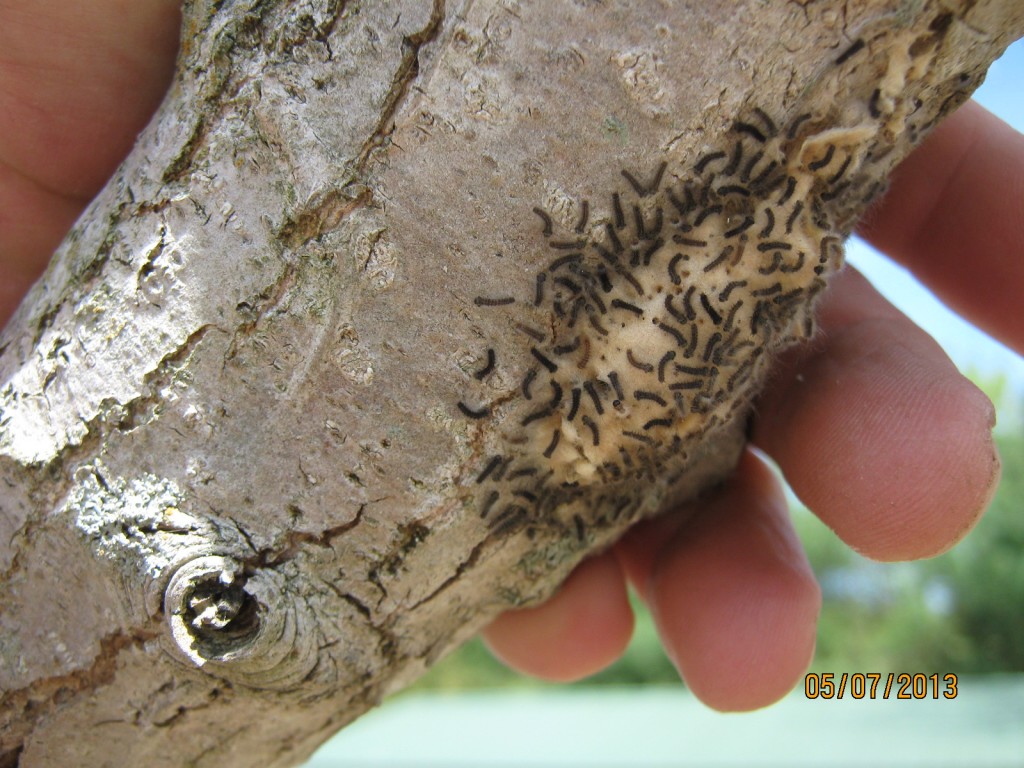
Early this week, the eggs hatched. In the photo you can see how small and seemingly helpless they are at this stage of their life. They are less than one-sixteenth of an inch long. A single rain drop could probably crush a baby caterpillar if it landed right on it. Or, at the very least, wash it from the tree branch.

Over a hundred gypsy moth caterpillars hatched from this one egg mass.

So how do these small caterpillars survive our spring rain storms?

Looking at the egg mass, I think I figured it out. The mama gypsy moth lays her eggs on the underside of a branch where the baby caterpillars are well protected from direct rainfall. I’m sure many get washed away but many survive to live another day.

This is also the stage at which they are most vulnerable to insecticides. You can imagine it wouldn’t take much spray to kill these pests now compared to later in the season  when they have grown into full-sized caterpillars.

Bob

Older Posts »

Powered by WordPress