The other day while I was relaxing on our front porch, I had a chance to watch a female robin work on building her nest. She was collecting mud and other muddy debris from the edge of a water puddle to use to cement her nest materials together. She’d look around for the right bit of mud and scoop up a big mouthful then fly off to her nest in a tree on the other side of of our yard. She’d work with the mud and when was done with it, she’d fly back to the puddle for more.
Watching that robin reminded me that nearly all songbirds are in the process of making their nests right now. Although they are perfectly fine on their own, we can help make it easier for them by providing natural nesting material.
Different species of birds use different materials for their nests. It’s usually a specific size of material that they are looking for. Some larger species may use primarily sticks and twigs, other birds may prefer pieces of grass. Many species line their nest with soft material.
Birds will collect all kinds material for their nest. The latest research however suggests that made-made materials such as cloth, string, or drier lint among other things, may cause harm to hatchlings or in some cases even adult birds. So what can we do to help?
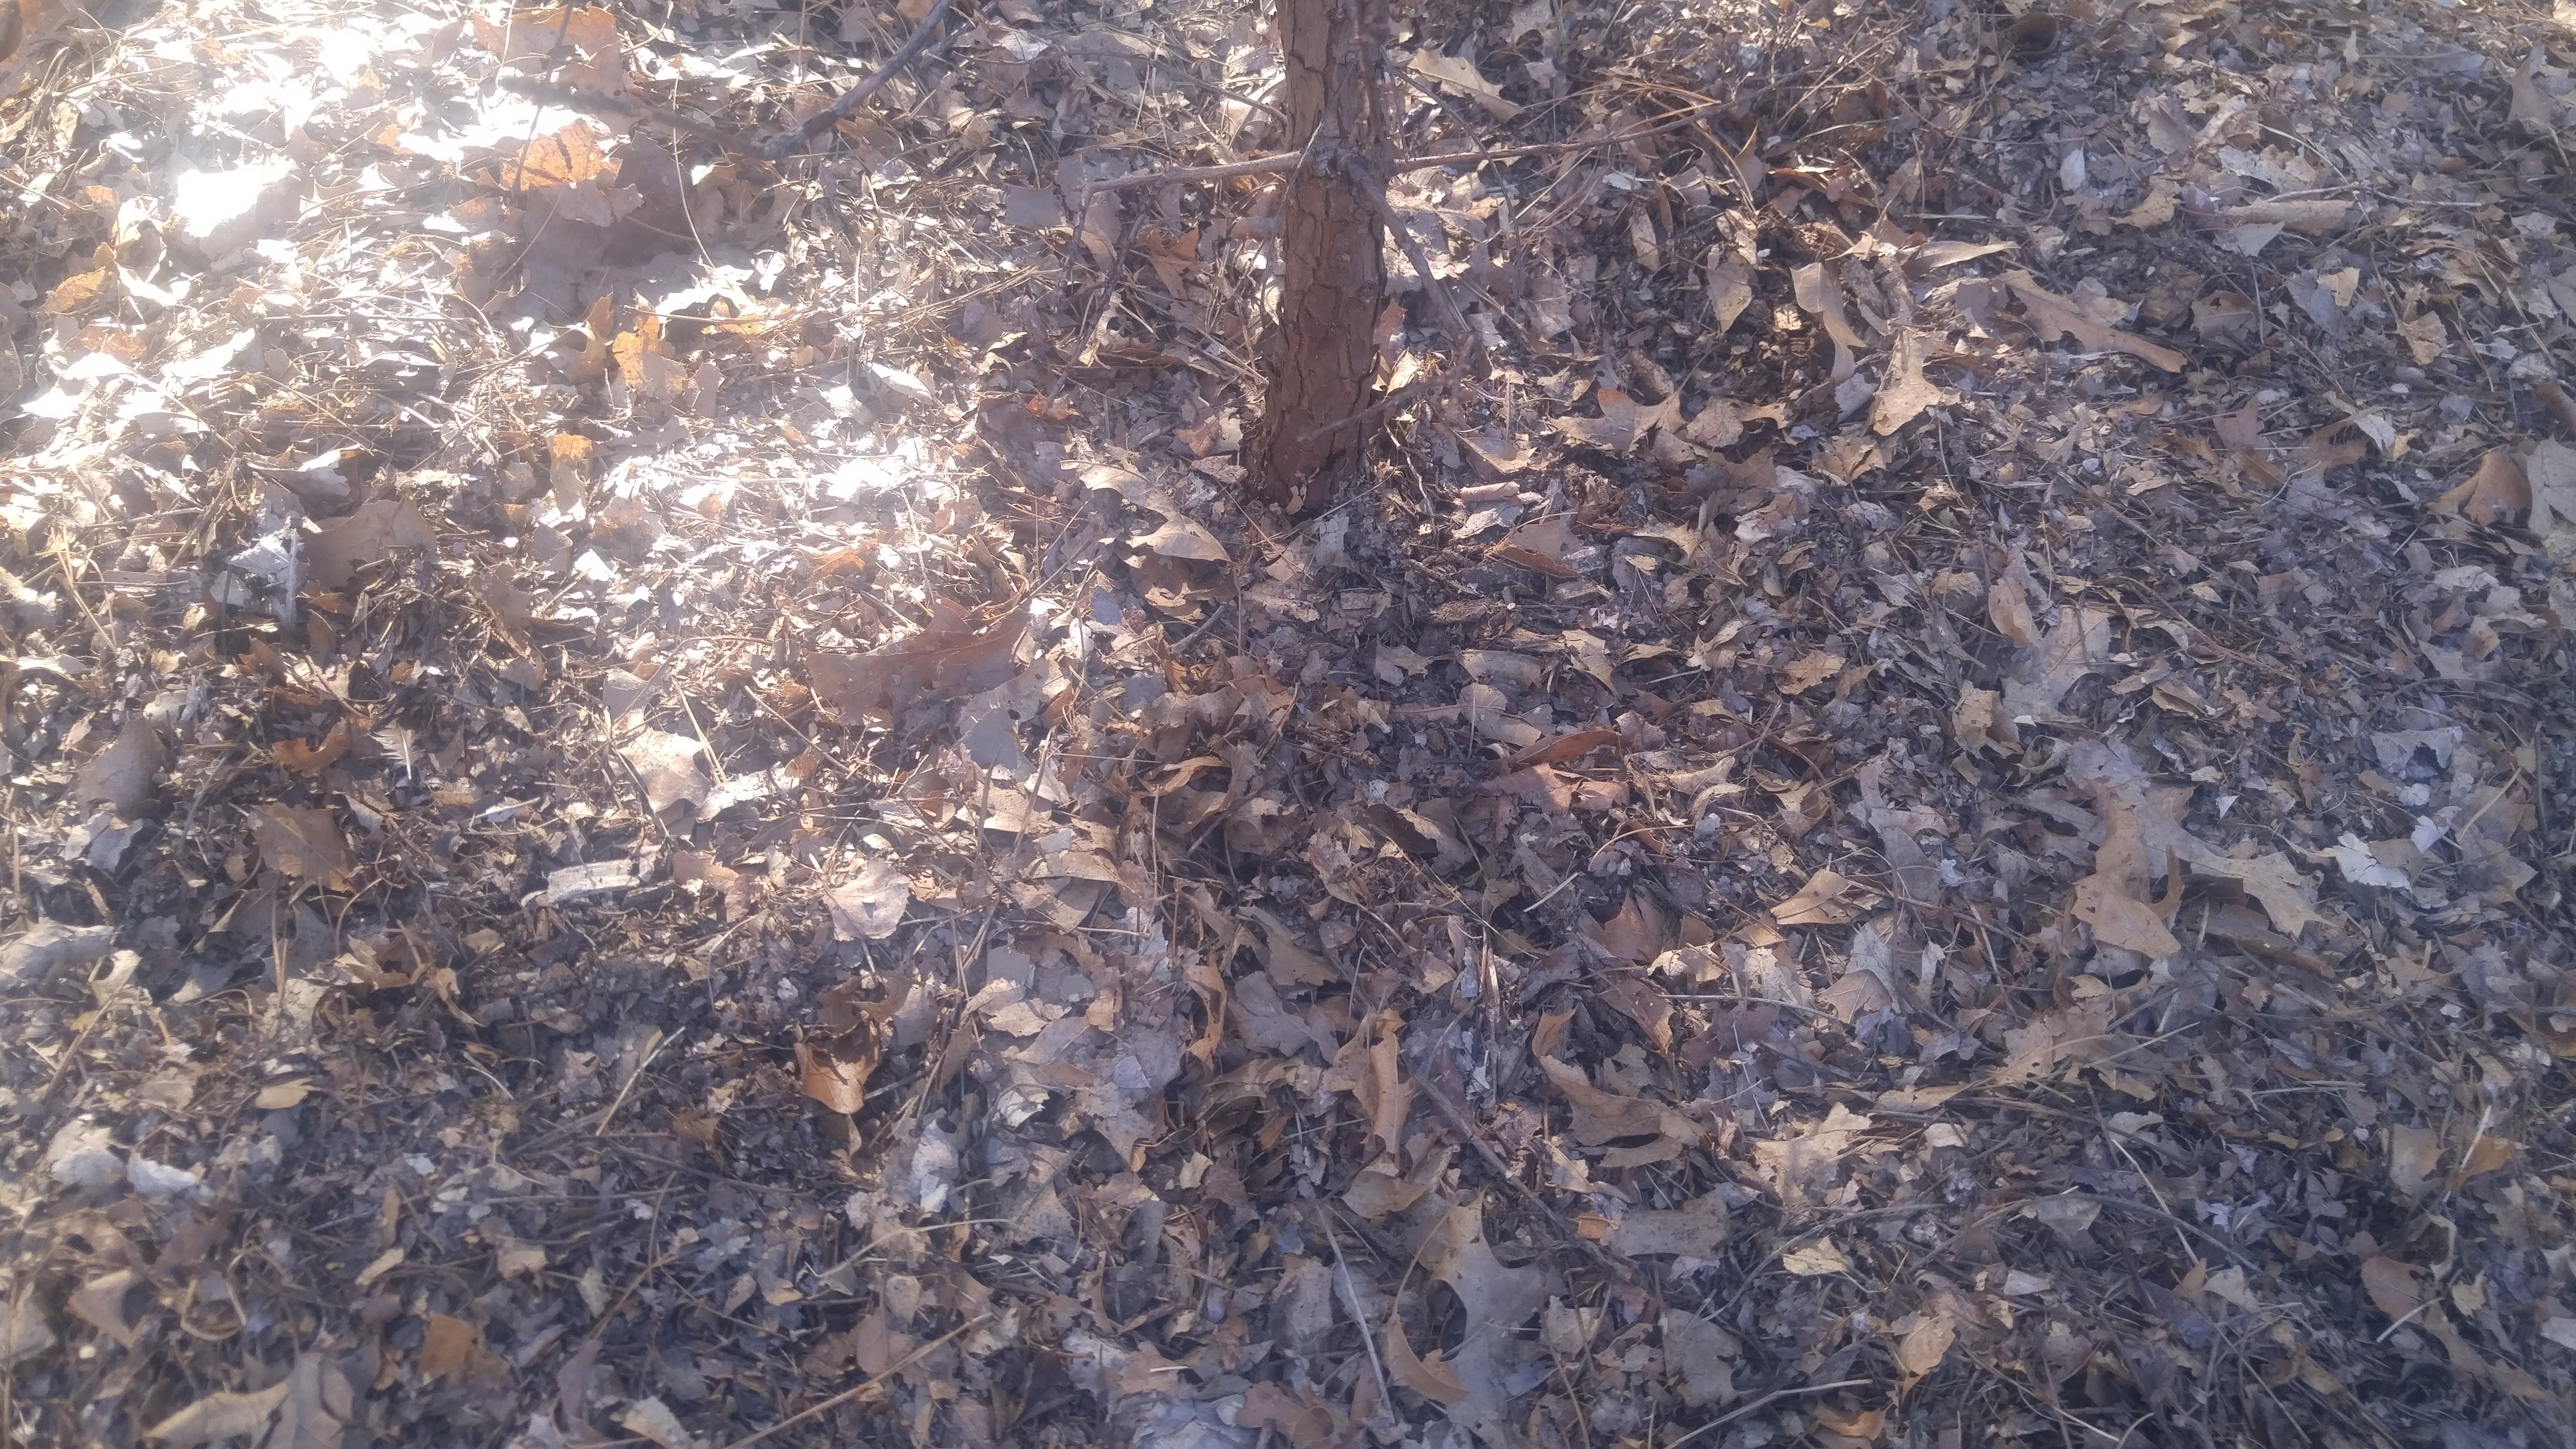
The easiest the thing is to let a corner of your yard go wild. Encourage helpful plants such as shrubs that provide small twigs; milkweed and thistle that produce down for nest lining; grapevines have stringy bark that birds remove in strips for their nests; pine needles are a favorite for many birds; lengths of fine grass are a very attractive building material.
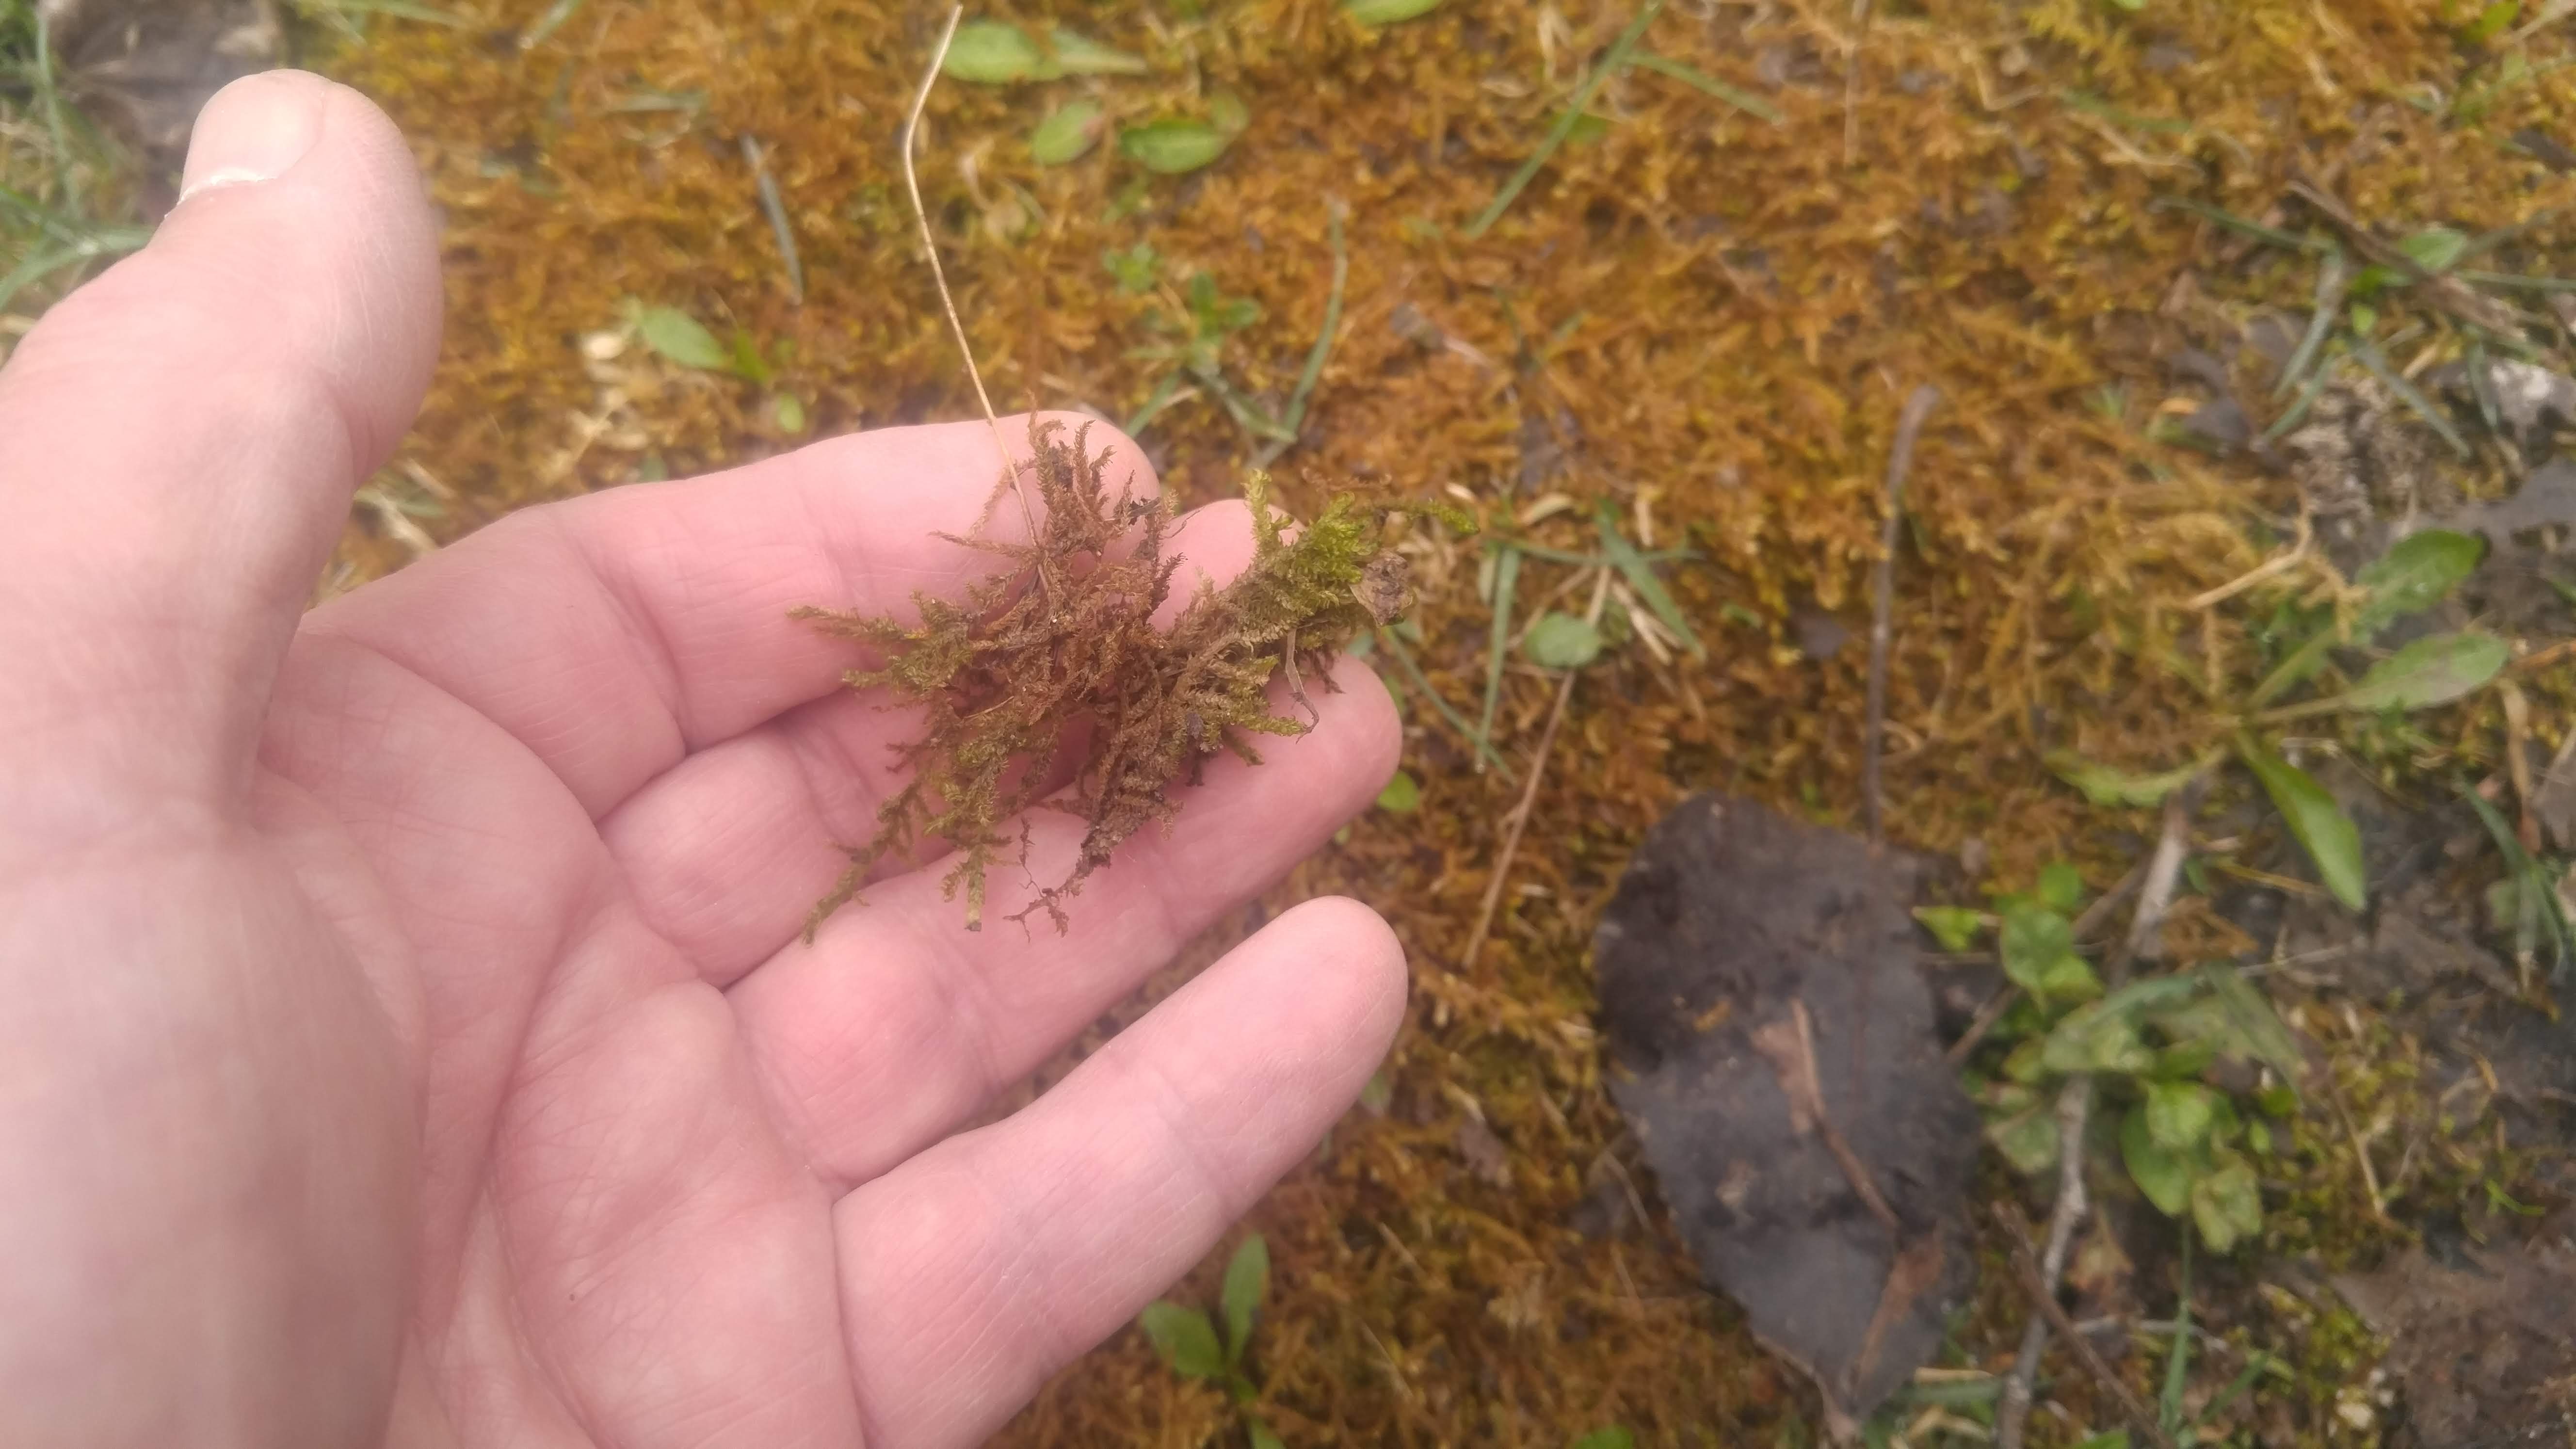
Many bird species like to line their nests with moss.
Invertebrates such as spiders will set up shop in your wild area and begin to spin webs. Those webs in turn will be used by hummingbirds as nest building materials.
Consider leaving a bare patch of soil in your natural area that you can soak with water to make mud for birds to use.
As an alternative to having a natural wild area in your otherwise manicured lawn, you can collect the aforementioned material yourself and leave it in a spot where birds can easily get at it.
Many species of birds lay more that one clutch of eggs through the summer therefore need nest building material on and off during the summer.
Although birds will sometimes cause a gardener problems by damaging fruit, the good they do by eating harmful insects outweighs the bad. Plus, it’s a lot of fun watching birds as they work on building their nests.
Bob