Holidays for horticulturists usually have two dates. First, there is the actual date that the holiday occurs. The second date is the time when plants associated with that holiday need to be started.
Greenhouse people are beginning to make preparations for Christmas now, in very early spring .
I’m sure you’ve seen giant-sized poinsettias in full bloom during the Christmas season. Did you ever wonder how they managed to get them so big? The secrete is to keep the same poinsettia plants growing year after year. Each year the plants get bigger and produce more colorful bracts.
If you have a poinsettia that is still alive from Christmas, you can renew it and have a larger more colorful plant for next Christmas.
Start by pinching off all of the leaves and bracts from the plant. Many of them may have already dropped off anyway by now. Next cut the main stem or stems to about six to eight inches above the soil surface. Remove the plant from its pot.
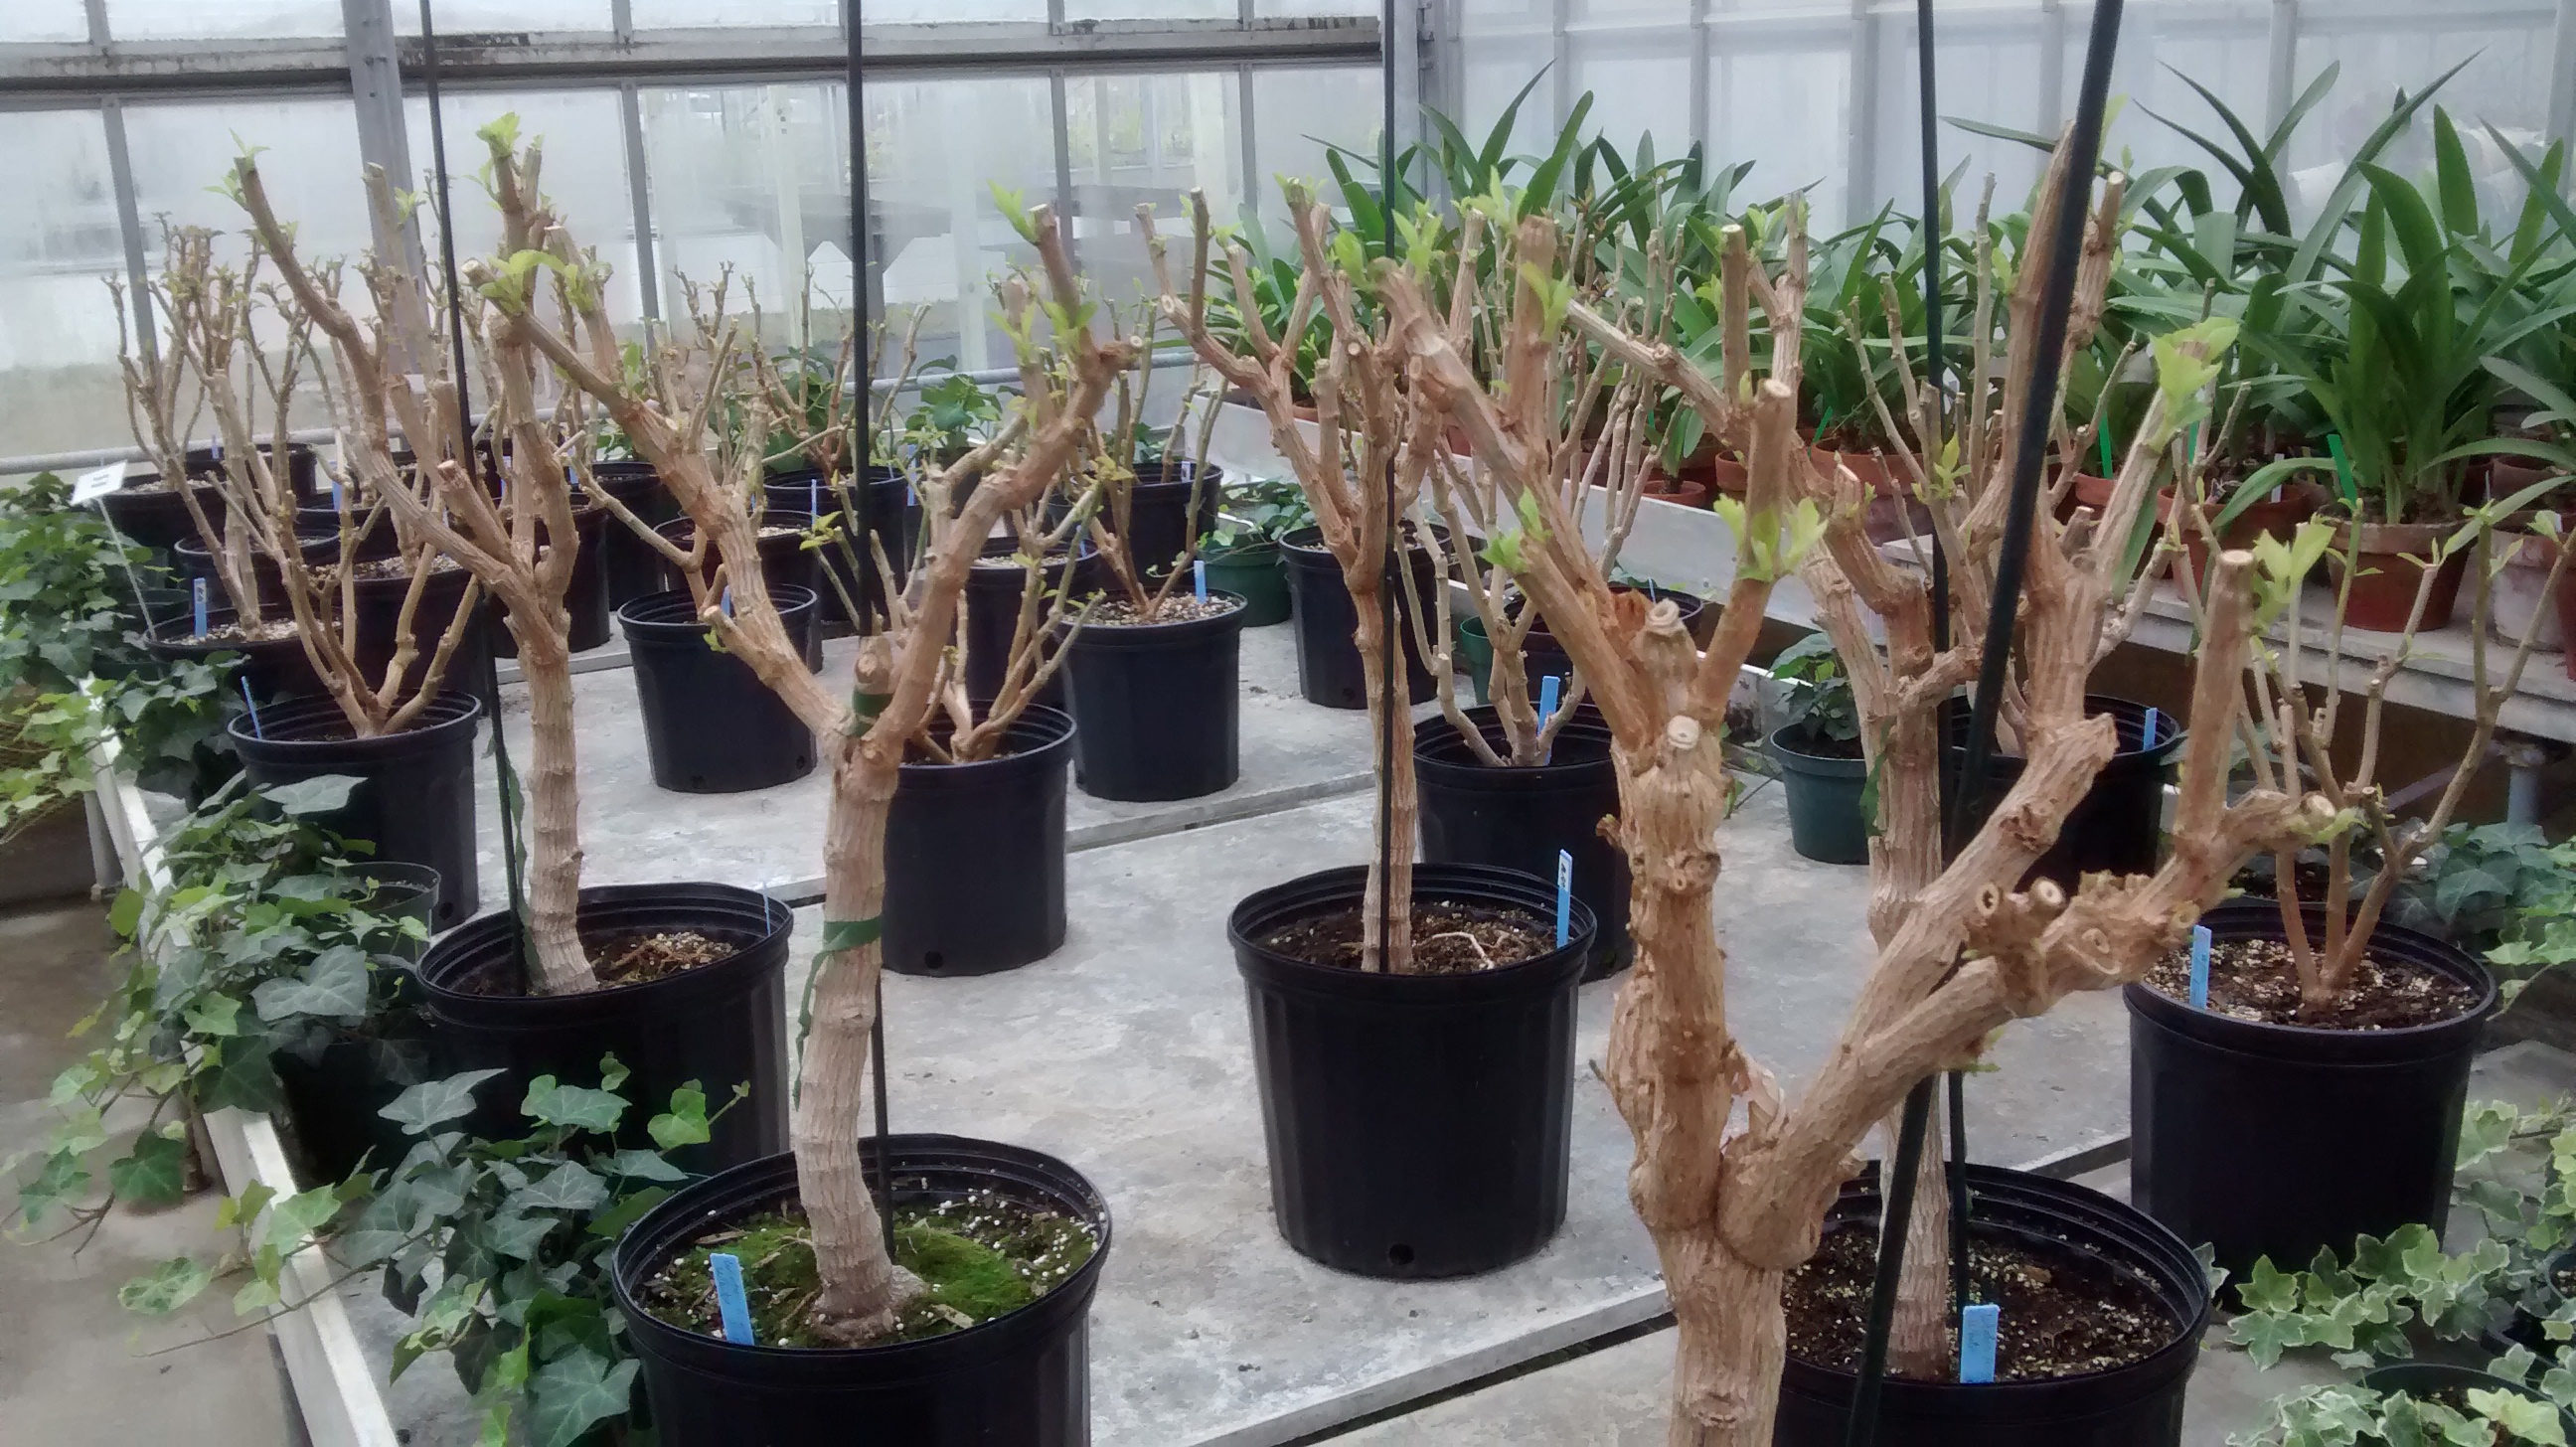
Behind the scenes: A bench of pruned poinsettias in Greenhouse III at University of Michigan Matthaei Botanical Gardens. They are about five years old.
It’s best to carefully rinse the old soil off of the roots and re-pot the plant using new potting mix. Removing the old soil is not absolutely necessary though, I’ve had very good results by simply leaving the existing soil then re-potting into a larger pot. What is necessary however, is using a loose commercial potting mix, not soil from the garden. Poinsettias need loose soil, no ifs ands or buts.
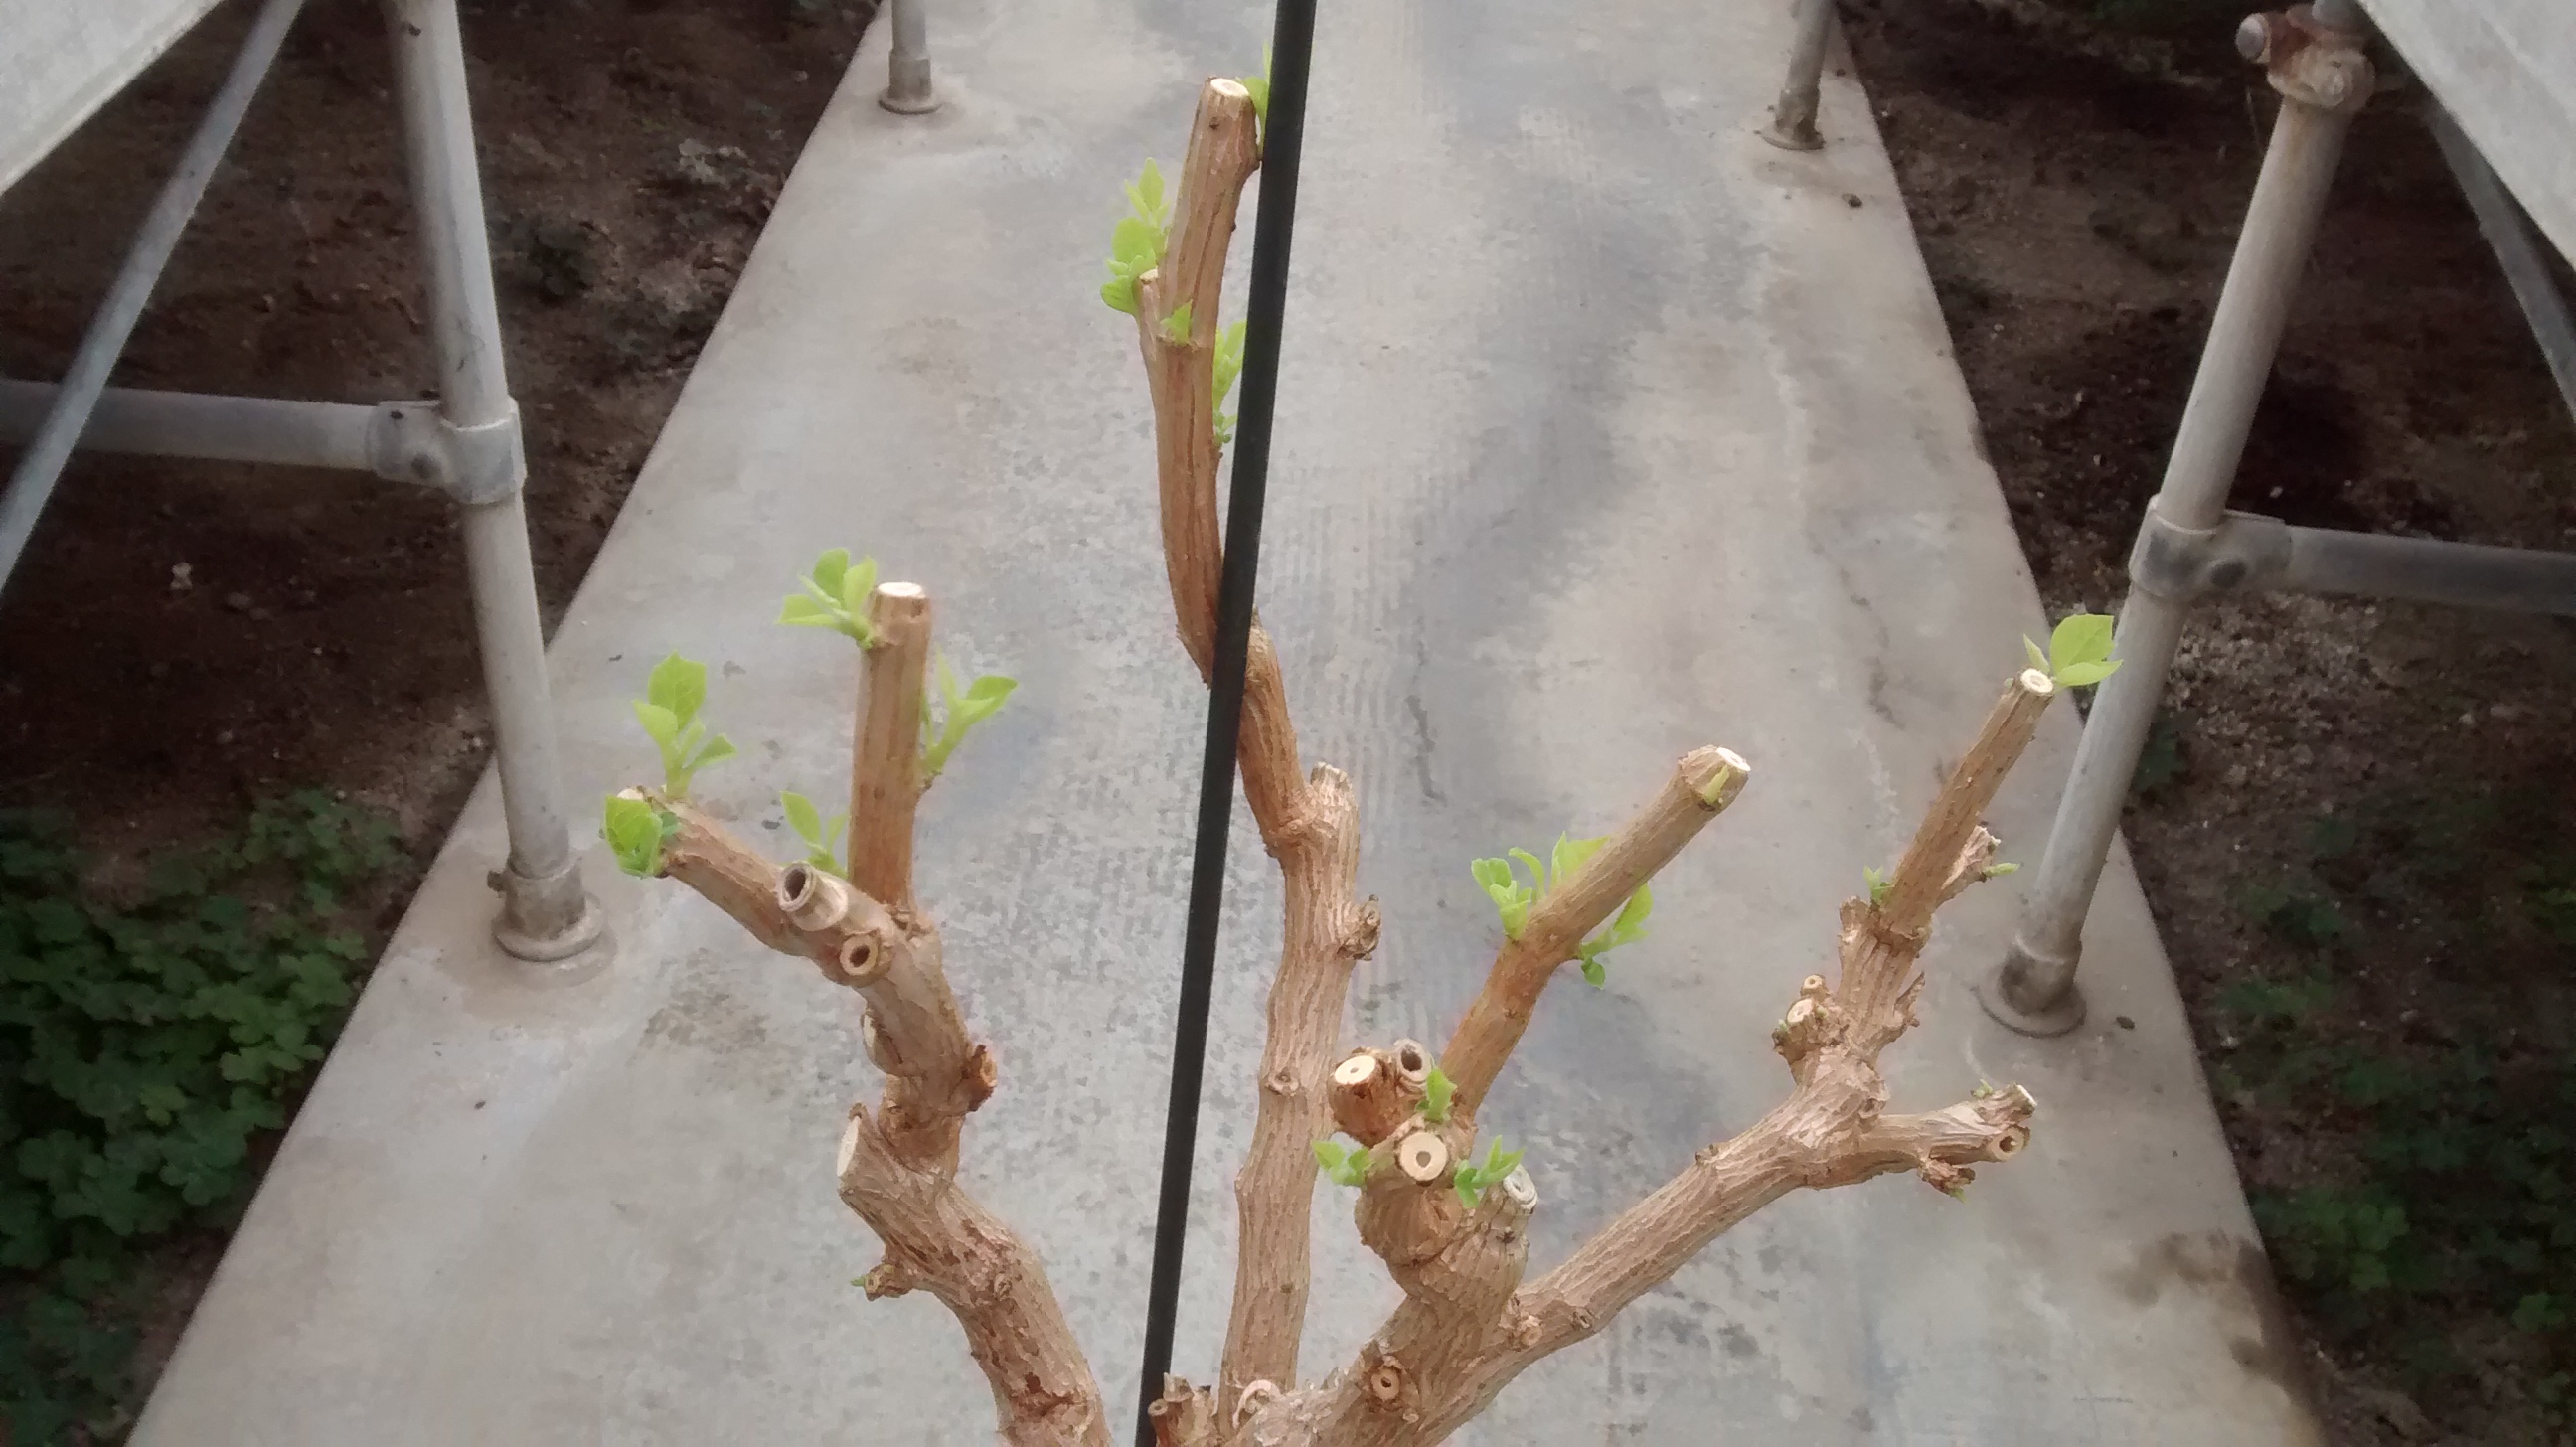
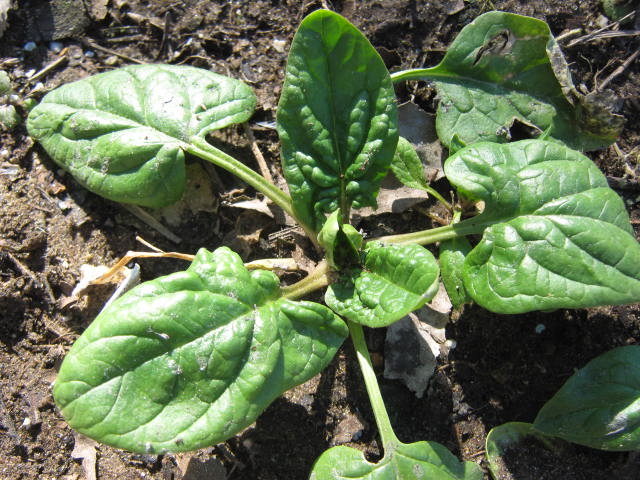
This poinsettia is making good growth after being drastically cut back.
Then water thoroughly — soak the pot with water and let it completely drain out. Never let poinsettias sit in the water that collects in the pot saucer, they just can’t tolerate wet feet.
Put it in the brightest area you have to encourage it to grow. Once you see shoots developing, feed it with a good house plant fertilizer about once a month.
Later, after the danger of frost has passed, place the plant outside in a bright spot that has dappled shade during the hottest part of the day.
As the plant grows through the summer, you can pinch back shoots to help keep a symmetrical shape. Pinching will also stimulate more branching giving the plant a more compact and bushy look.
With some care and luck you’ll have a stunning plant to show off next Christmas.
Bob