The almost daily rain we had this spring really put a damper on fruit tree spraying. Pesticides work best if they are applied at least 24 hours before a rain. When a rain happens before the next spray, the effectiveness is reduced as the material begins to wash off. Even a light rain can wash off a percentage of the spray. Heavy rain can remove almost all of the material allowing diseases and insects to get a foothold. So you can see how difficult is was spraying fruit trees this spring.
But now it looks like the weather has finally straightened out allowing us to get back on a regular pest control schedule. It’s too late to do anything about pests that emerged early but summer spraying can control later emerging pests like apple maggot, codling moth, peach tree borer and others.
Backyard fruit growers often use an all purpose fruit tree spray mix that contains a combination of insecticides and fungicides to control a wide variety of pests. It’s much more convenient to use and store a single container than a shelfful of assorted specialty materials.
All purpose sprays are applied as often as every week or two, or as few as twice a season, depending on the formulation used.
There’s a few things to keep in mind when mixing and applying pest control chemicals. These things are always printed on the label but in my experience, I find that not everyone reads all of the fine print. A common mixing ratio is one or two tablespoons of product per gallon of water — that’s not very much. It’s tempting to pour in extra because it looks like that can’t possibly be a big enough dose to work, but it really is. Some people think they can approximate the ratio by pouring a quick dash from the bottle into their sprayer tank. I can guarantee that will always result in a much more concentrated solution than necessary. Always take the time to measure your materials carefully.
Adjust your sprayer’s nozzle to the most efficient spray consistency. A fine spray is more likely to be atomized, like perfume from an old-fashioned perfume bottle, causing it to be blown about even in a light breeze. You are more likely to inhale finely suspended materials in that case. On the other hand, a very coarse spray will not give you consistent coverage resulting in too much material in one spot and not enough on another.
Wait until the air is calm before spraying to avoid spray going all over the place except where it’s needed, including in your face. Early morning is best because the air is usually still and pests are at rest and have not started flying around yet.
Spray all surfaces of the tree leaves, don’t just make a spray over the top of the tree. Pests often spend time on the underside of leaves. And spray deep into the center of the tree. One major reason for pruning fruit trees is to allow sprays to penetrate into the tree without a lot of unnecessary leaf growth getting in the way.
To get the most protection for your tree, apply enough material until all leaf and stem surfaces are completely covered with adequate amounts of material. With all purpose sprays, that means until the spray just begins to drip from the tree.
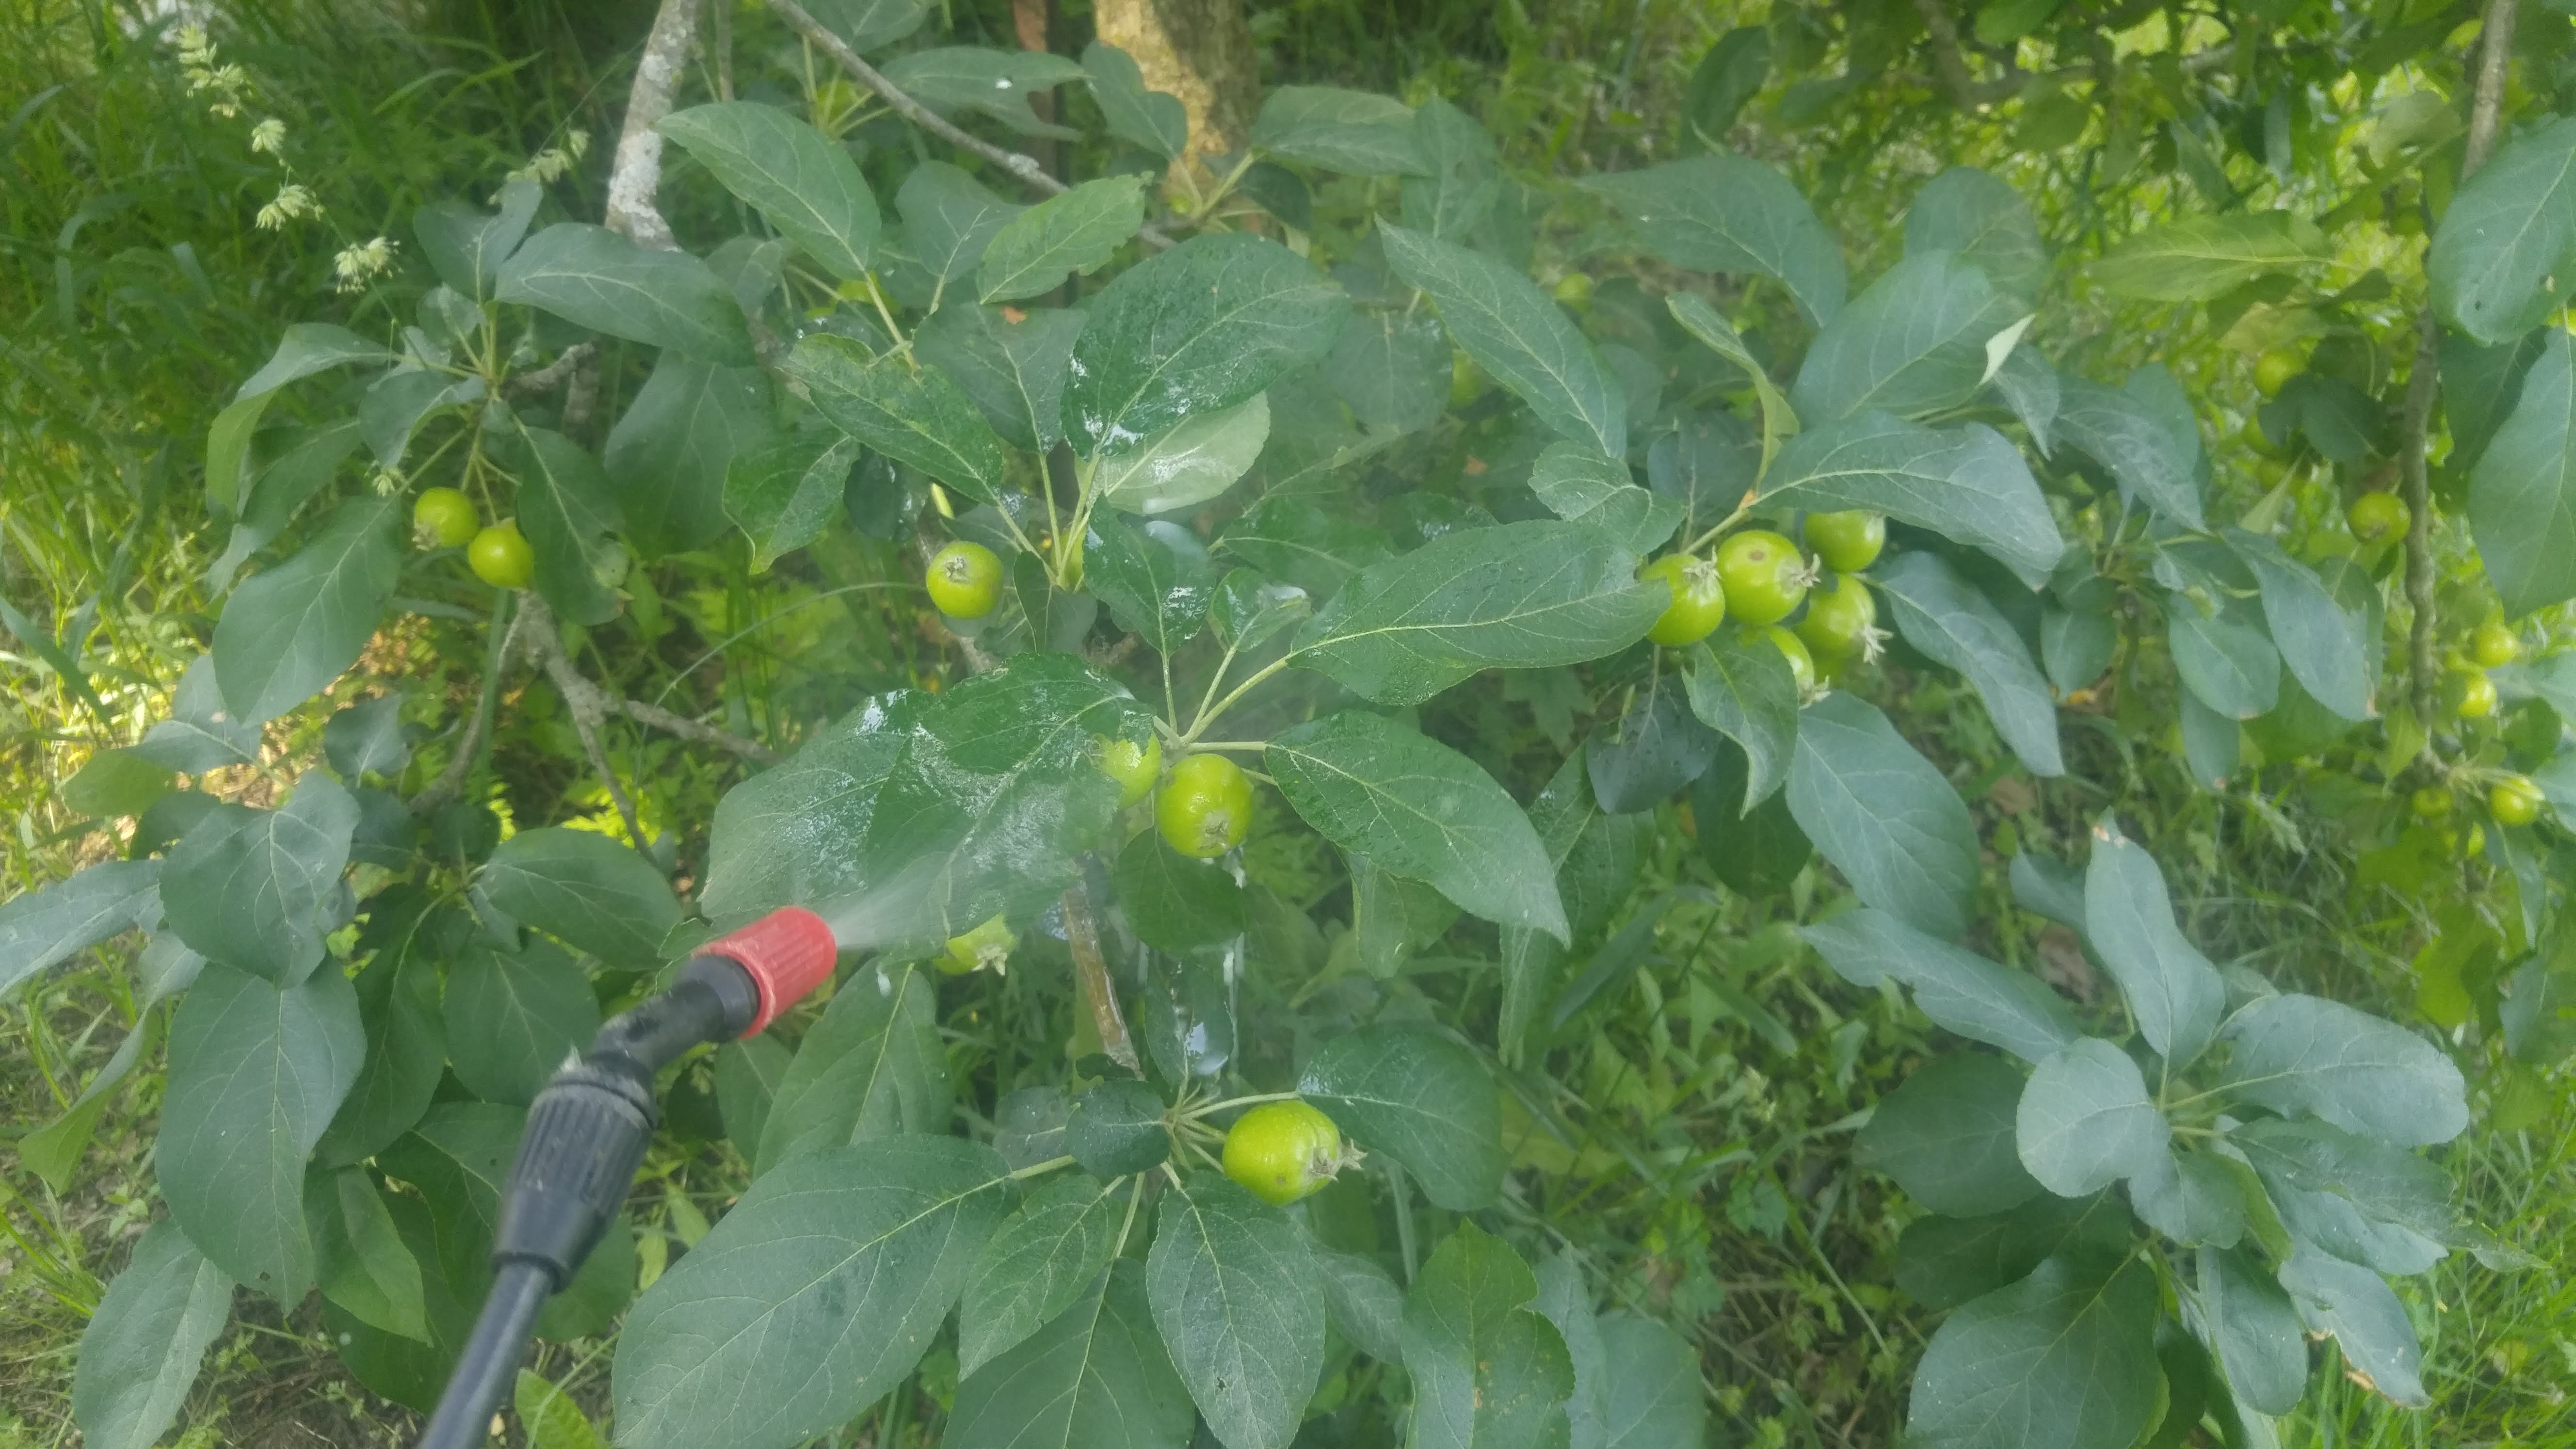
Spray all surfaces to control hidden pests.
I always try to mix just enough spray so that none is left over. Any small amount that I have left over gets applied evenly over my trees until it’s gone. Both conventional and organic chemicals will lose their oomph if left in the sprayer tank for any length of time and can corrode, plug up or otherwise damage sprayer parts. Always rinse out your spray equipment right after each use.
Bob