The recent ice storms caused some damage on my trees and shrubs. It wasn’t as bad as I thought it would be considering we had about a quarter of an inch of ice accumulation. I’ll need to do some extra pruning this spring to take out broken branches and that made me think about my pruning tools.
I got out my box of pruners and took a look at the ones I use the most for pruning outdoors. They are in pretty good shape but they do need some sharpening.
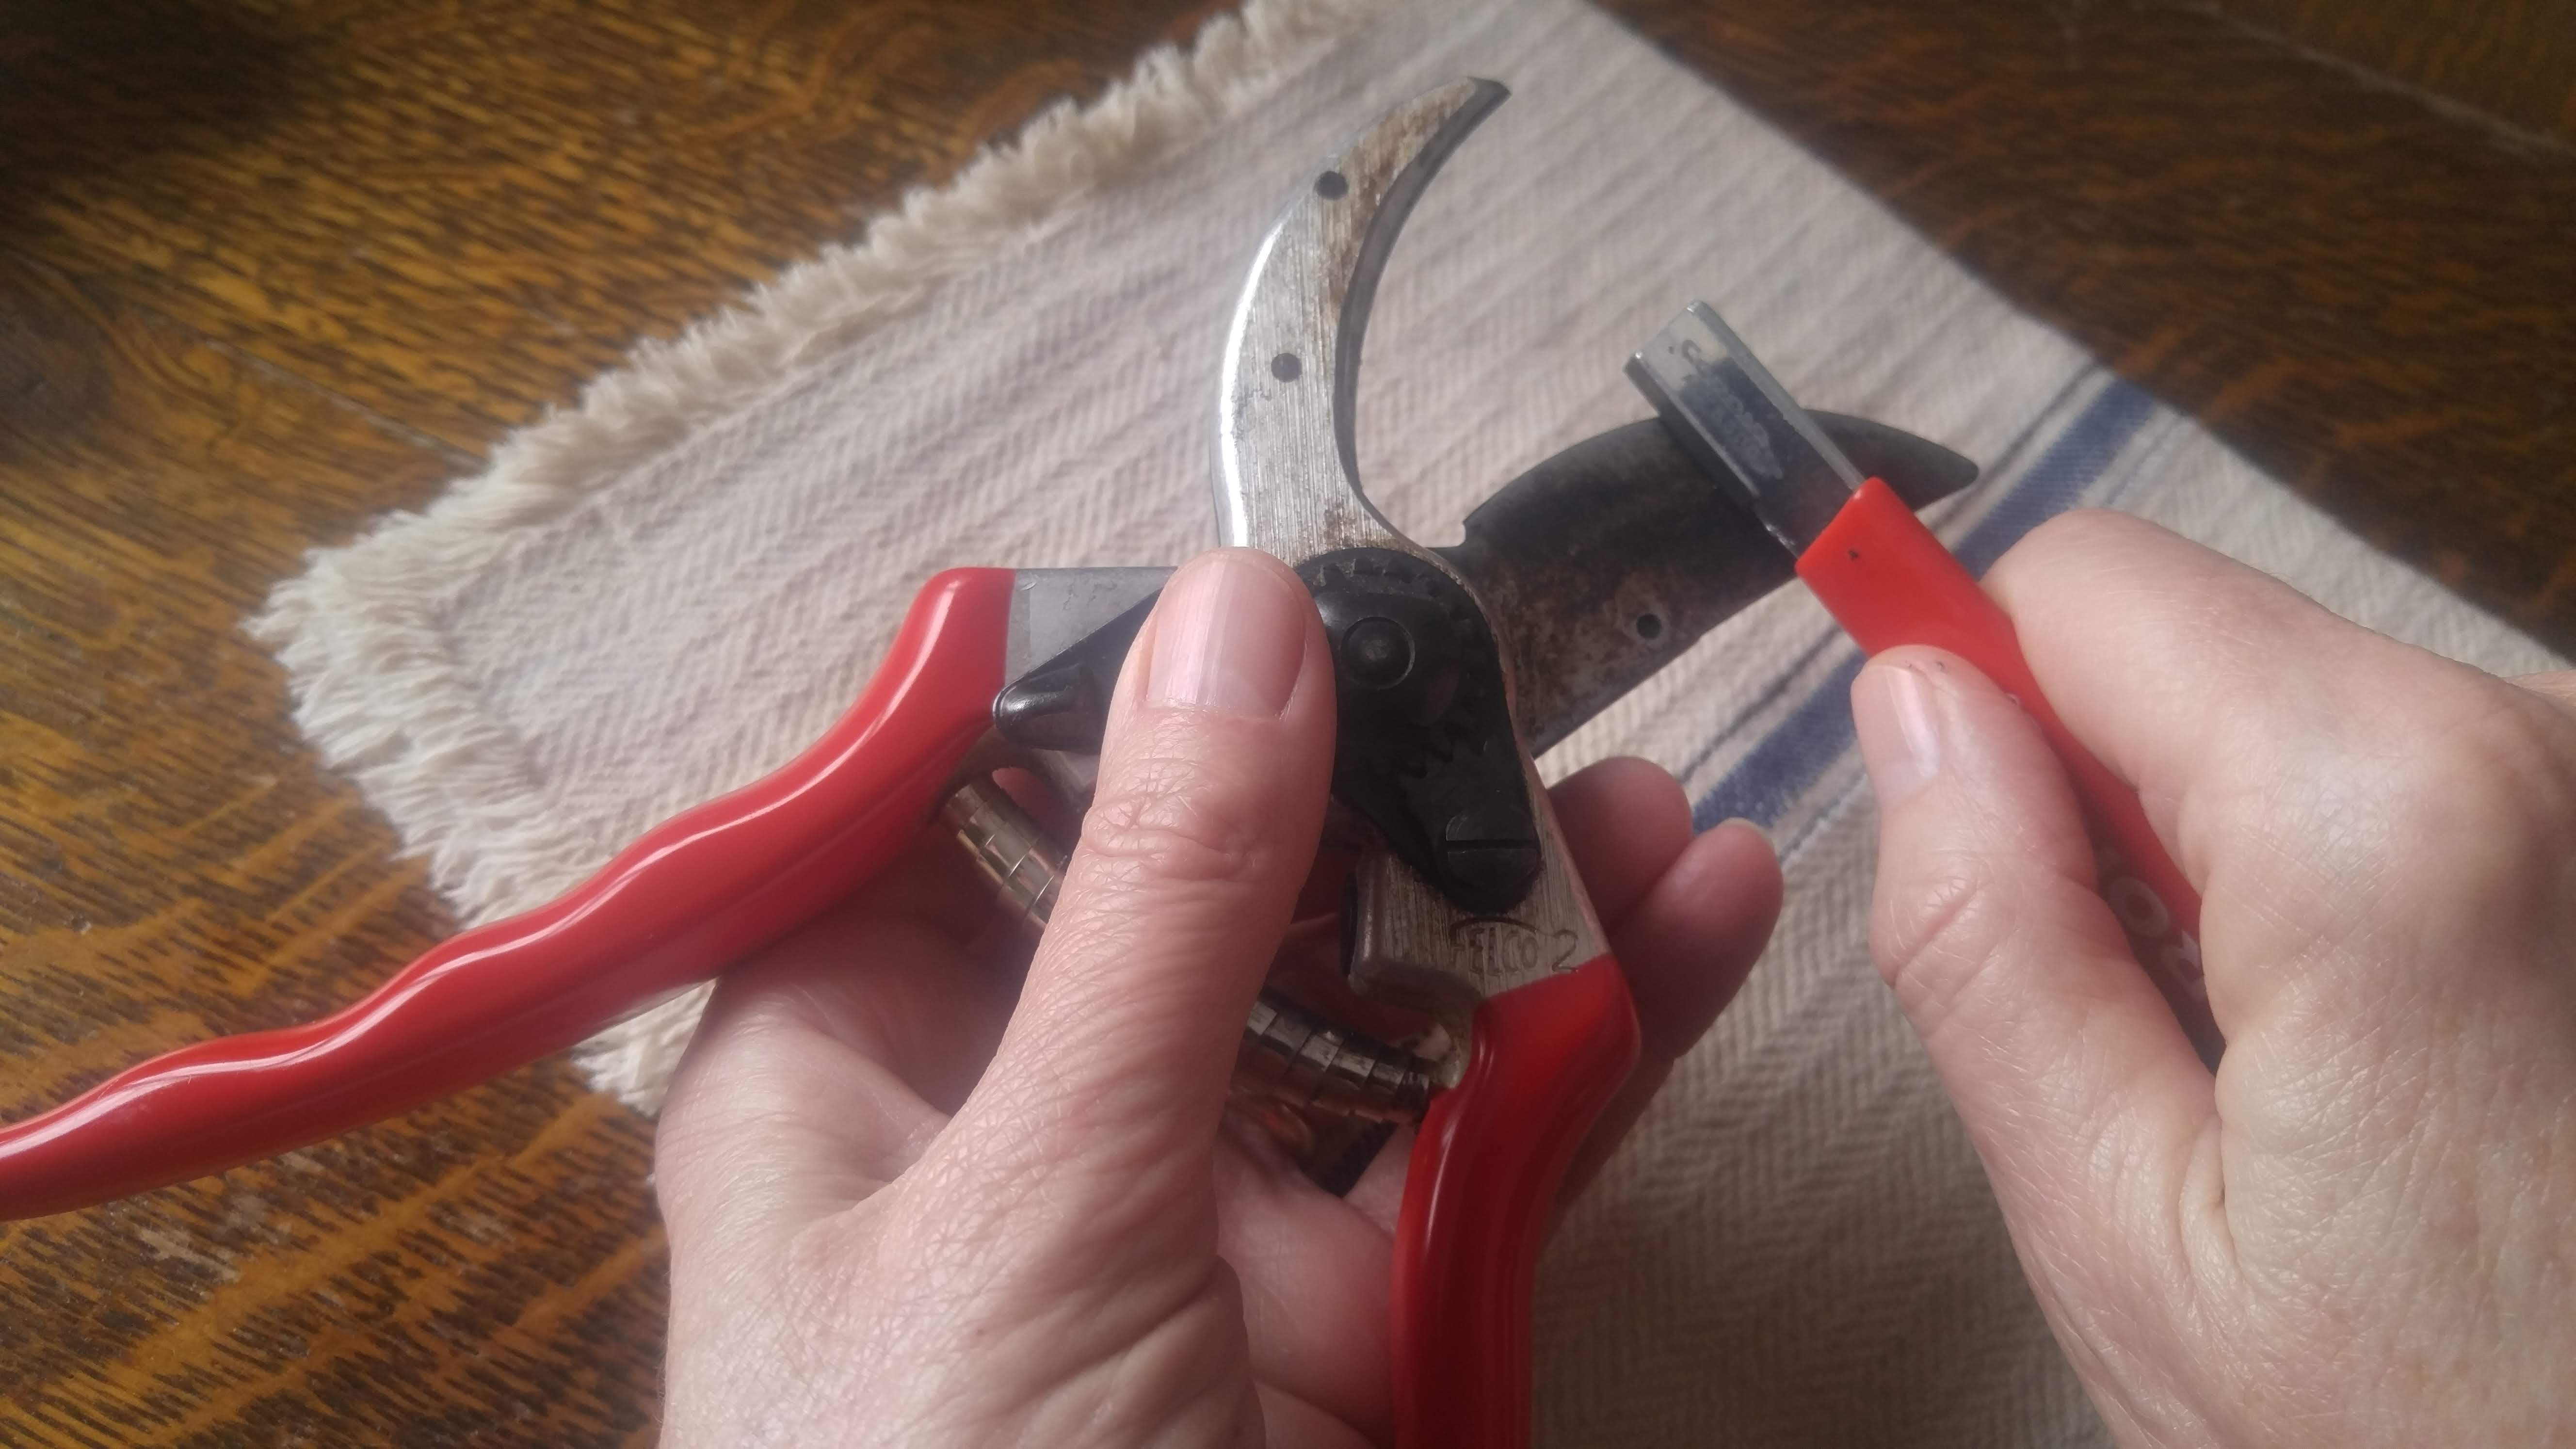
Years ago I bought a special sharpening tool designed for pruners from Corona Tools. It’s about about five inches long with a strip of carbide material brazed onto one end. The carbide is super hard so it can sharpen steel blades without ever getting worn out.
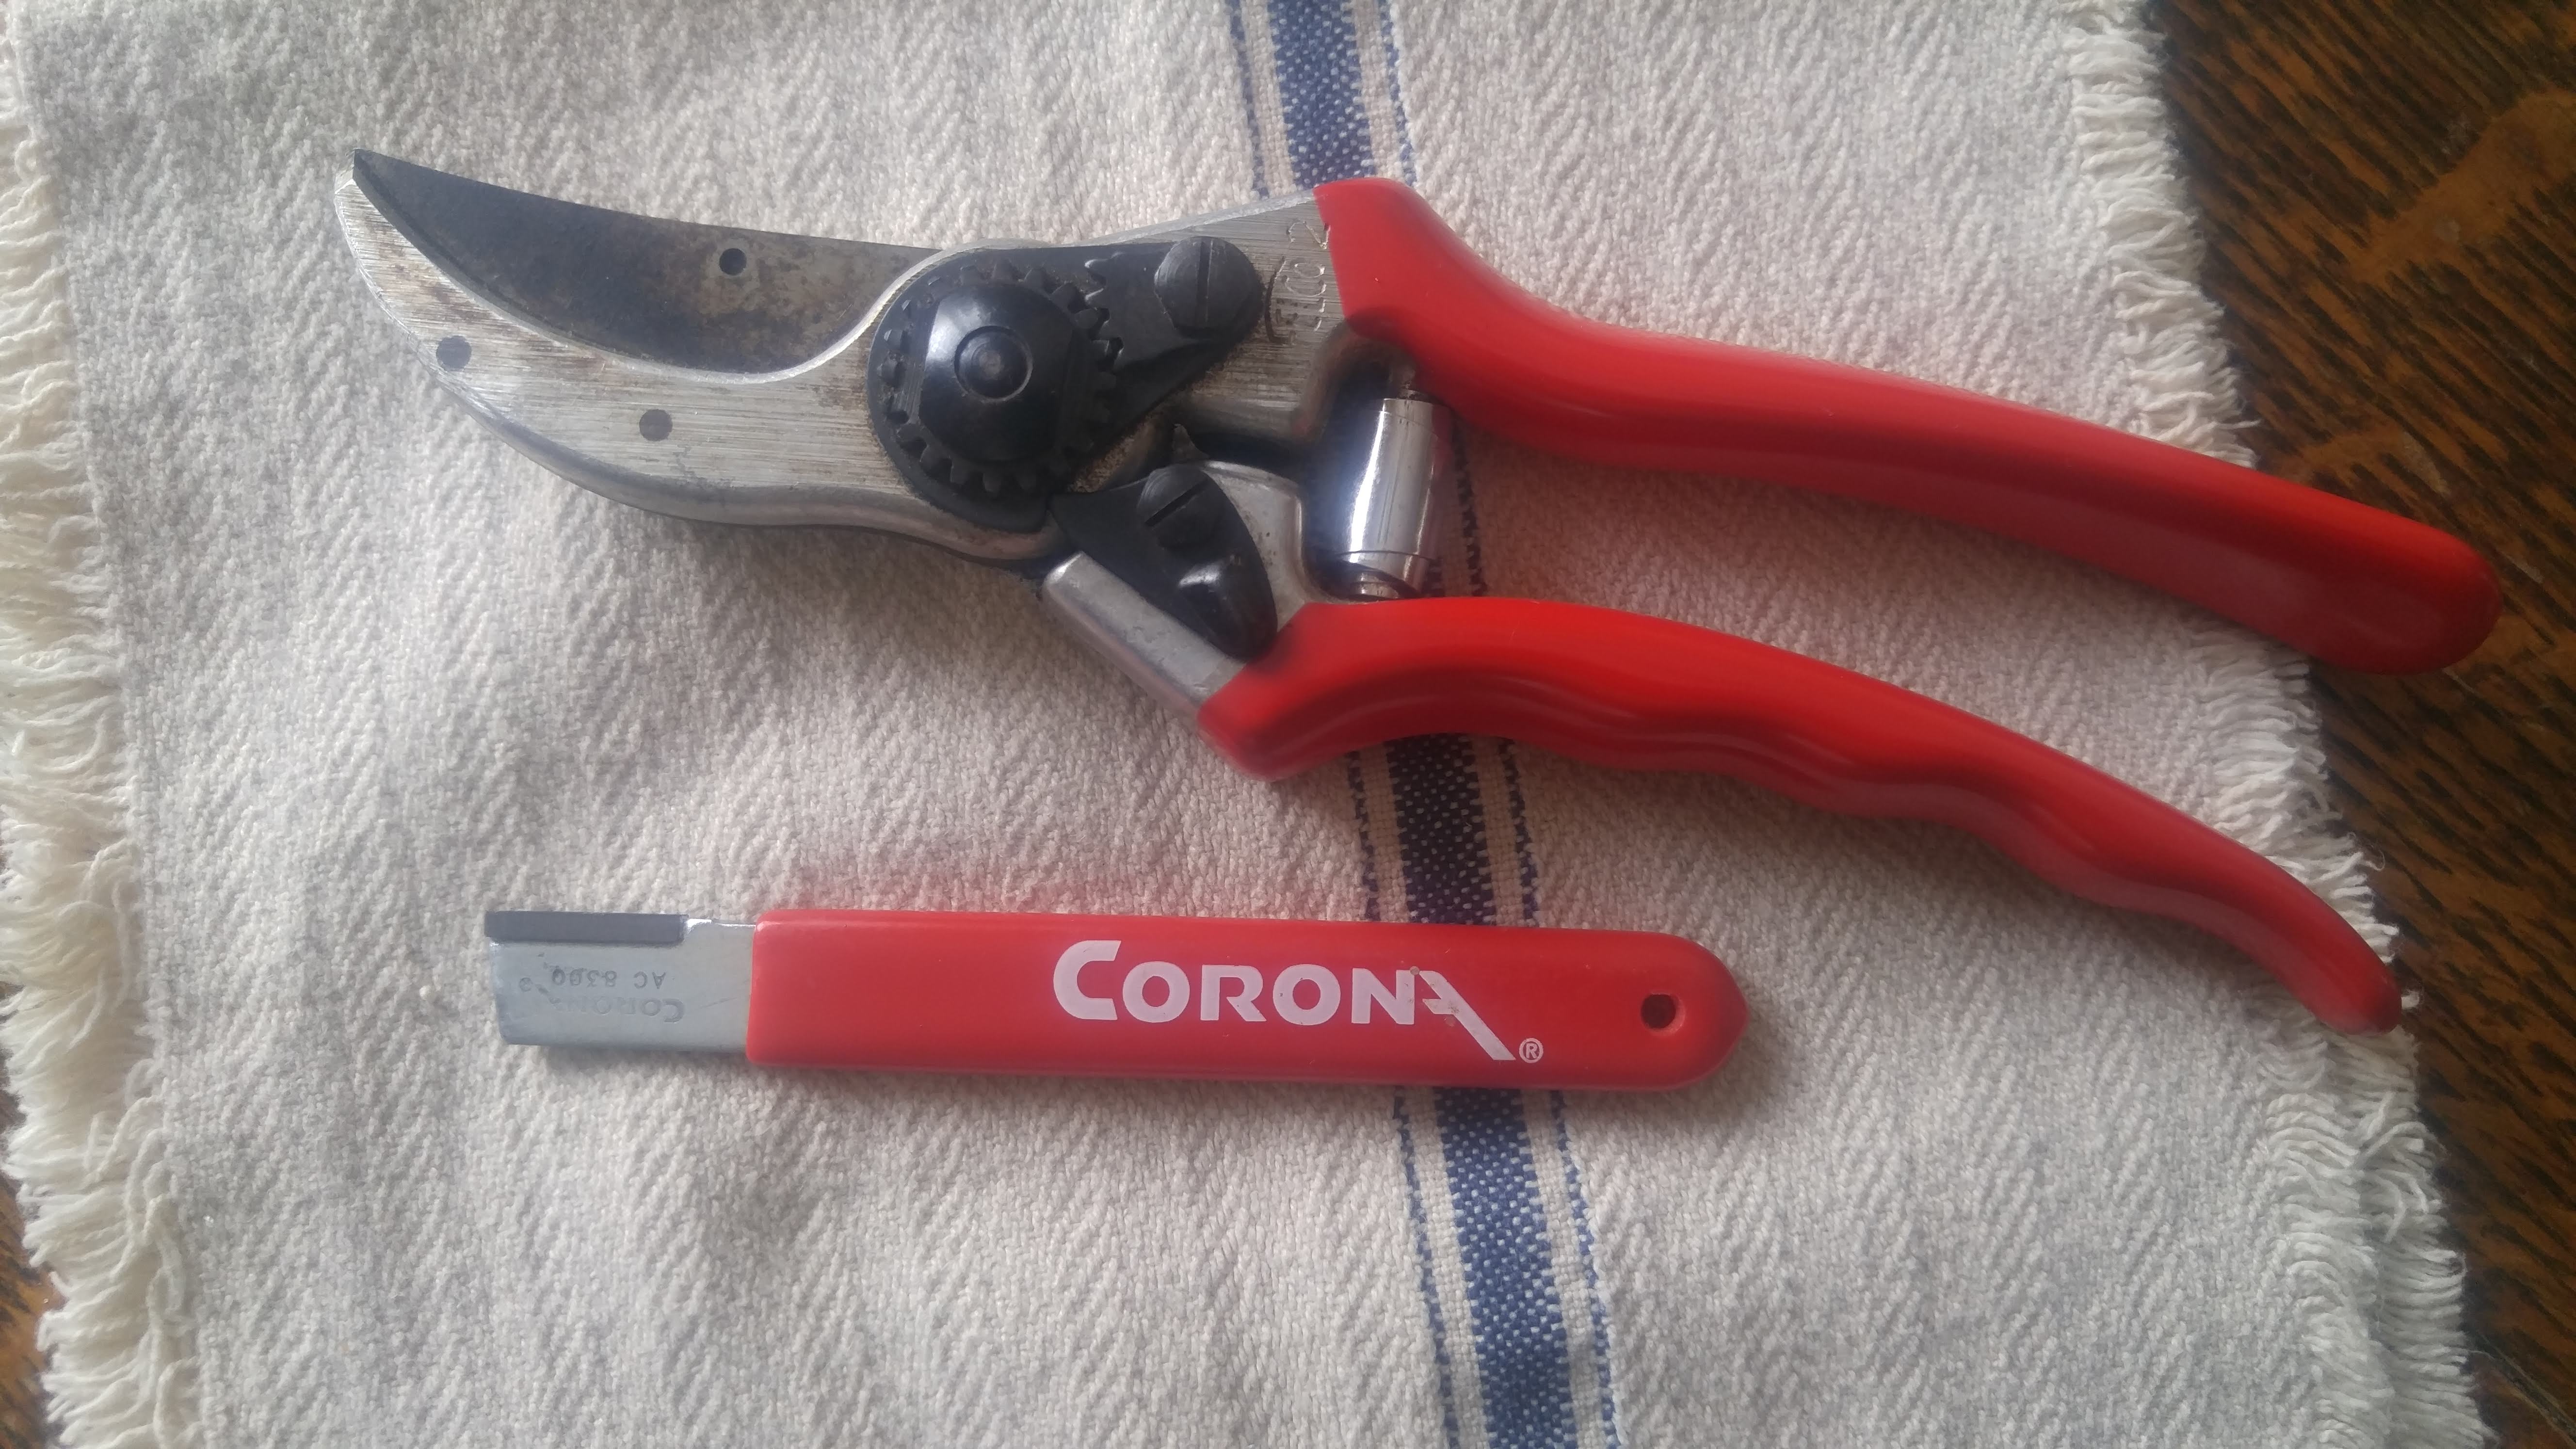
One of my Felco pruners and Corona sharpening tool.
I use both Corona and Felco pruners as well as others. The sharpening tool works on all brands of pruners and similar cutting tools.
To use the sharpener, cradle the tool in one hand and draw the carbide toward yourself, over the length of the inside cutting edge bevel four or five times. Try to keep the angle of the tool at the angle of the original bevel. You don’t have to use much pressure.
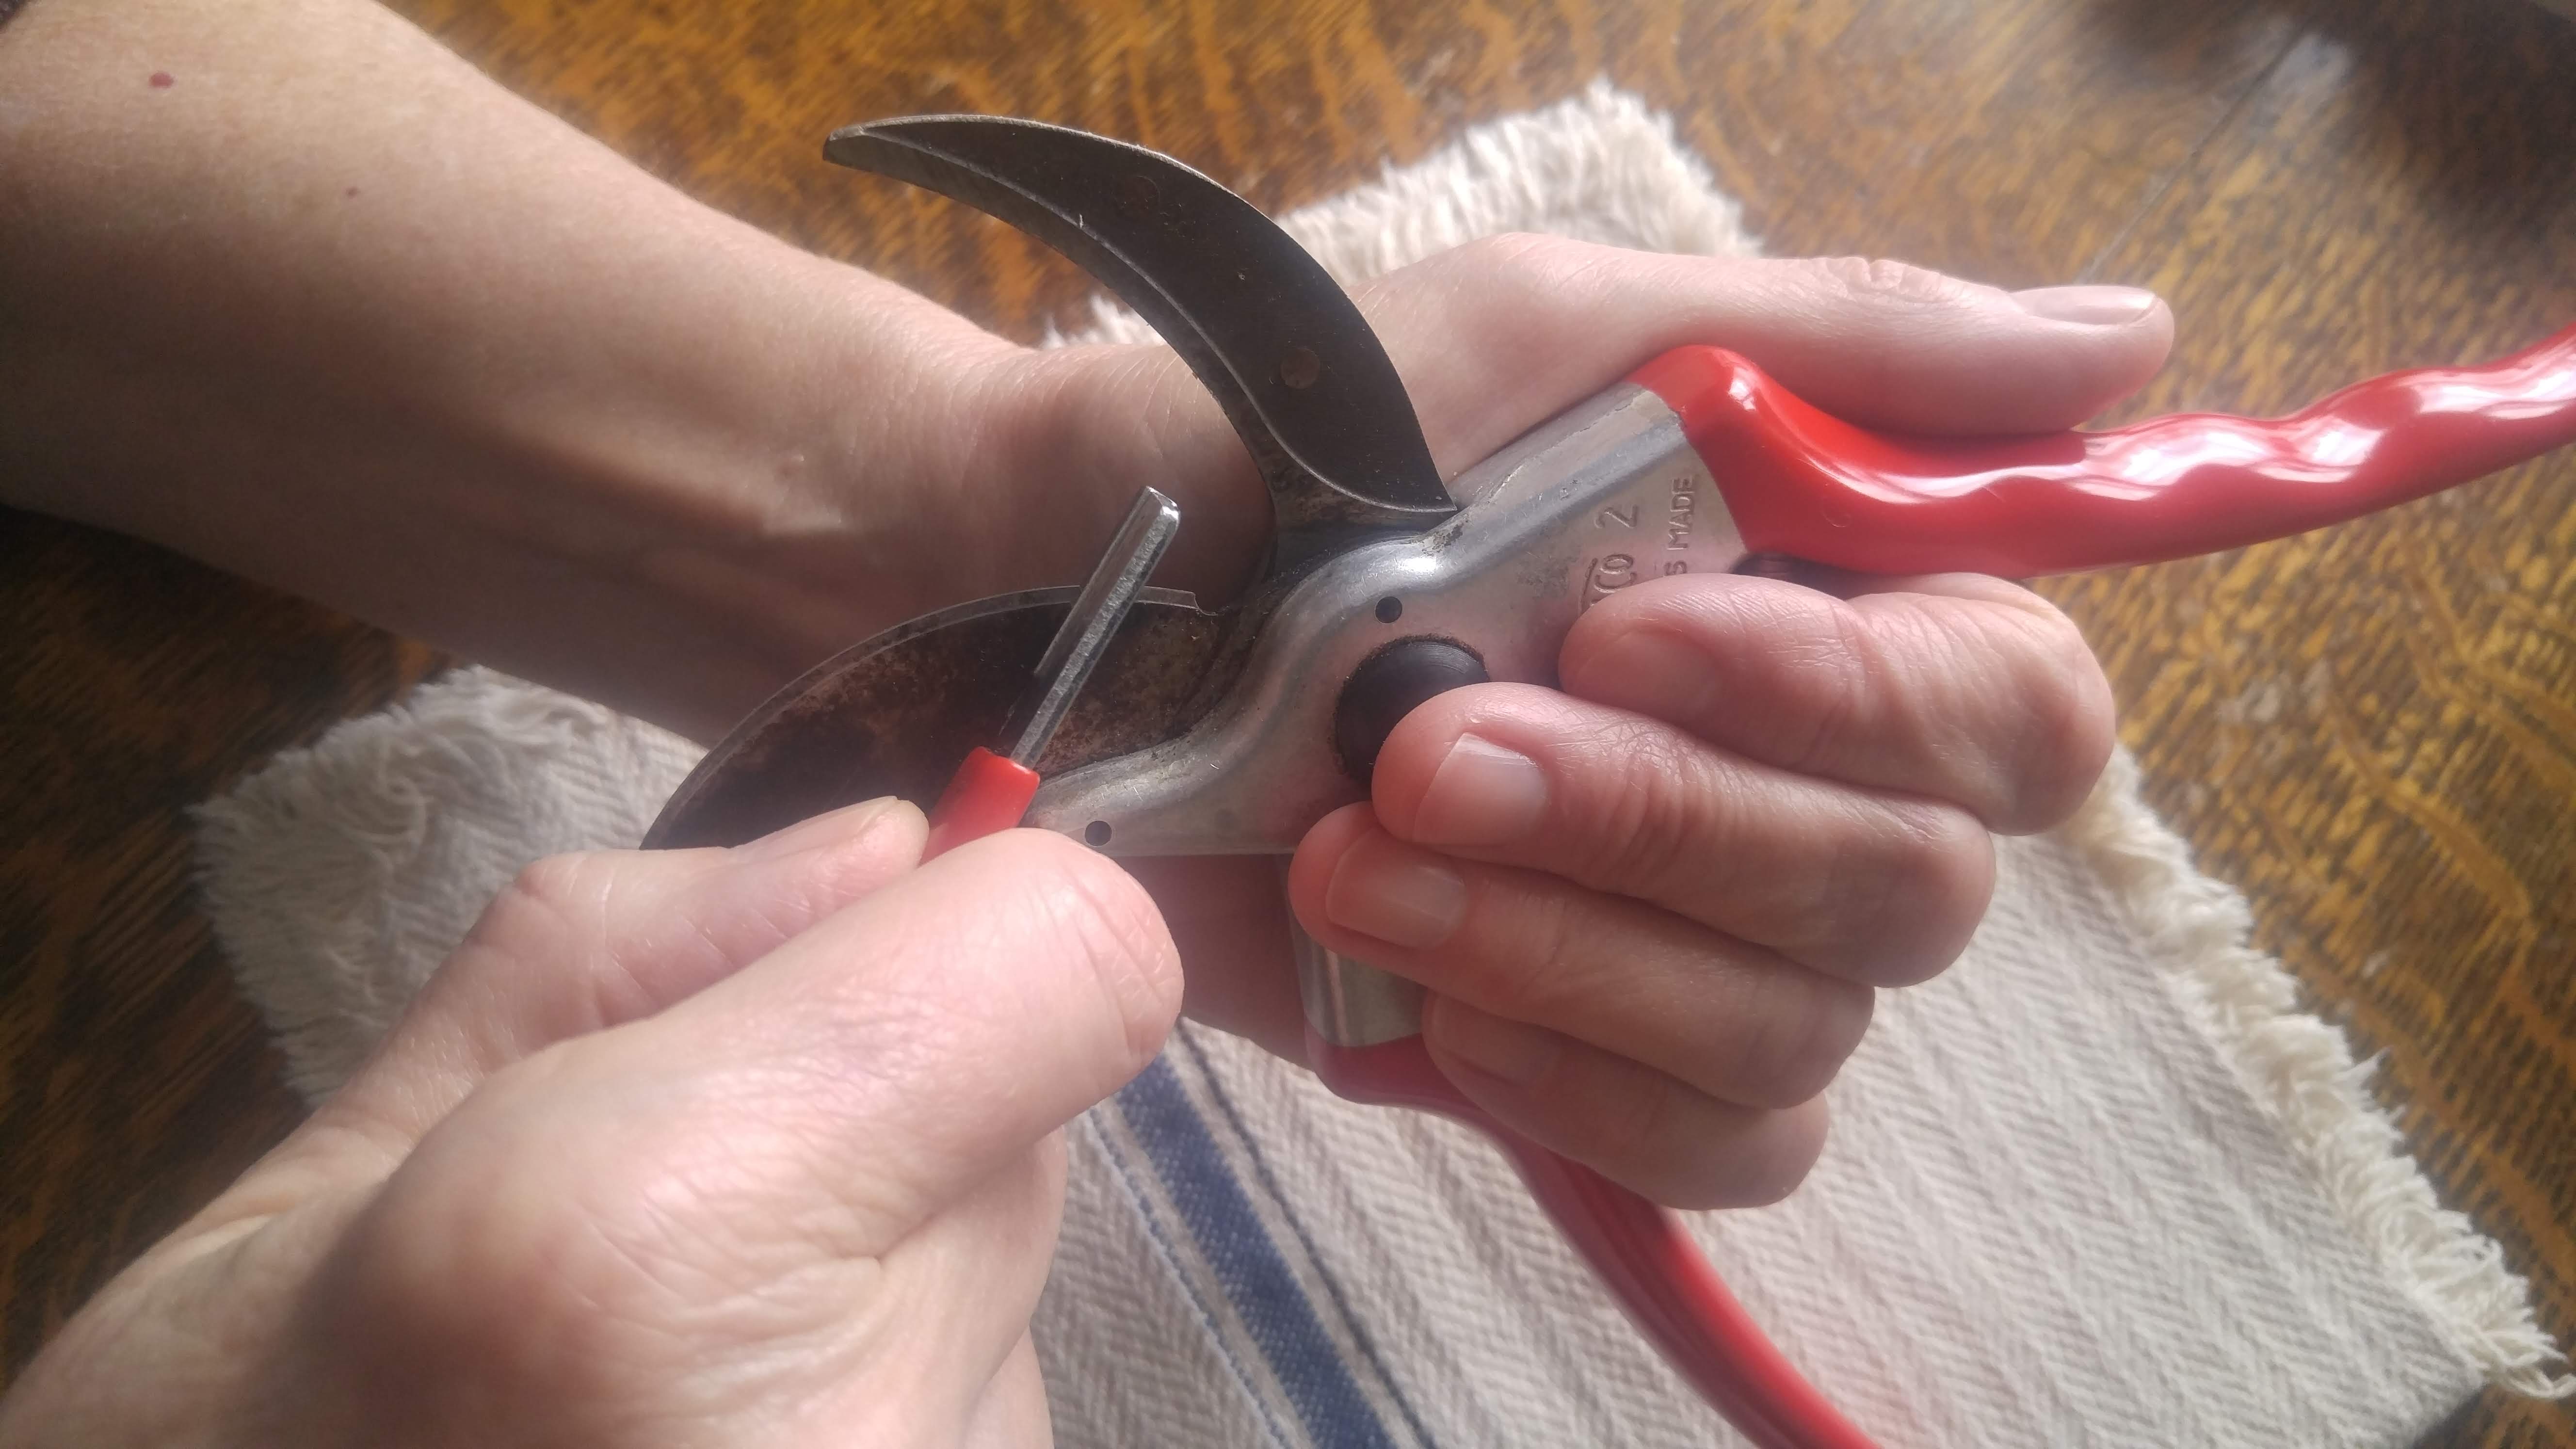
Grasp the pruners like this to avoid contact with the blade while sharpening. This grip also gives you better control of the sharpening tool.
Then turn the pruner over, gripping it to avoid being cut and rub once across the flat outside edge. Keep the tool flat on the blade to avoid creating a new “micro-bevel”. That’s it, you’re done.
A single pass straightens microscopic distortions on the cutting edge.
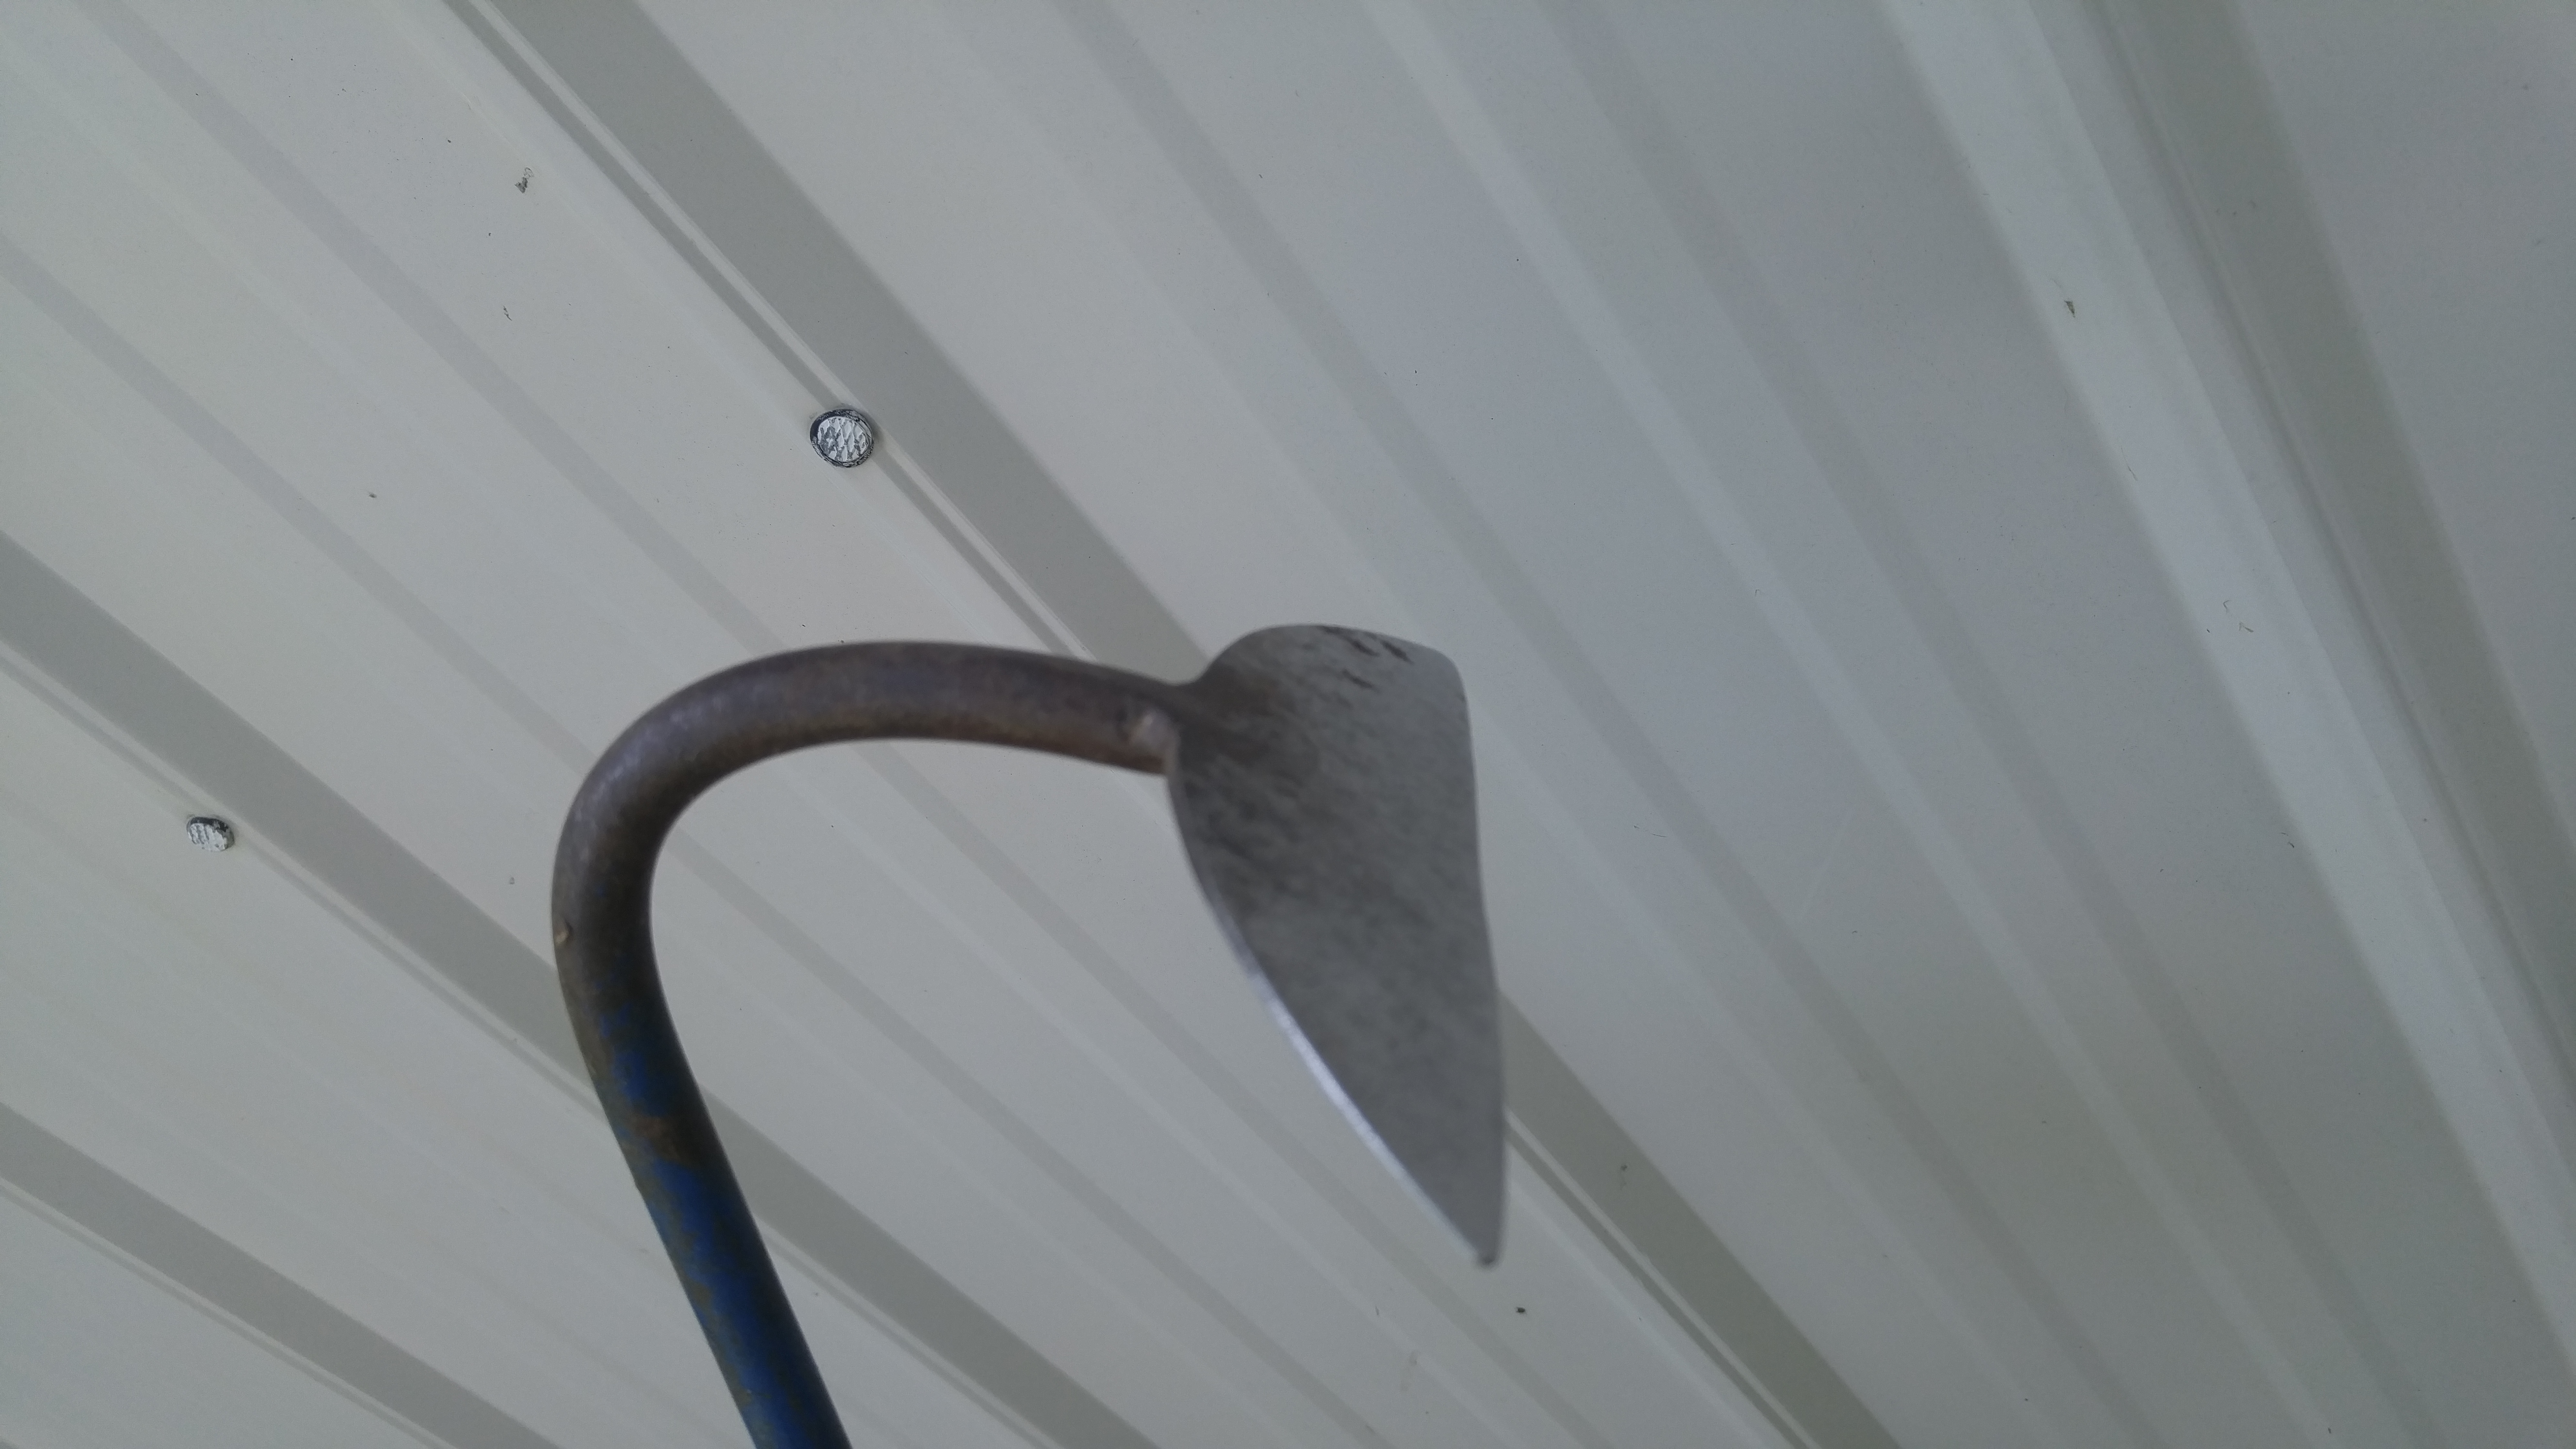
I have several different small diamond files and others that I have used in the past and they work OK too, but I find the Corona tool is the easiest one to use. It is not designed to grind a new edge on damaged tools but it can be used to touch up the edges on loppers, shovels and other gardening tools. Be extra careful with loppers, their long handles make them a bit awkward to hold.
I have 14 different pruners, snips and secateurs that I use for different purposes. Now would be a good time to get them all sharpened up before the pruning season gets here.
Bob