Gladiolus are one of the most popular flowers in the world.
Typically, glads are used to fill floral arrangements providing lots of color and their upright spikes add a vertical element.
Many gardeners from the baby boomer generation think of funerals whenever they see glads. That’s because the flowers were ubiquitous in funeral homes back when they were children. In addition to the general solemn atmosphere of a funeral, all of those huge funeral floral arrangements everywhere could make a lasting impression on a young child. So you can understand why gladiolus fell out of favor for awhile.
Nowadays the younger generations are embracing retro flowers of all kinds including glads for outdoor flower beds as well as cut flowers.
Glads are summer flowering bulbs, meaning they can’t stay in the ground all winter. They have to be dug up and stored over winter in an area protected from freezing temperatures.
Even though glads are called flowering bulbs the bulb is actually a “corm”, not a true bulb. The corm is what is dug up and stored for planting next spring.
Each year the gladiolus plant produces a new corm and discards the old one. In addition to a new corm, the plant produces a number of miniature corms called “cormels”.
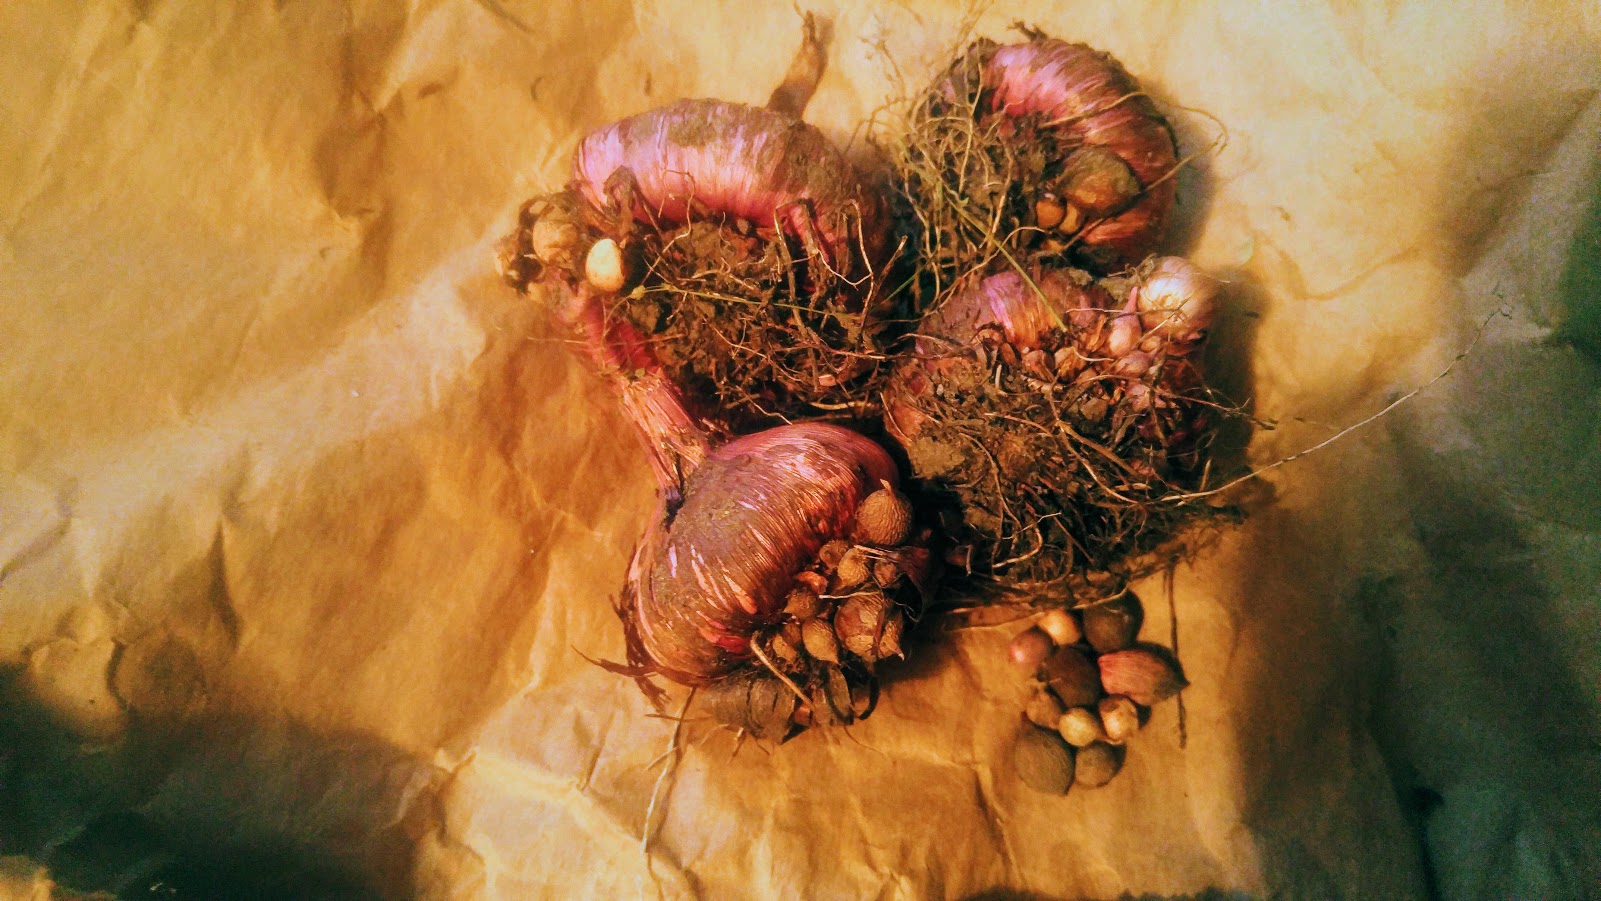
Here are a few corms after drying and before cleaning. They were dug around the first of November. The dark-colored area is the old corm which, along with soil, will be removed and discarded before storage. The cormels are picked off and kept a paper bag until spring.
A new gladiolus plant can be grown from each cormel but it takes patience. The larger the cormel, the sooner the flowers.
The smallest cormels are about the size of a pea seed and may take three or even four years before full size flowers are produced. Larger cormels, about the diameter of a dime, will produce flowers in two to three years.
The small cormels can be planted in rows almost like seeds, about an inch or so deep. Then they are tended through the growing season much like any other garden plant and dug back up in the fall.
Three or four years may seem like a long time to wait for flowers but gardeners, as a general rule, are a patient bunch. It’s always a big kick to see flowers growing from those cormels you grew yourself. Plus you can increase your crop of flowers each year if you want.
On the other hand, if you are not patient enough to wait that long, you can always buy fully grown corms to plant.
Bob
 A garden knife or “hori-hori” works great to cut through plant roots in the soil. This one has depth markings.