In a previous blog post I discussed how I was experimenting with agricultural paper as a weed barrier to control weeds in my garden.
Agricultural paper mulch is engineered to slowly break down over the course of a growing season. Then when the growing season is over, whatever is left of it gets tilled into your garden soil. That saves lots of labor and keeps debris out of the landfill. Plus, it adds a bit of organic matter to the topsoil.
Since it is paper, no nasty chemicals are released into the environment as garden soil microorganisms break it down. As a result, it is suitable for organic growing unlike “biodegradable plastic” that does breakdown into unwanted compounds.
We’re well into the growing season and it’s been about five weeks since I installed the agricultural paper in my garden. It’s protecting a row of tomatoes about twenty feet long. I thought it would be a good time to see how well it’s holding up.
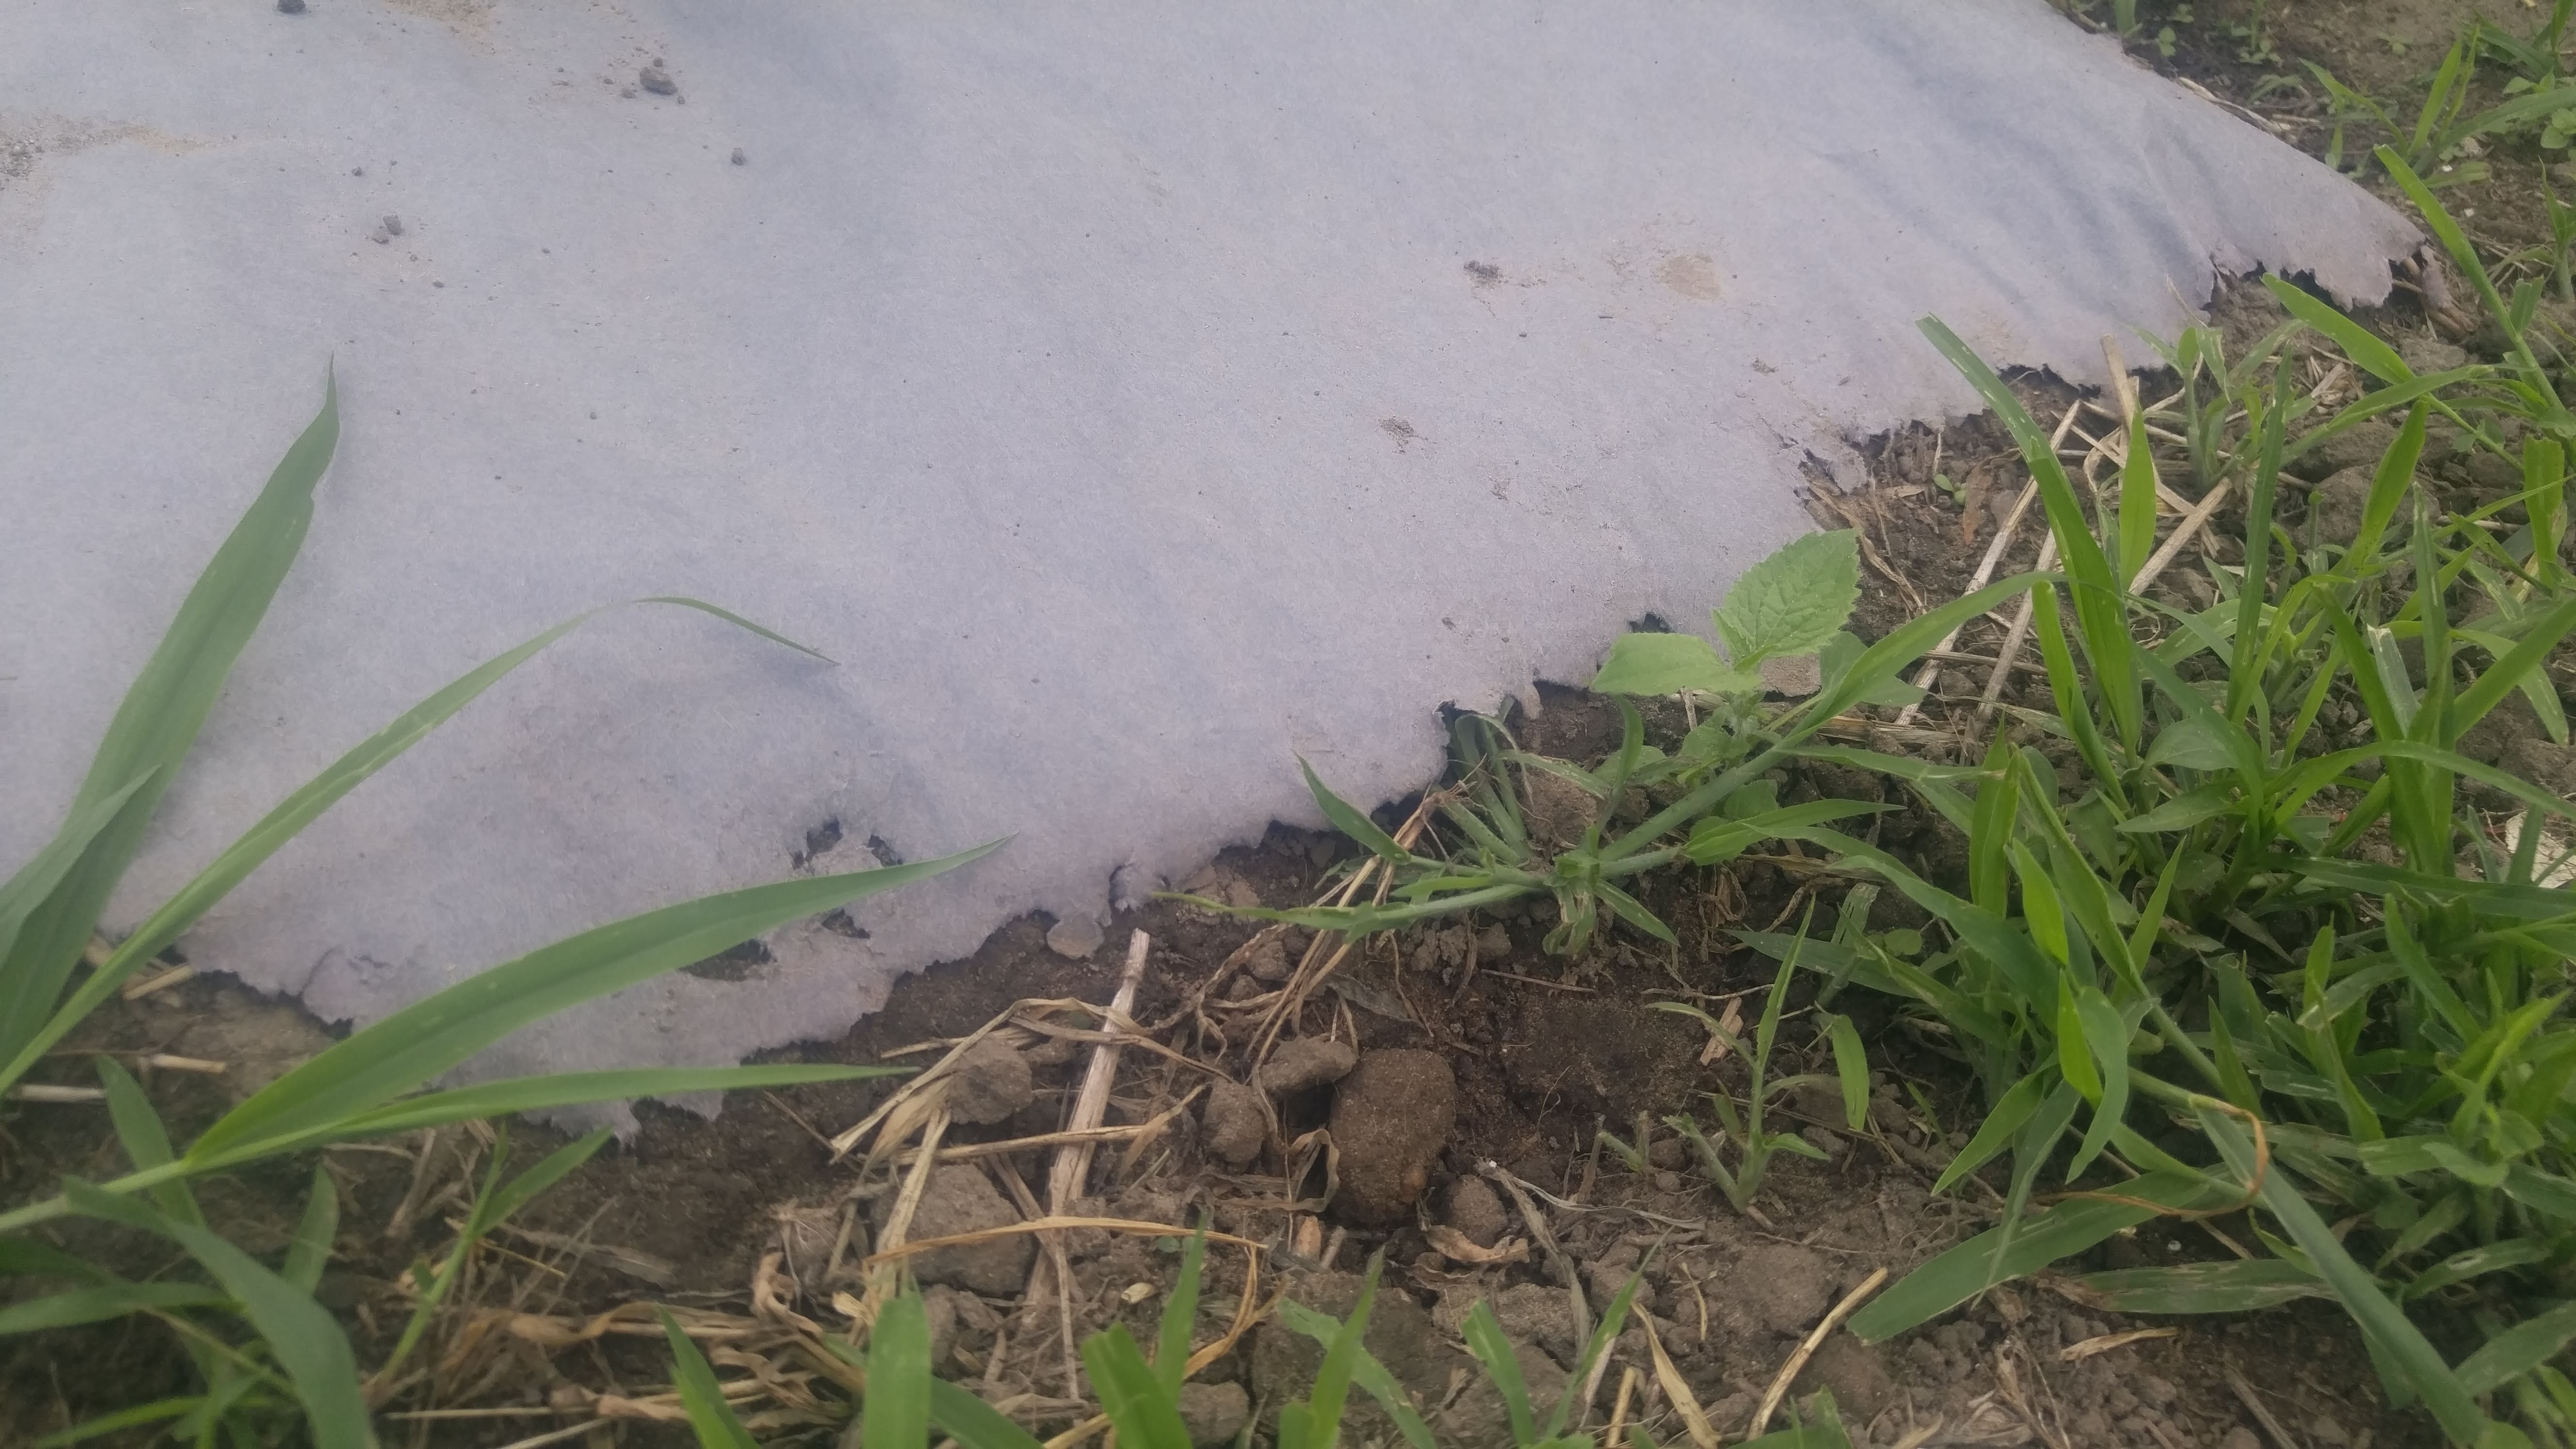
Areas of paper are completely gone along the edges.
The decomposition process is beginning to be noticeable. You can see it as you walk by that the color is fading somewhat and that it’s coming apart here and there. It is however, still doing a great job keeping weeds from growing. The only places where weeds are evident are in the openings I made for planting and in spots where there was a tear or other damage.
The weakest spots are those narrow areas where the paper meets the soil surface where the edges are buried. In many places the paper is missing.
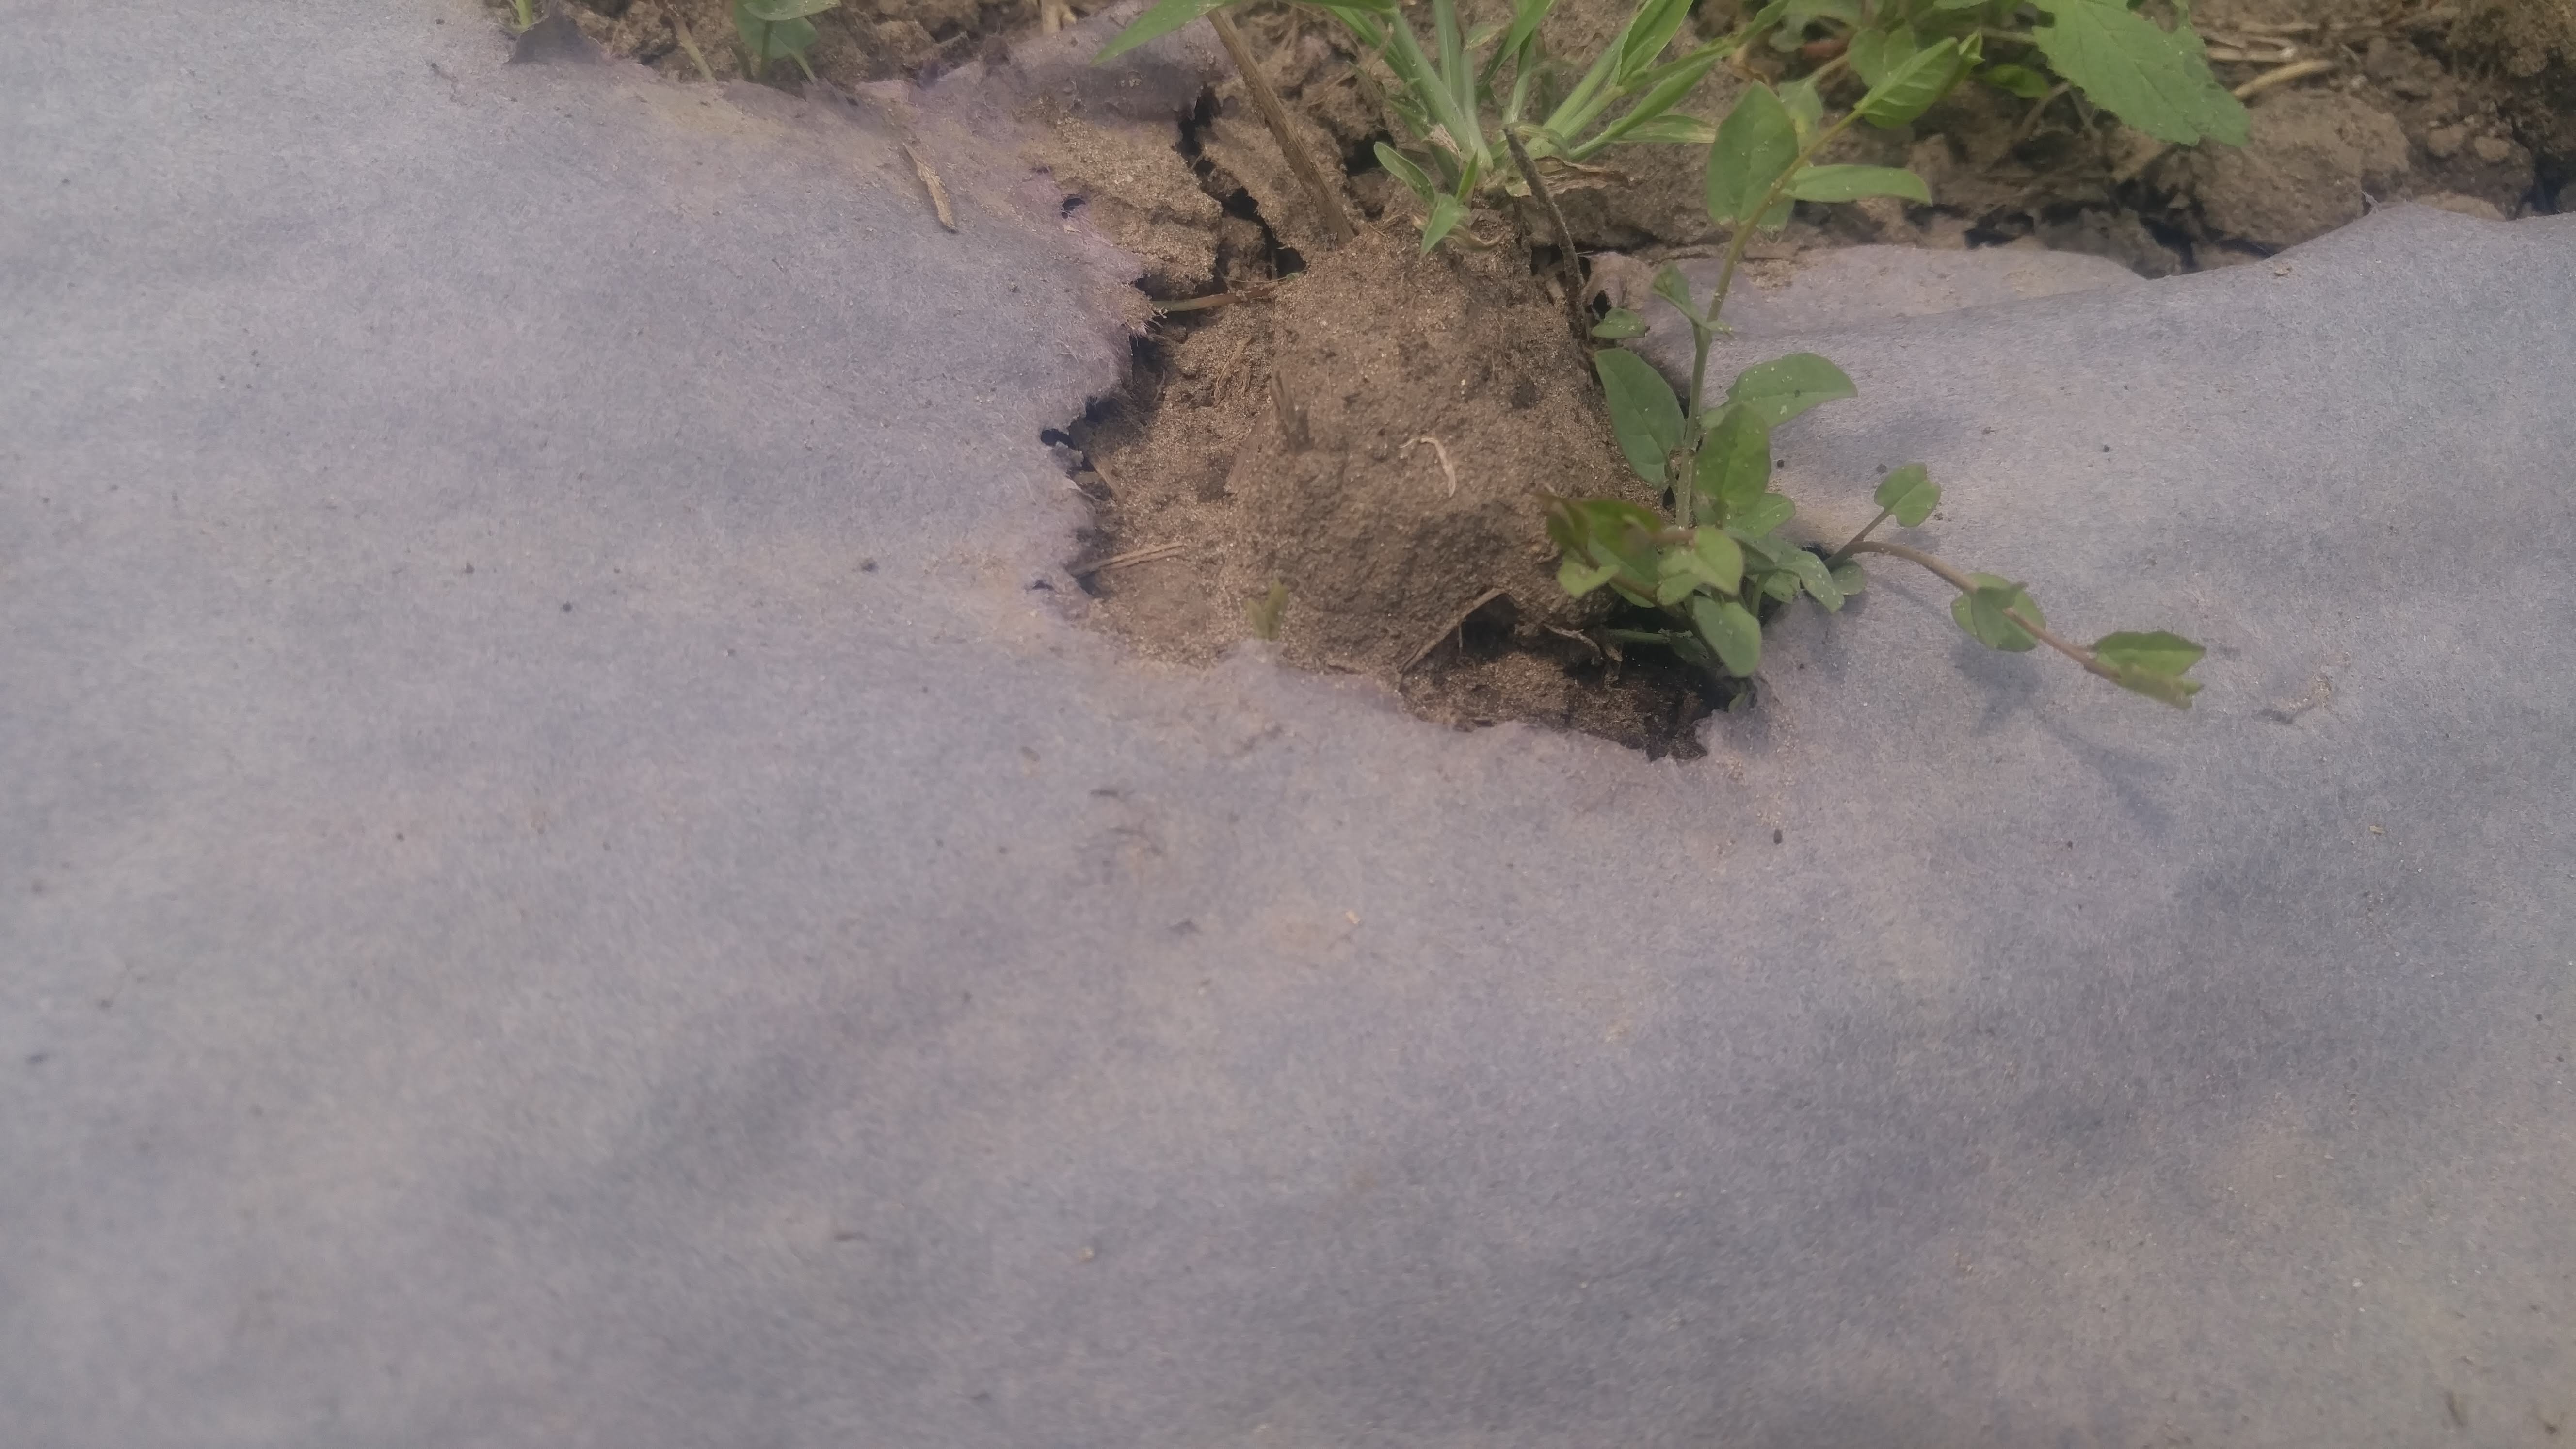
Paper is missing where it touched a lump of soil.
This is where the most biological activity is happening. I am not sure if is due to bacterial decomposition or from soil creatures like pill bugs chewing on it. It may be a combination of the two as the paper weakens making it more appealing to pill bugs or other arthropods.
So far, even with all the rain we’ve had, the paper is holding up quite well. I’ll continue monitoring the mulch and will keep you updated as the season progresses.
Bob