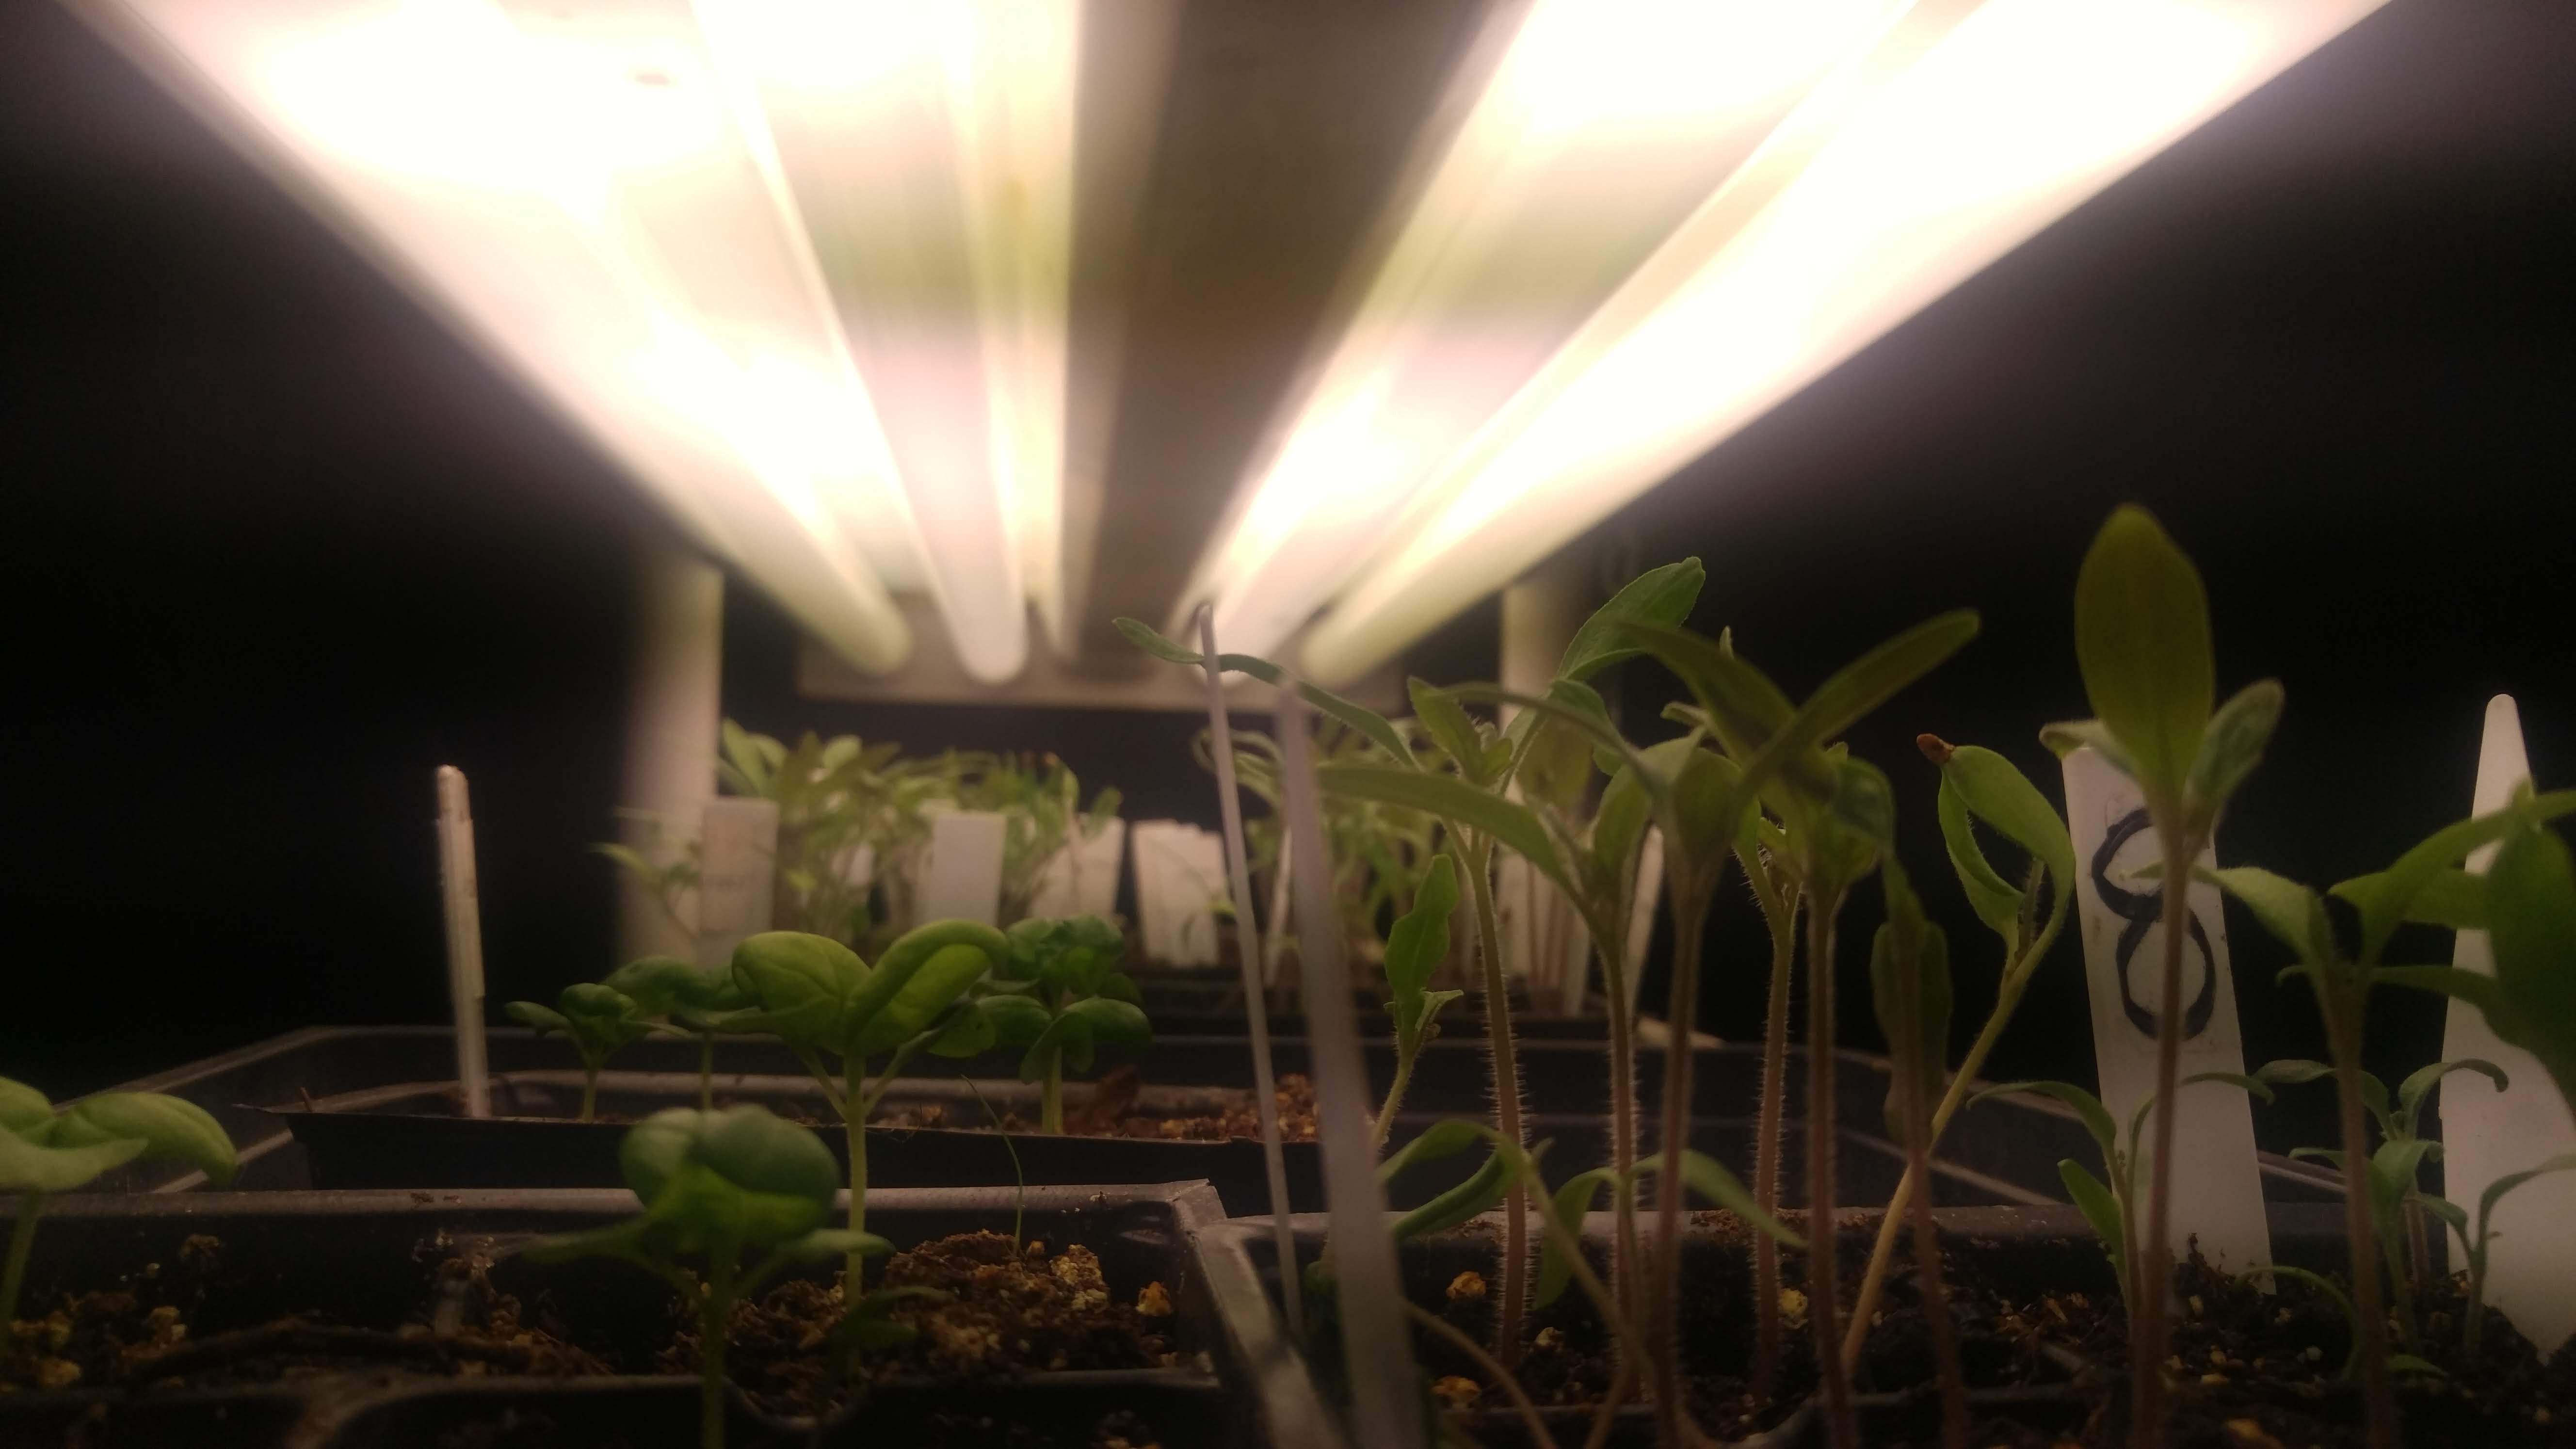
We’re growing many of our transplants under artificial light using primarily fluorescent tubes and they are doing quite well. It’s not as good as growing them in a greenhouse under natural sunlight of course.
When you stop and think about it, it’s really a wonder that florescent bulbs work as well as they do considering they have to produce those little packets of energy called photos in sufficient numbers to grow a plant. The plant uses that photon energy and builds itself right out of thin air using carbon dioxide with help from water and minerals in the soil.
Plants can gather enough photons only when the bulbs are close enough to the plant. Some beginning gardeners make the mistake of trying to grow seedlings under what looks to them to be bright light but is not for the plant. As a result the seedling start to show symptoms of light deprivation such as stretching toward the light source, abnormal color and general overall weakness.
We have our florescent tubes set up so that they are around three or four inches from the top of the plants, not more than six inches for sure. Since florescent bulbs give off so little heat, setting them that close is no problem. You wouldn’t want to do that with incandescent bulbs.
It’s very important to start out with clean bulbs. Just a little dust collecting on them will reduce the amount light of light reaching the plants enough to weaken them. So make sure you clean your tubes, and the reflector of your tube fixture, for optimum results.
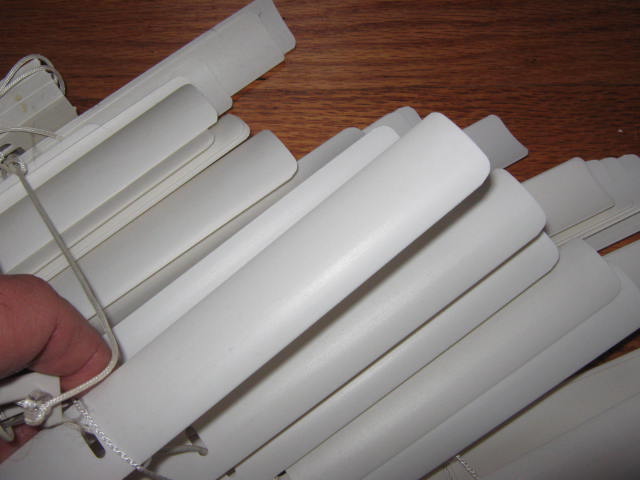
I keep my light bulbs no further than 4 or 5 inches from the seedlings. The gray on the bulbs in this photo is just a glitch from the camera.
After a few seasons of growing seedlings under florescent bulbs you may notice you just can’t seem to grow them as well as you used to. It’s nothing that you are doing differently, it’s the bulbs themselves that are at fault. Florescent bulbs have a limited lifespan usually rated by the number of hours in use and that can be in the tens of thousands of hours. In reality however, bulbs will begin fading well before their rated life span, maybe even after just a few thousand hours. You won’t see it with your bare eyes but your plants will sure know the difference. Florescent tubes are on their way out long before the familiar gray deposits show up inside the glass.
A good policy under typical growing conditions would be to change out bulbs every three years. That way you’ll be sure your plants are getting off to a good start.
Bob