We’re sowing our seeds right now for growing transplants that we’ll plant out in the garden. It takes some work, but you can save quite a bit of money growing your own transplants.
Another huge advantage that may be even more important is being able to grow the varieties you want rather than relying on what the garden center grows. They usually chooses varieties that are the easiest to grow, not necessarily the tastiest. That makes sense in their business model. People who have success with their plants are more likely to return the following season.
Starting your own seeds is not without its problems. Some of them you can plan ahead for and minimize, others pop up out of the blue.
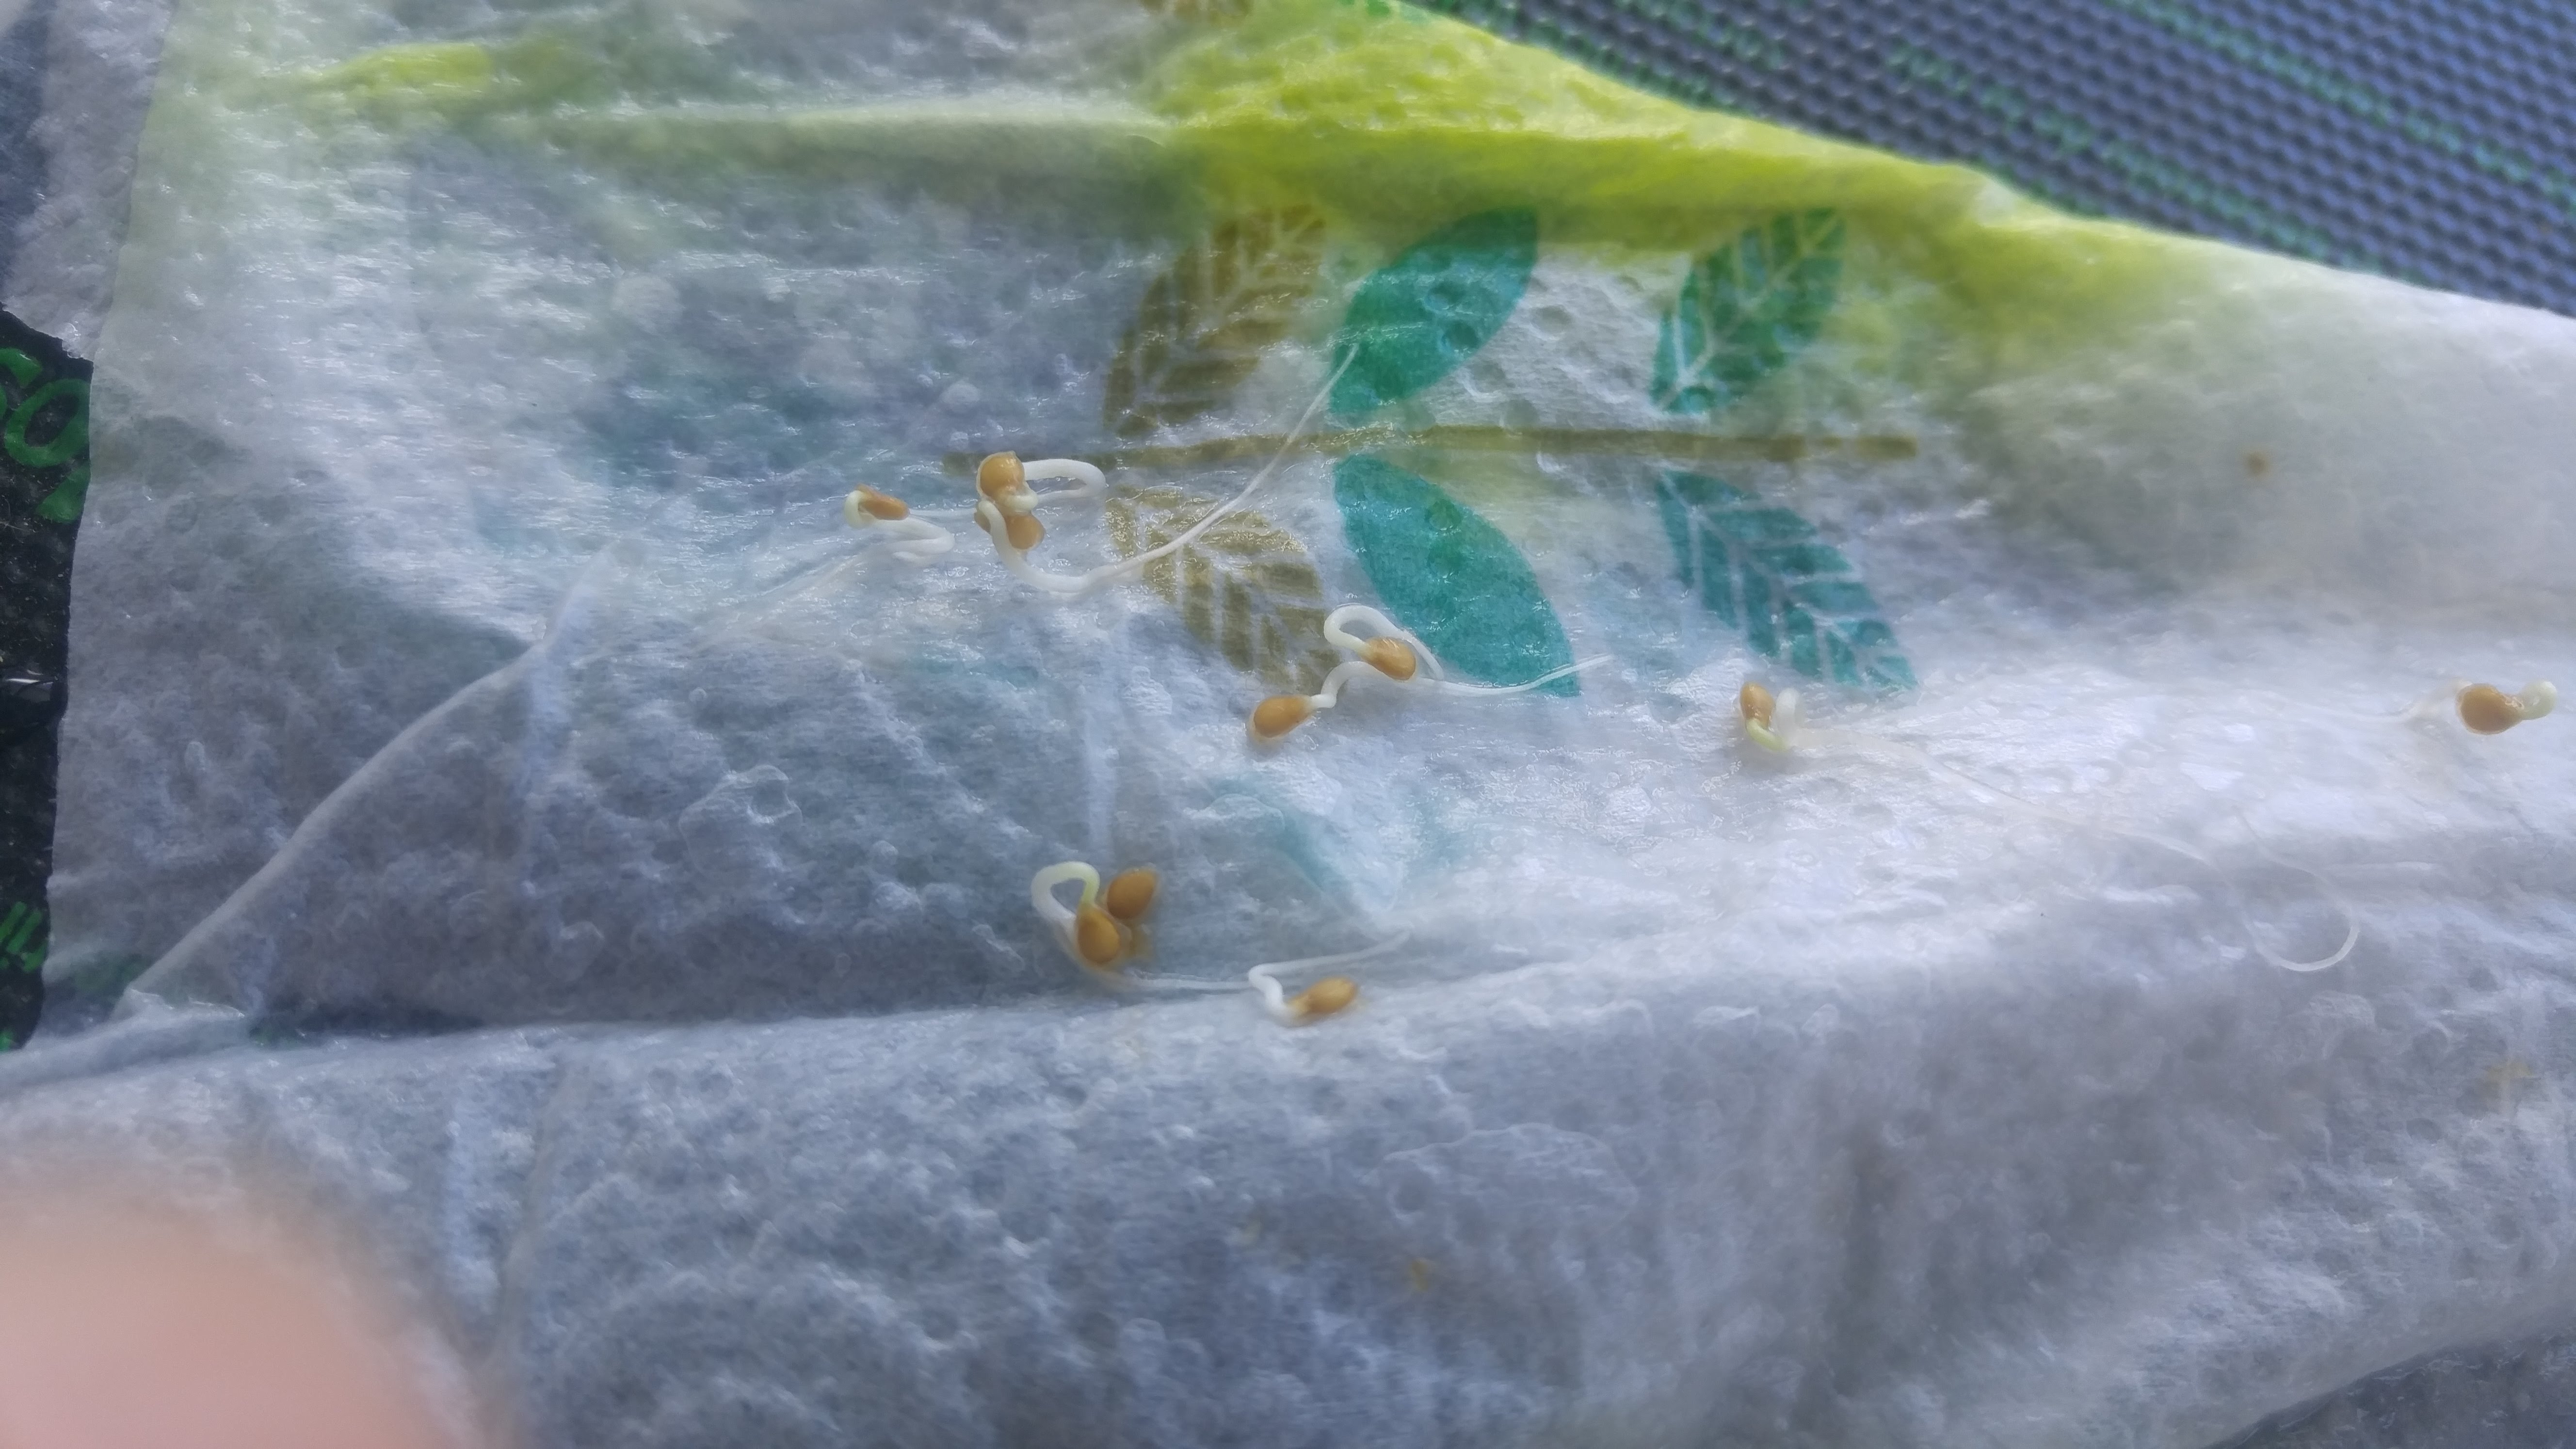
We’ve had a great start with our seeds this spring, the cabbages and related cool weather crops are up and growing well. We were using the last of last year’s seed starting mix but ran out. The local hardware store had plenty of bags of mix in stock so we bought a small bag so we could keep working. It felt a little light and fluffy when I carried it, that should have been a warning sign but I was in a hurry.
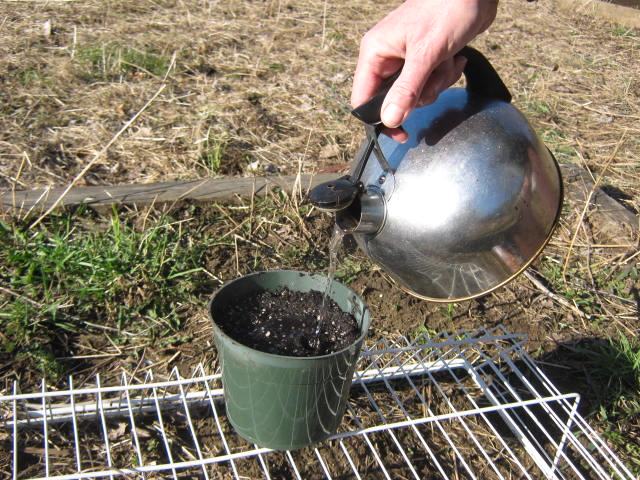
When we got it home and started working with it, we found that it would not absorb water. Even after sitting in water overnight, not a drop was absorbed by the mix! It was a “hydrophobic” mix; it was repelling water. That happens whenever potting soils dry out too much. Usually manufacturers make sure a minimum amount of moisture is present to keep that from happening or they include a small amount of a”hydrophillic” ingredient in the mix to help it absorb water.
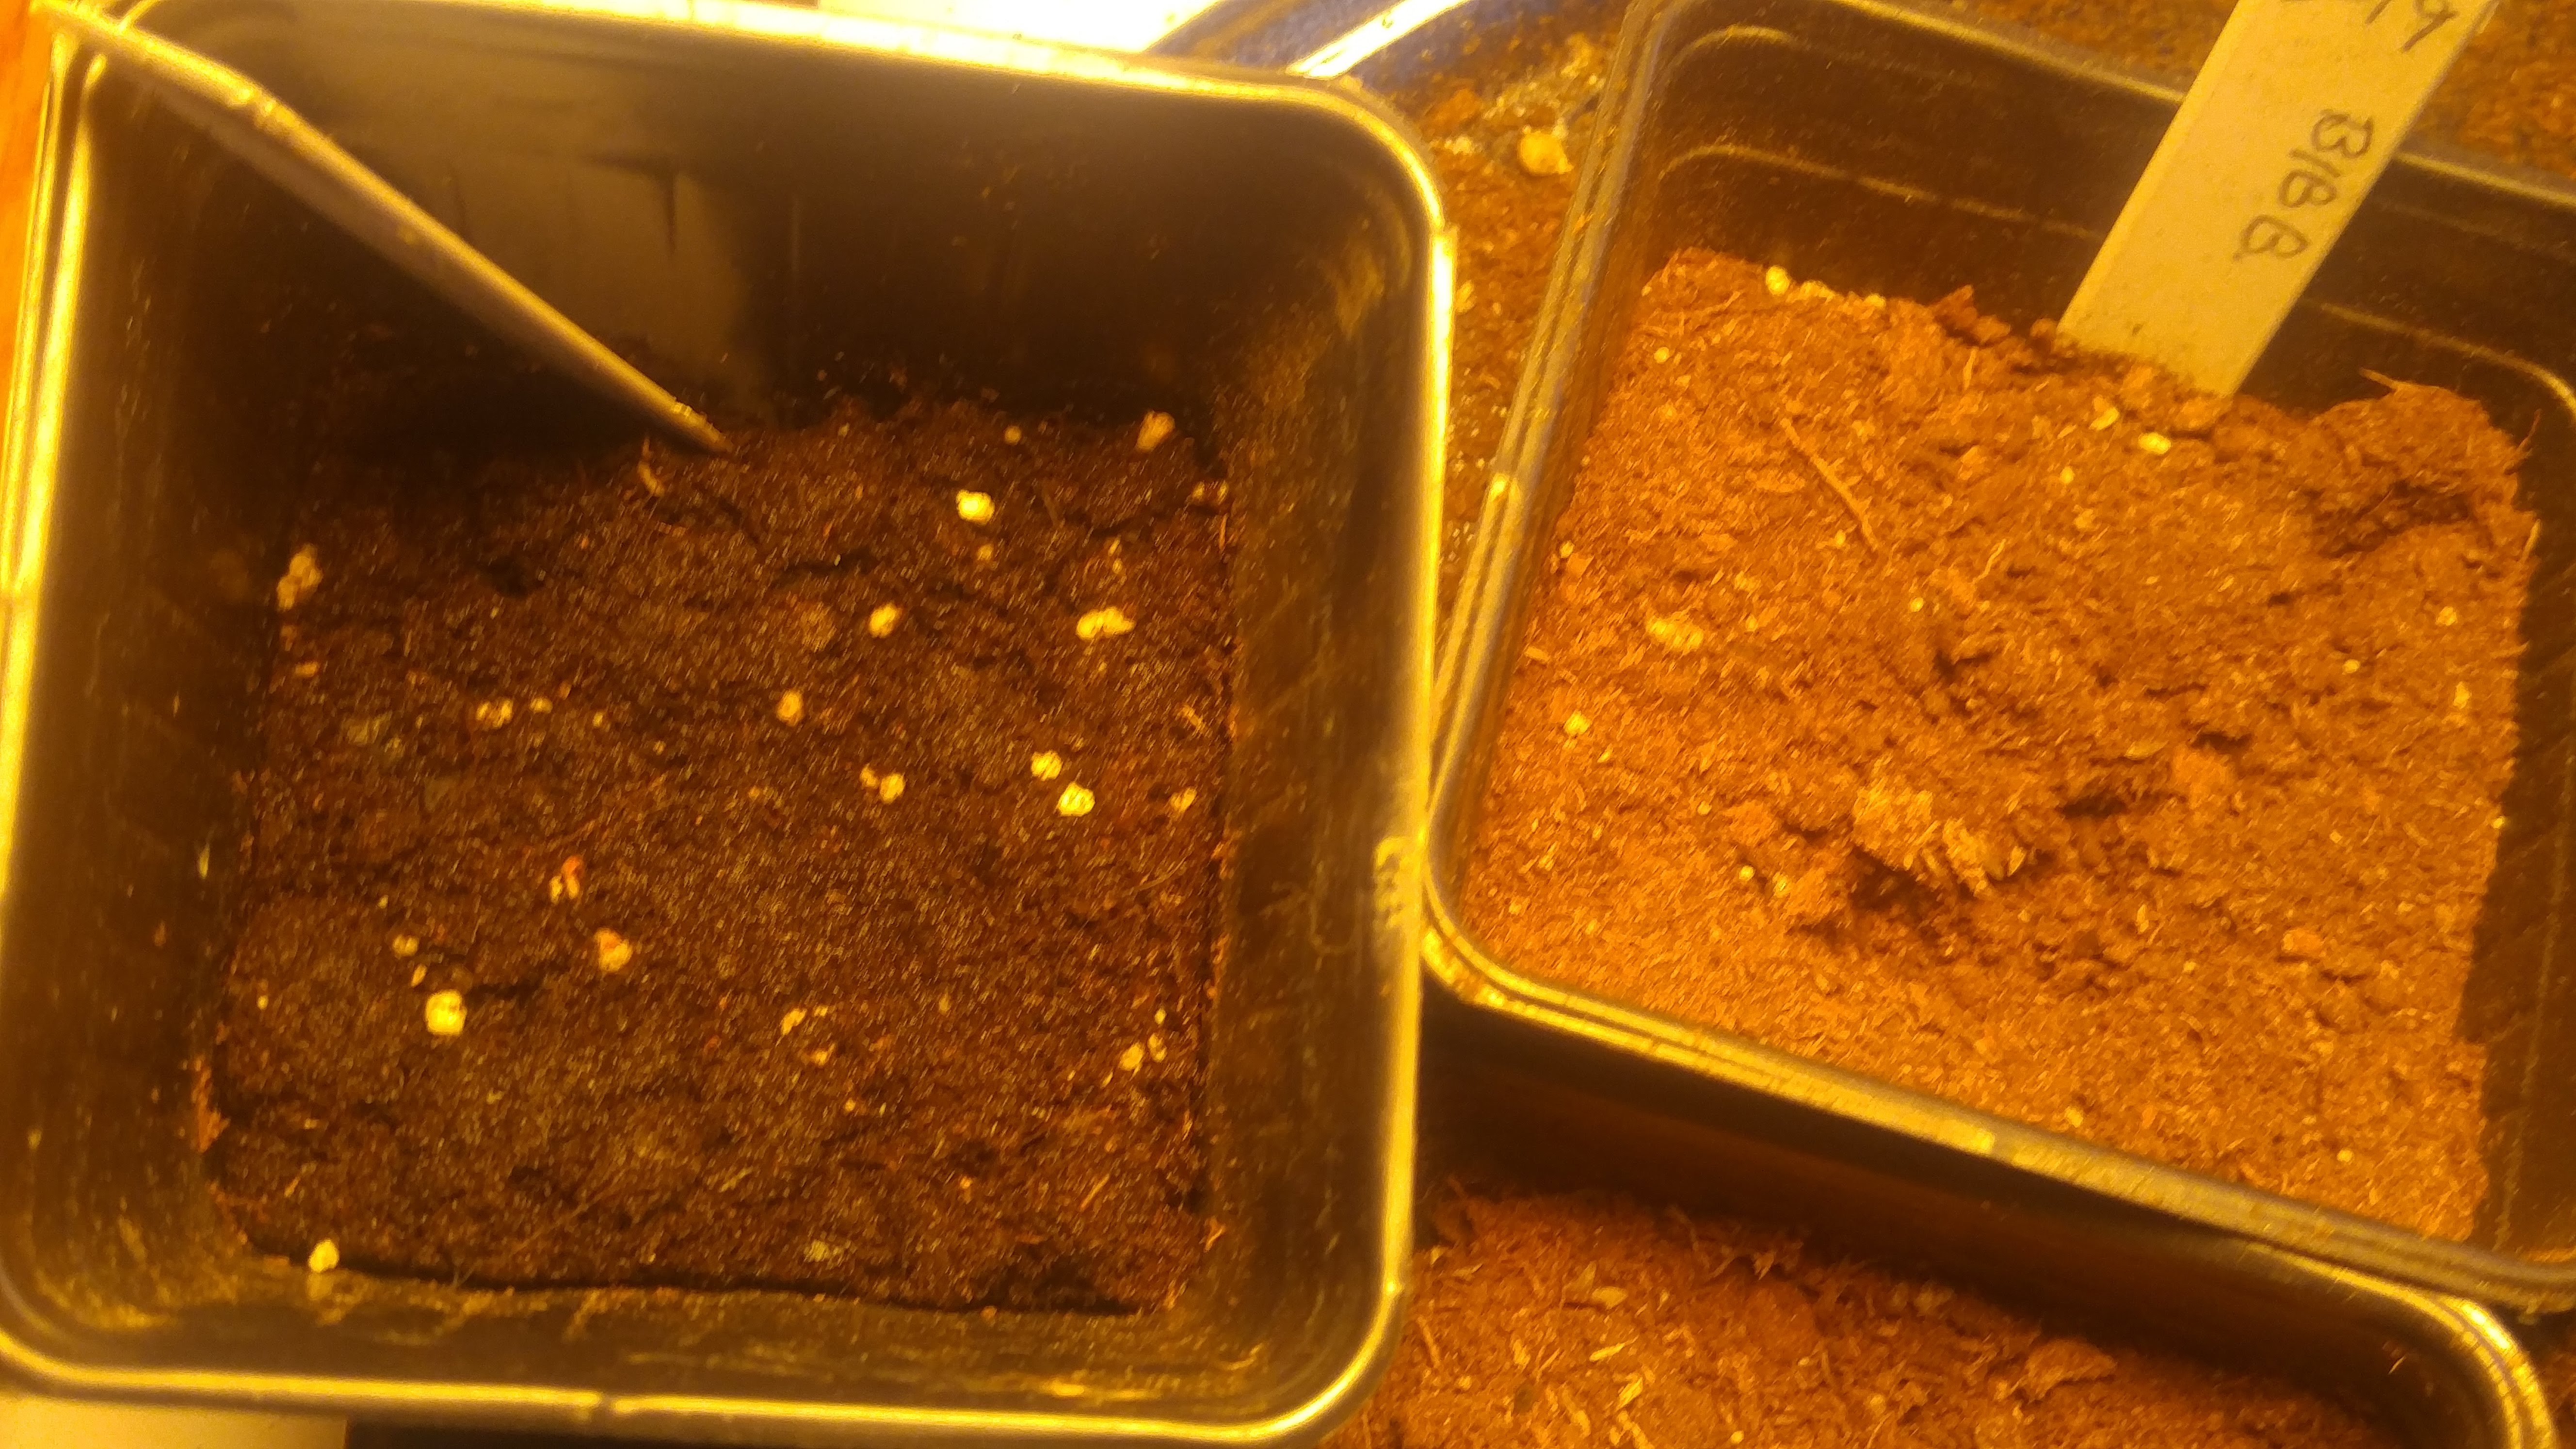
The soil on left has absorbed water normally, the other on is hydrophobic.
One explanation is we grabbed one of last year’s bags of soil that had completely dried out while in storage. But who knows?
To avoid this in the first place, always make note of how heavy the bags are compared to one another. Mixes are sold by volume, not weight so you don’t have to worry about wasting money on buying water. Pick the one that feels a little heavier because it is more likely to have the proper moisture ratio.
If you do happen to pick a bad one, like me, you can still fix it by applying small amount of surfactant. Even professional greenhouse have this problem from time to time. They use specially formulated surfactants that are not available to the general public but dish washing detergent will work just as well.
Here’s the recipe: dissolve one teaspoon (not tablespoon) of liquid detergent to one pint of water. Use the cheapest off-brand detergent you can find, there’s a practical reason for it. The name brands like Joy, Dawn or Palmolive make too many suds for this purpose. I have a bottle of off-brand detergent left over from several bottles I picked up many years ago when Farmer Jack went out of business. How long ago was that?
Place your solution in a spray bottle and spray it on the surface of your mix, that should give you enough surfactant to allow the water to soak in.
Sometimes the soil in a container will dry out and become hydrophobic even when a plant is growing is growing in it. When that happens, the plant will quickly die from lack of water. Your surfactant spray will fix that situation too. Just spritz a light spray on the top of the soil. It will help water penetrate but won’t harm the plant.
Bob