The Yellow Farmhouse Garden

March 28, 2019

If possible, save dead trees for woodpecker nests

I spend a lot of time outside and one of my favorite sounds this time of year is the drumming of woodpeckers. In our neck of the woods we have mostly hairy woodpeckers and downy woodpeckers.

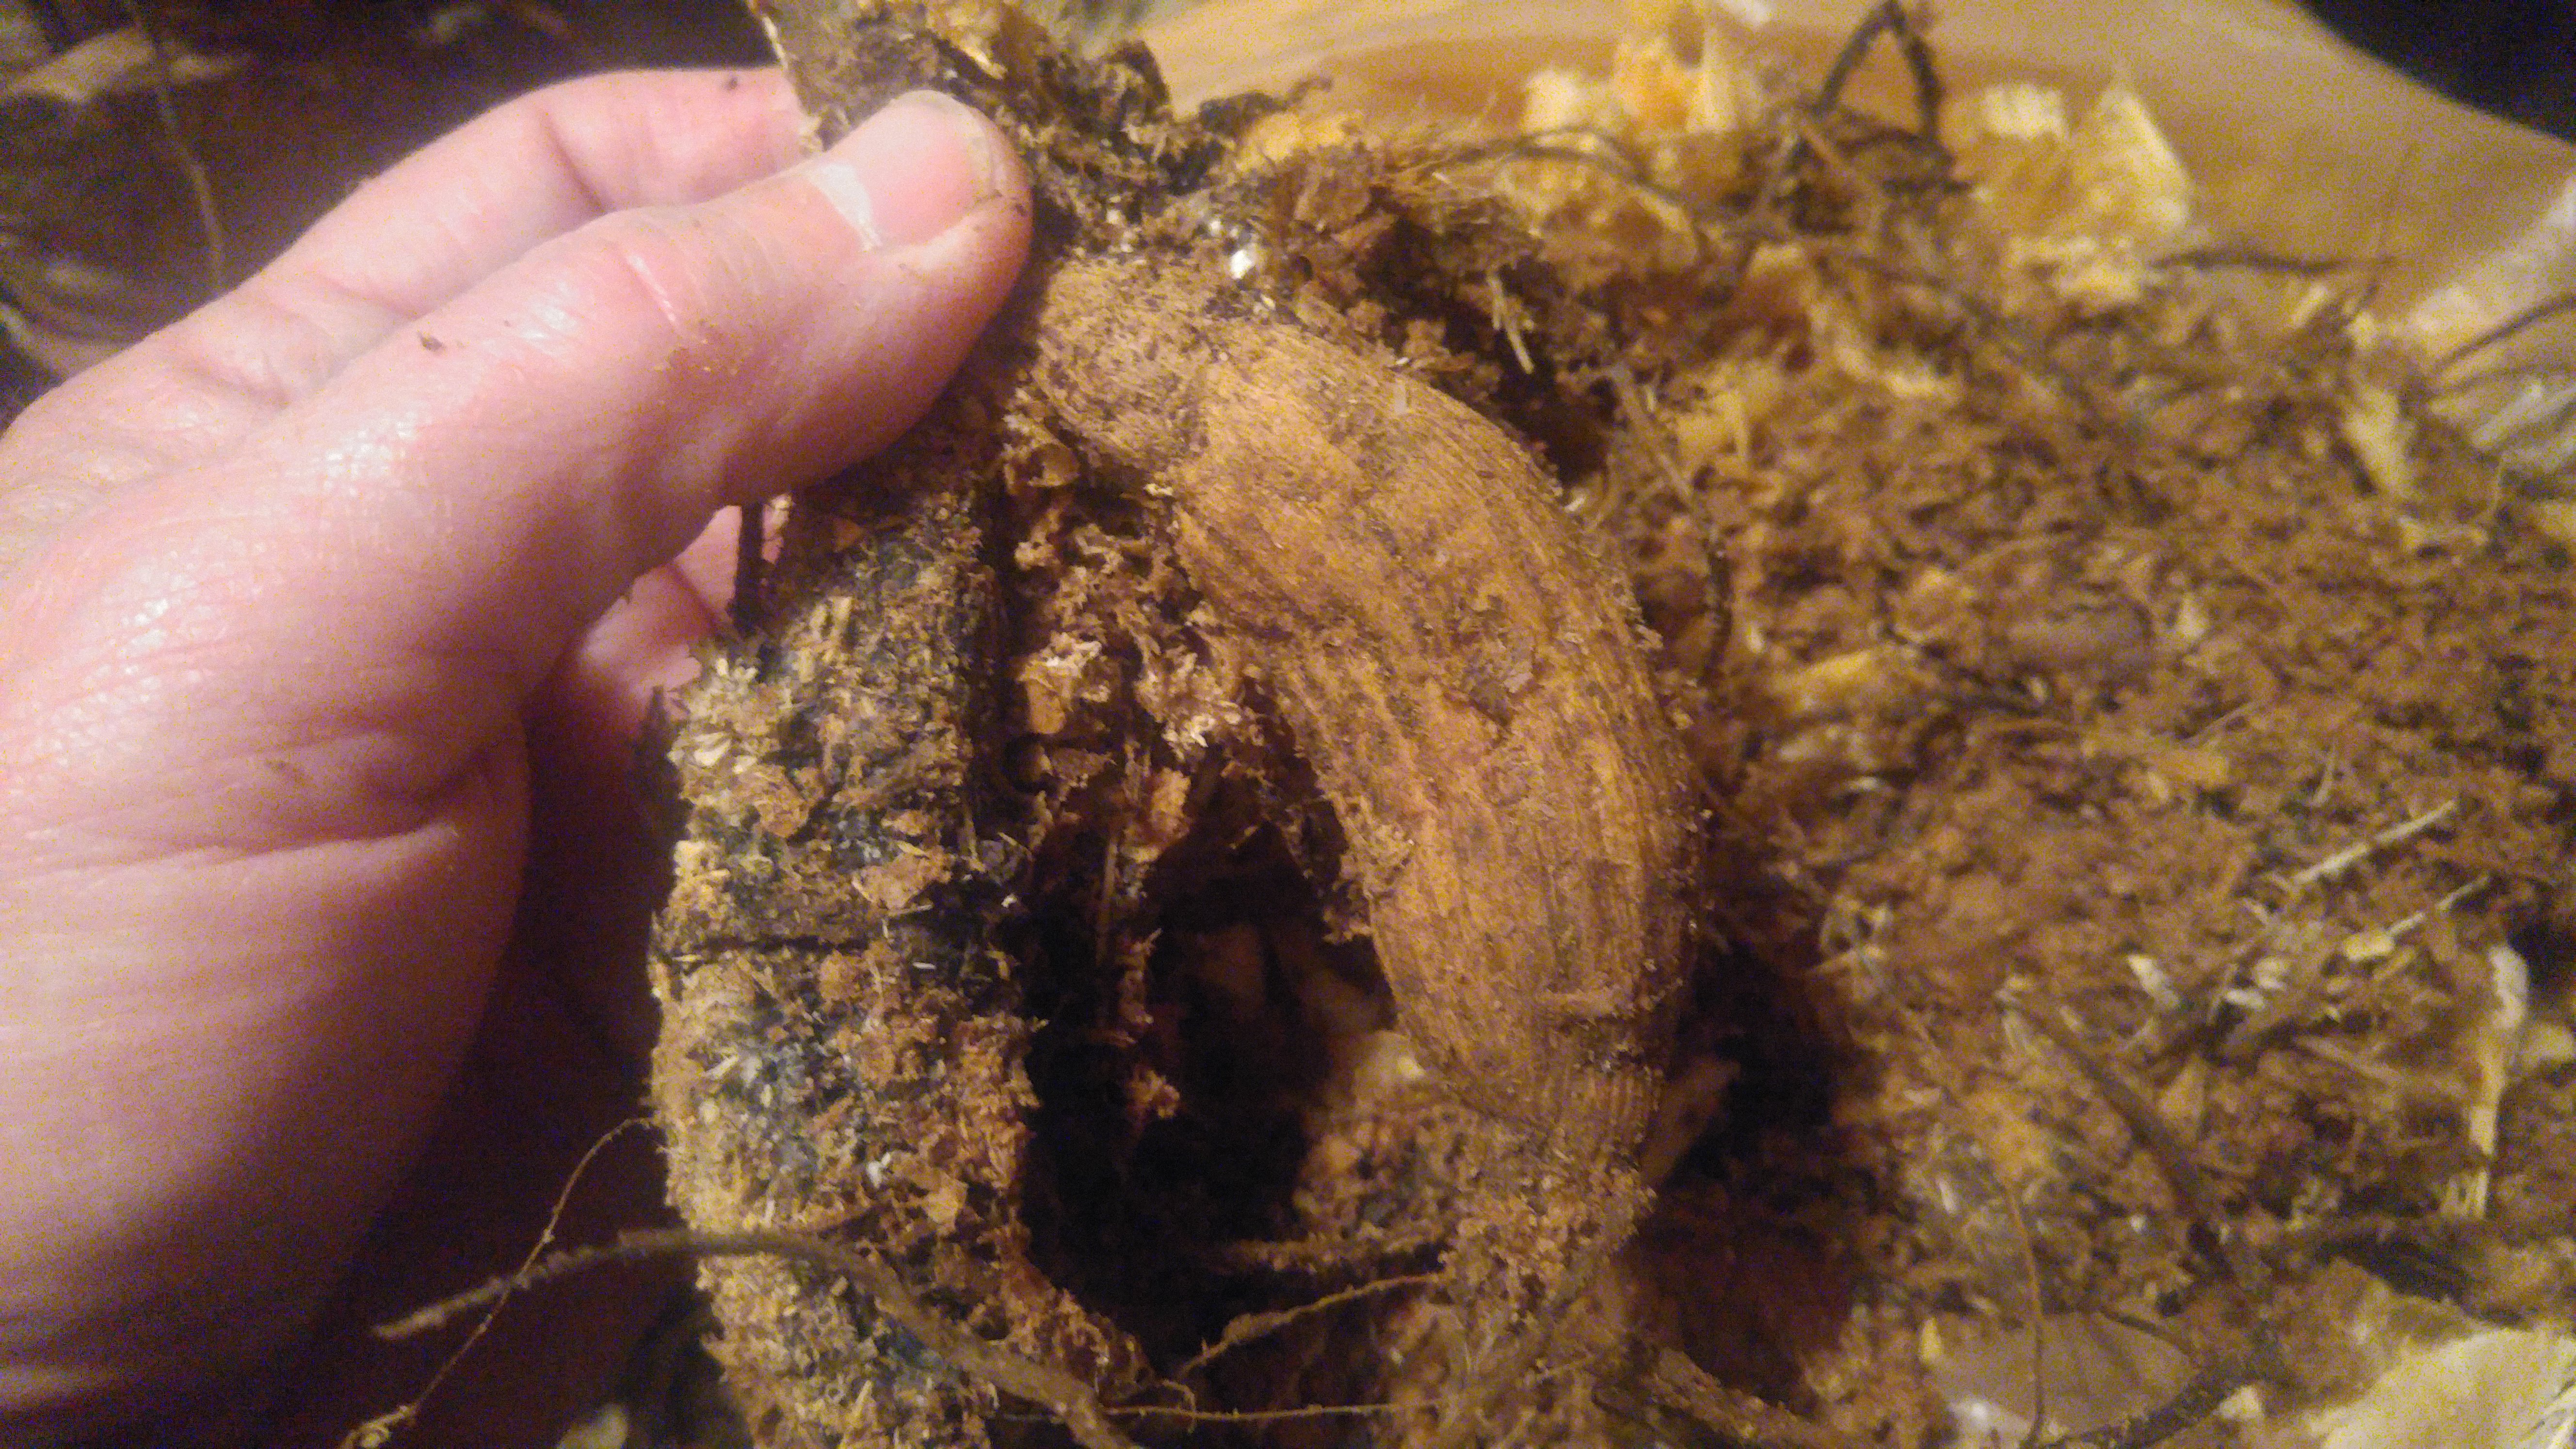
We live in a rural area and there are plenty of trees around to provide nesting sites for woodpeckers. If you remember, woodpeckers only nest in holes that they carve in tree branches. When looking for a likely nesting spot, they always choose dead branches first because the wood is softer due to decay making it easier for the bird to excavate a hole.

This branch is about ten inches in diameter and about twenty-five feet off the ground. They were most likely made by hairy woodpeckers, downy woodpeckers prefer smaller diameter branches.

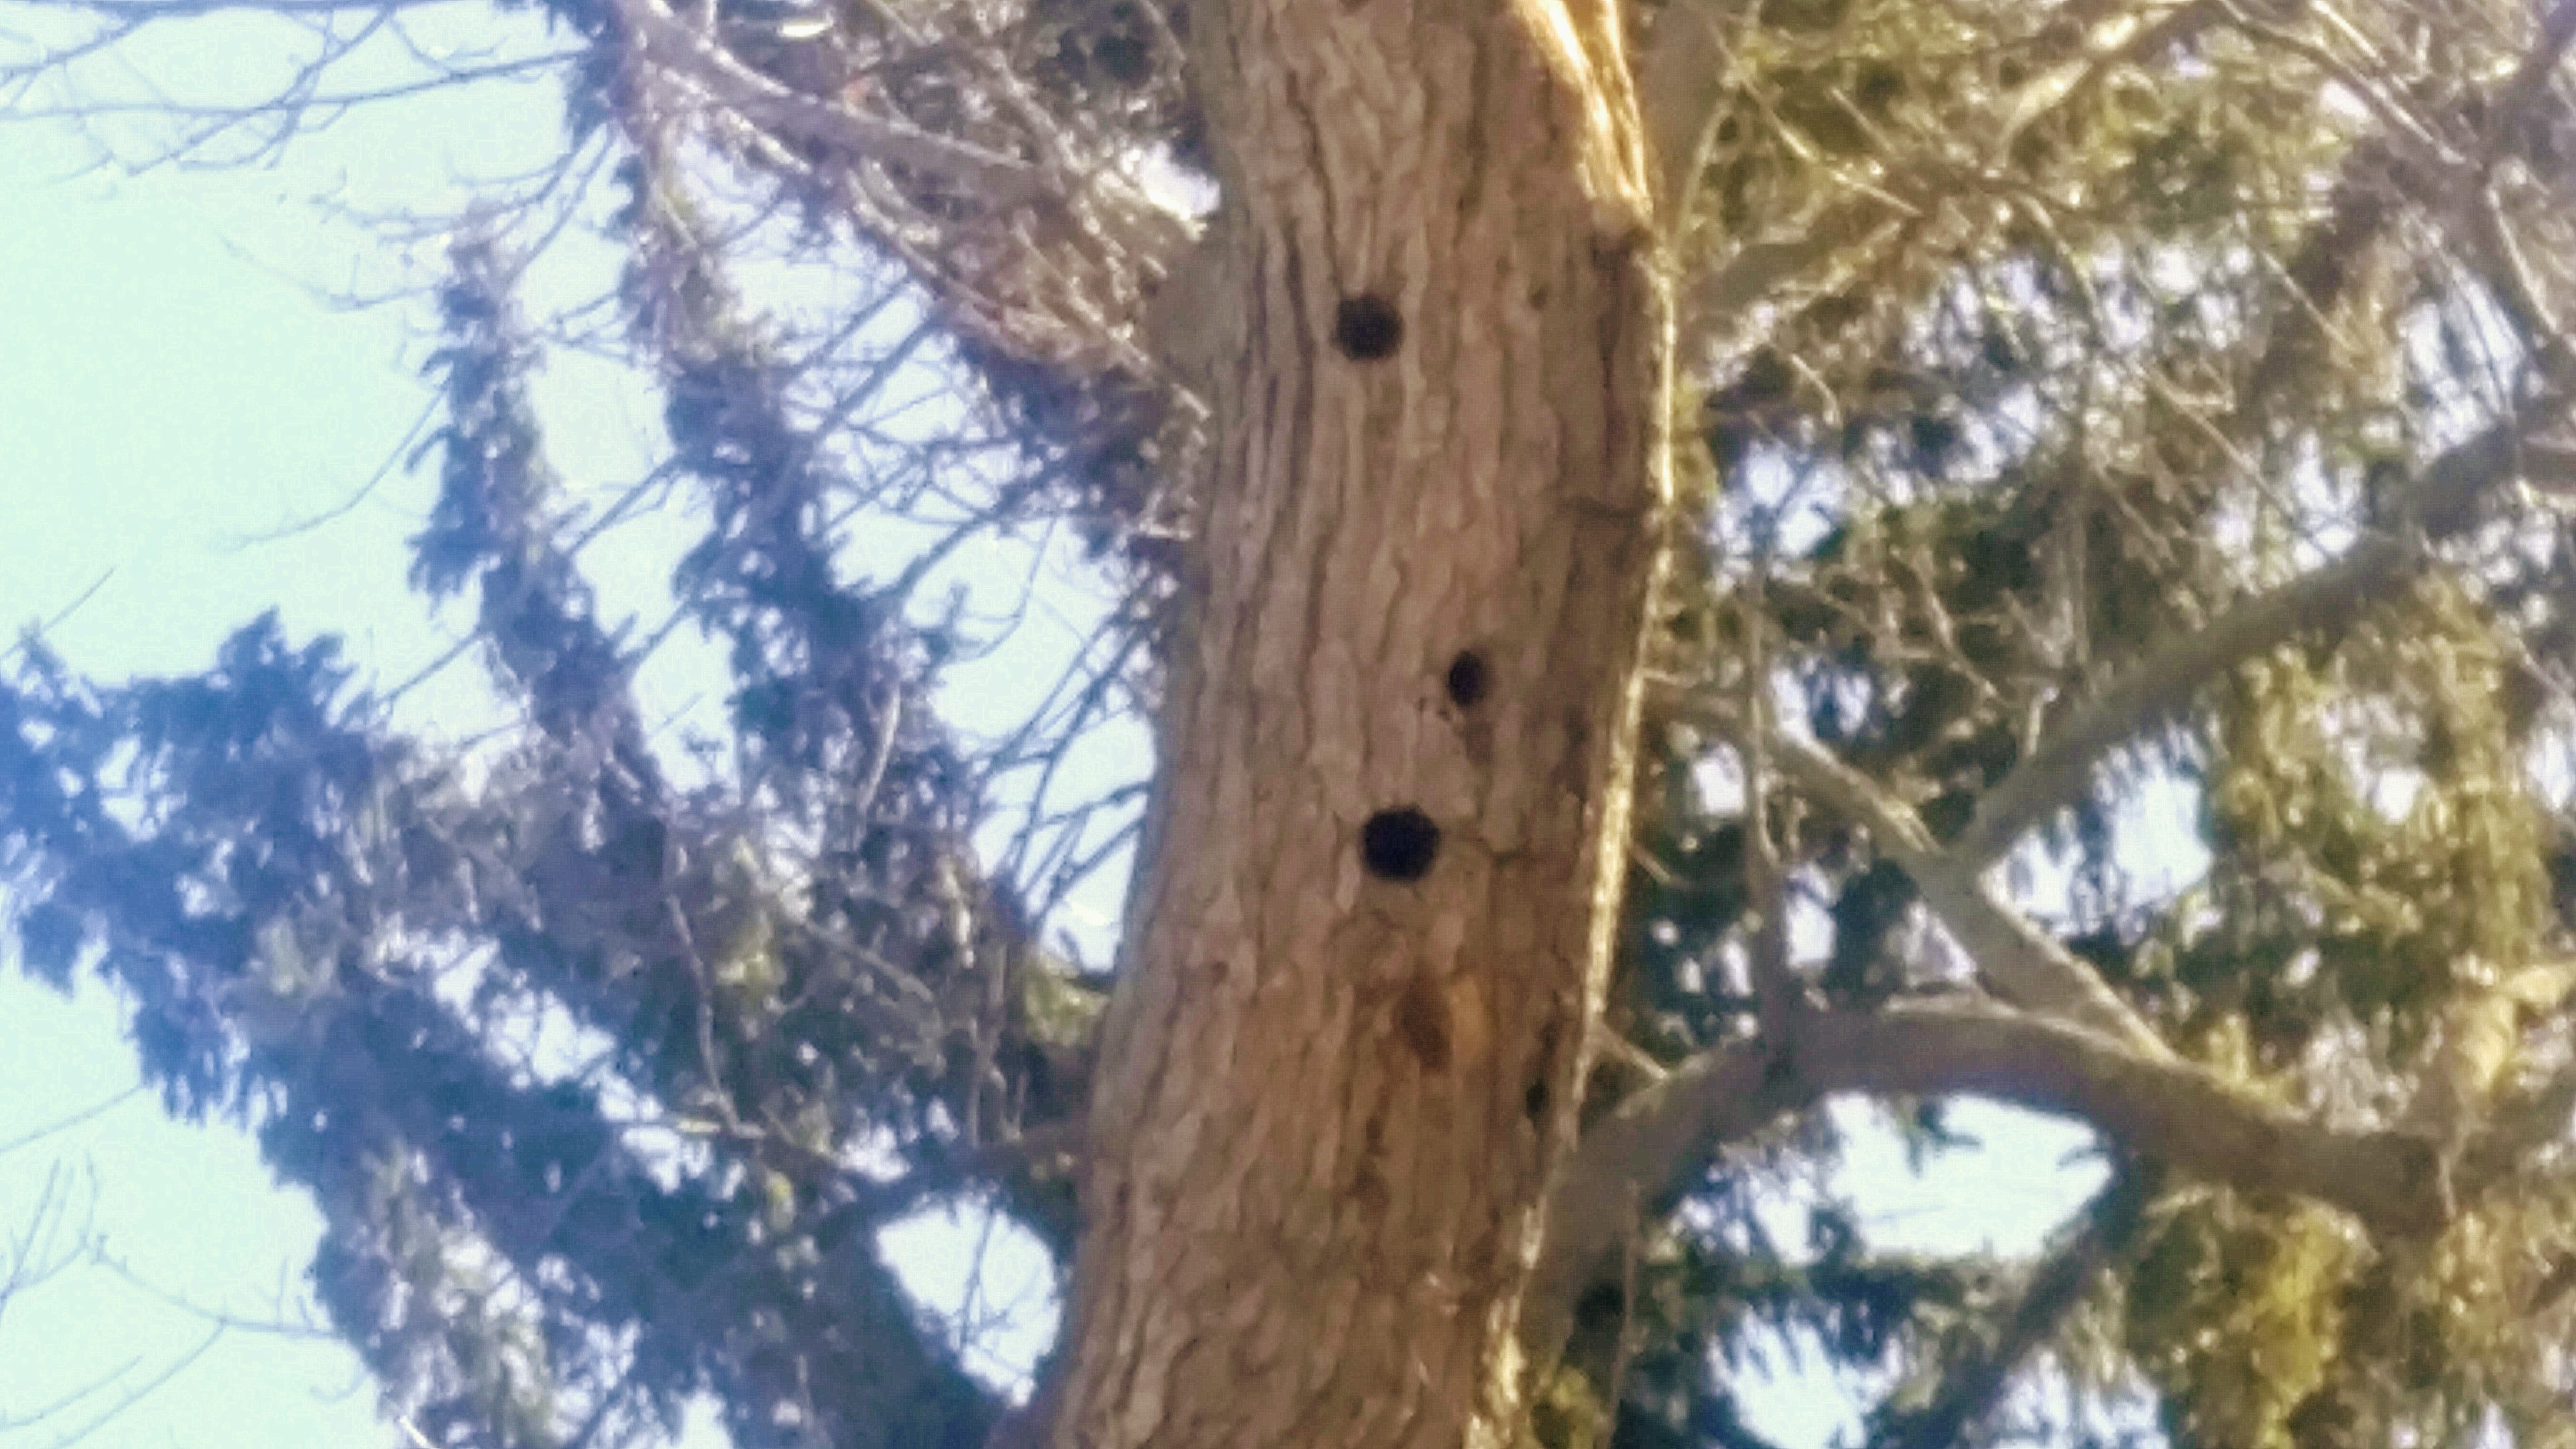
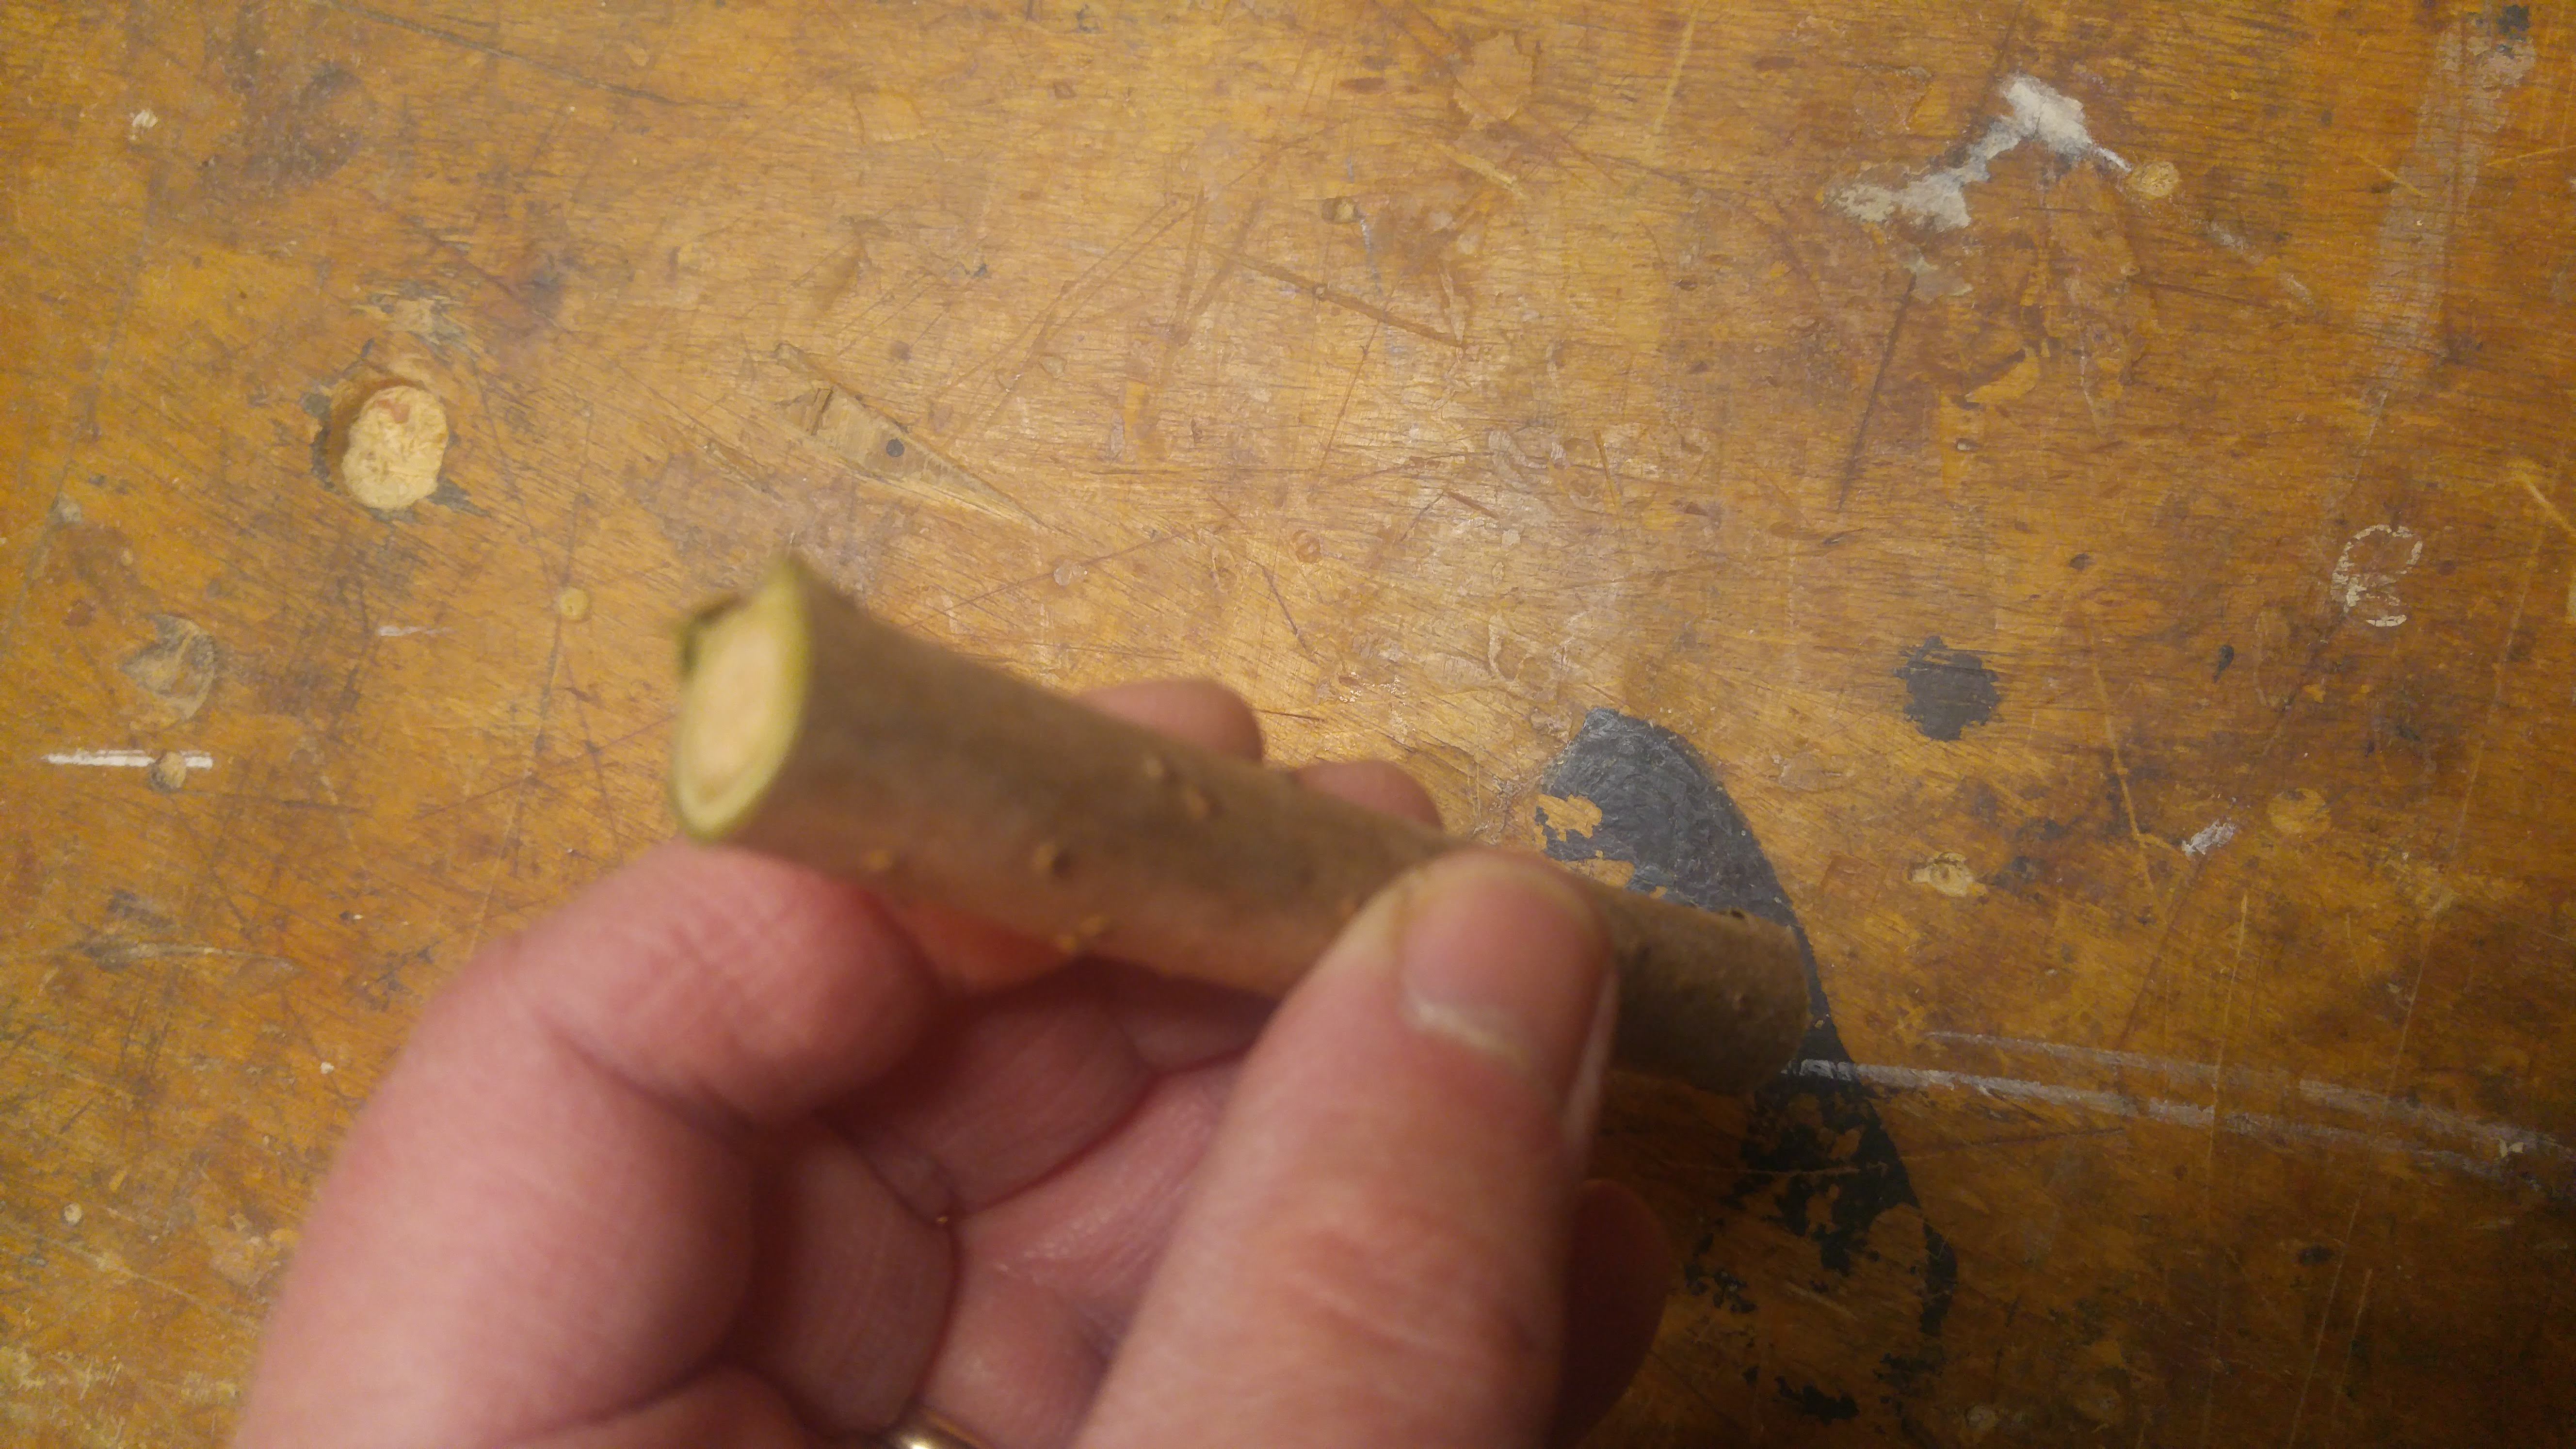
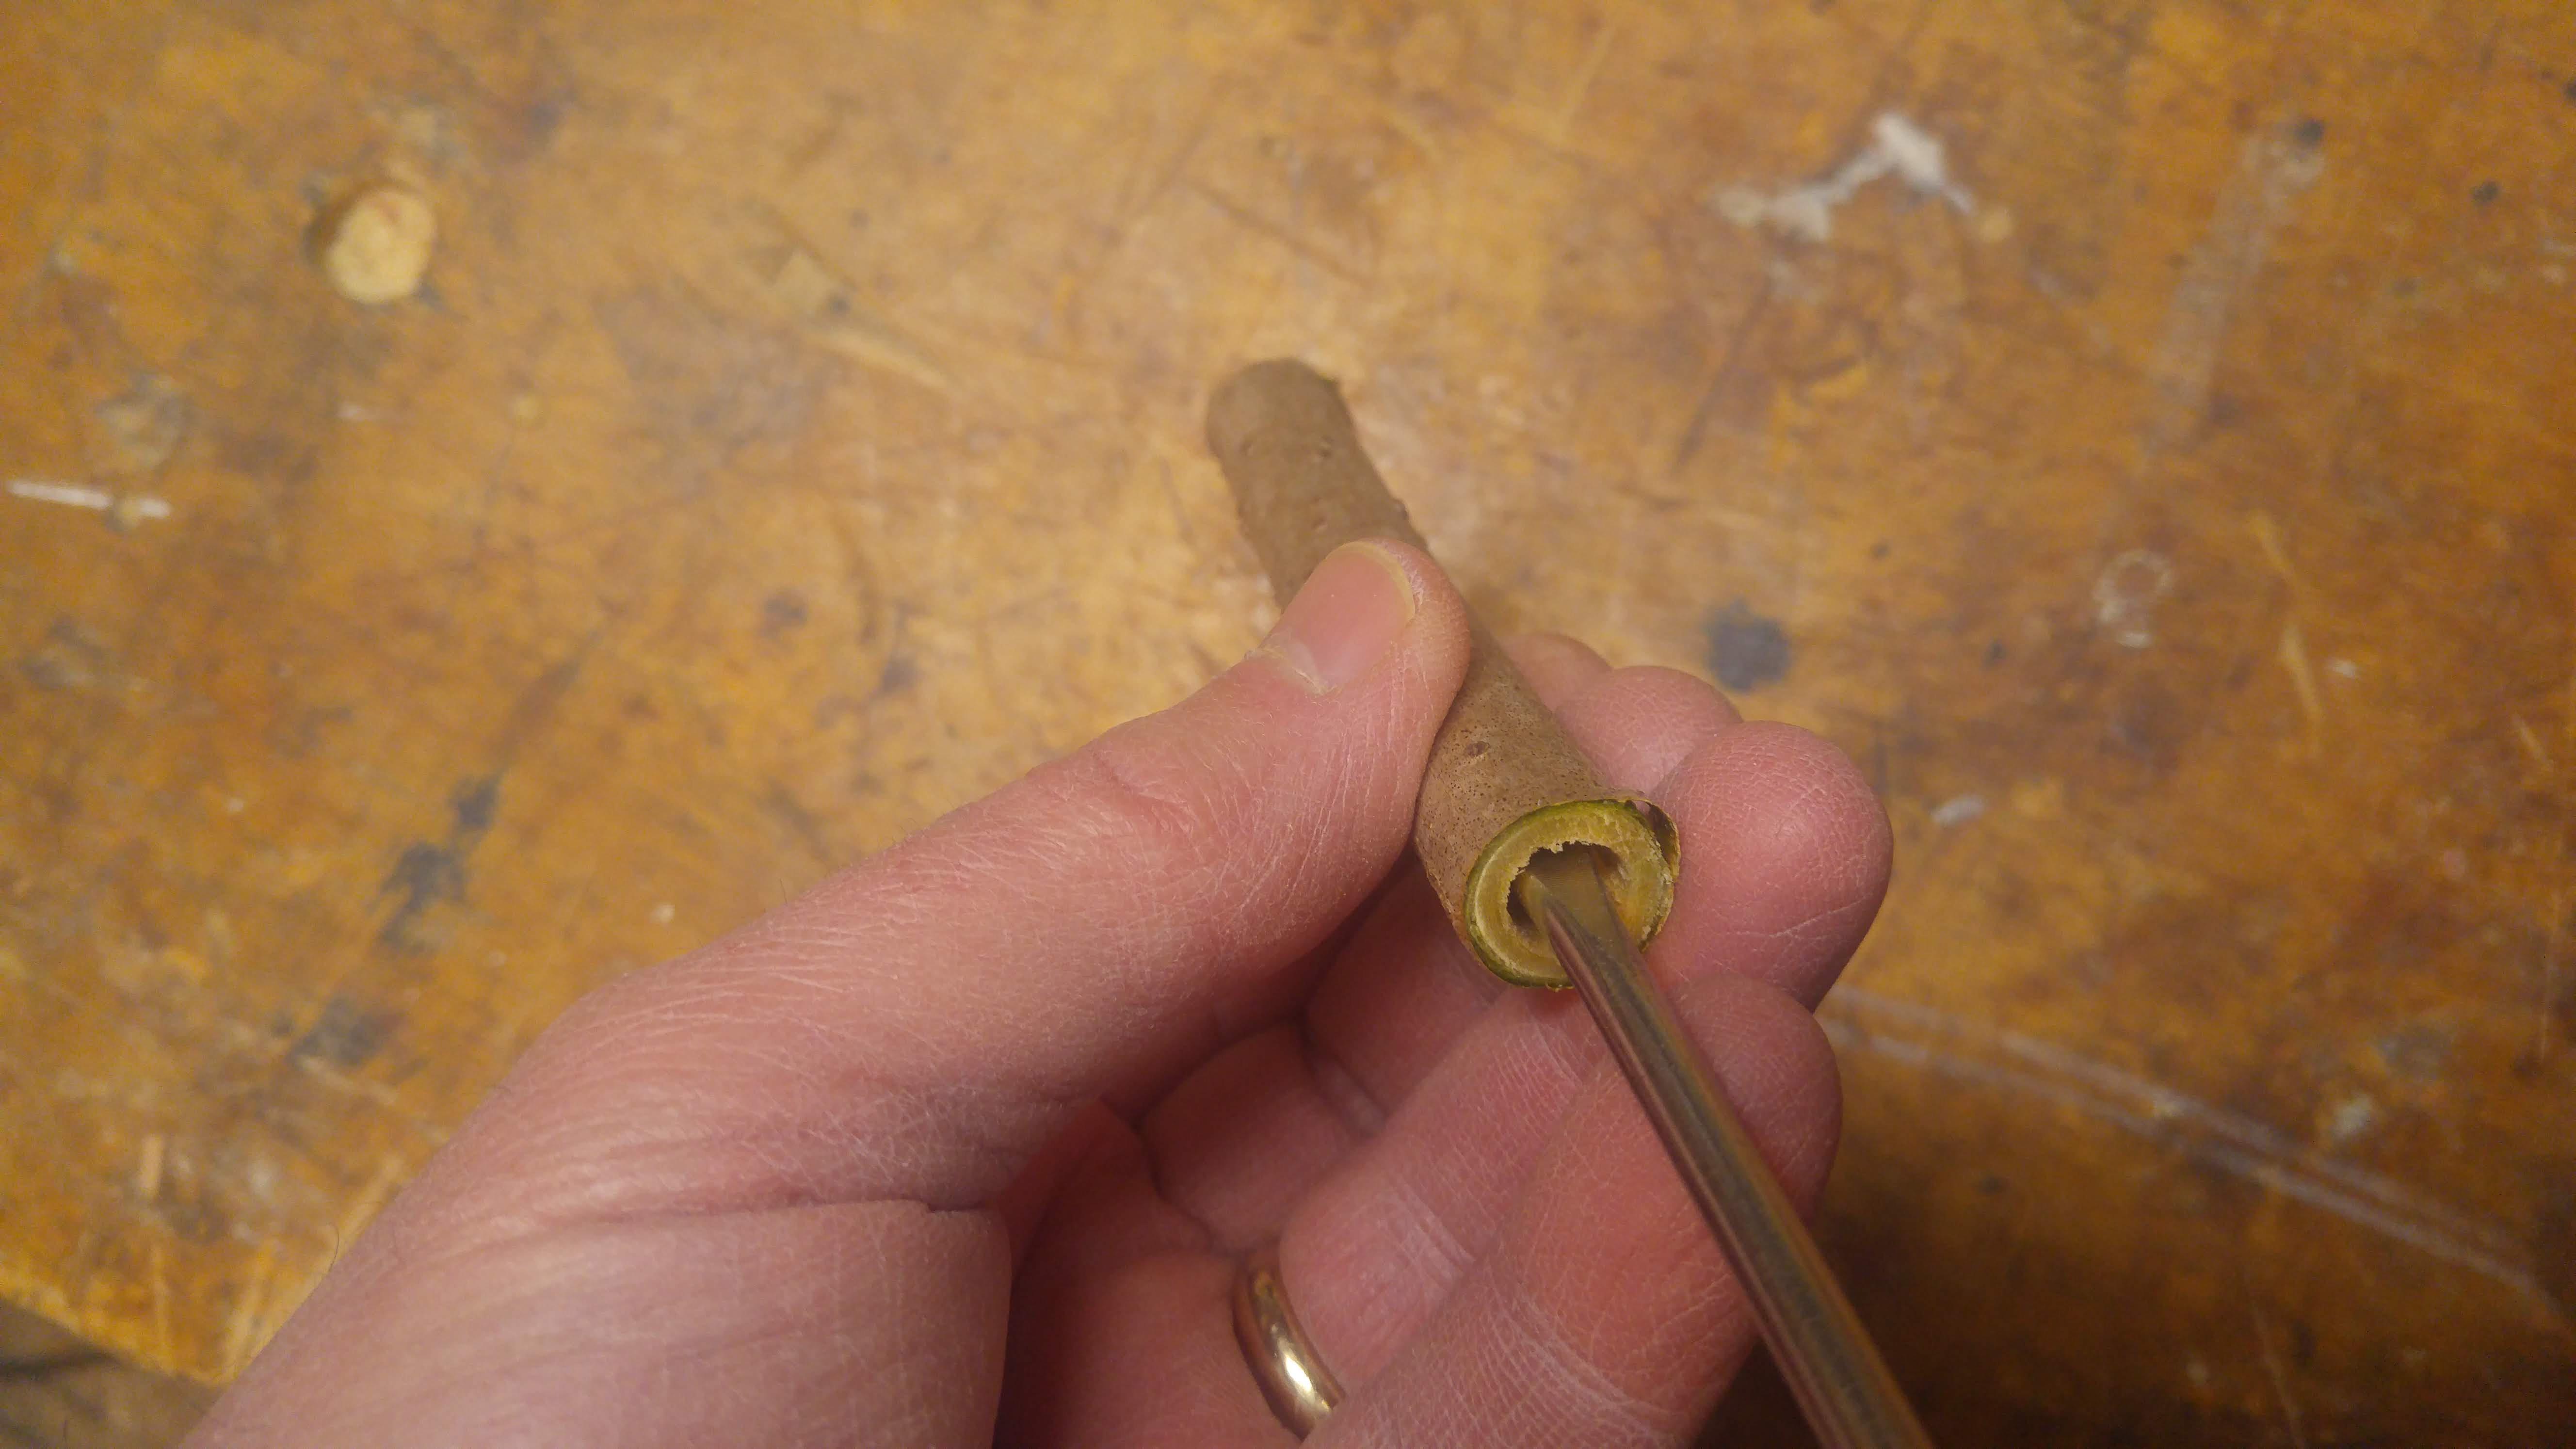
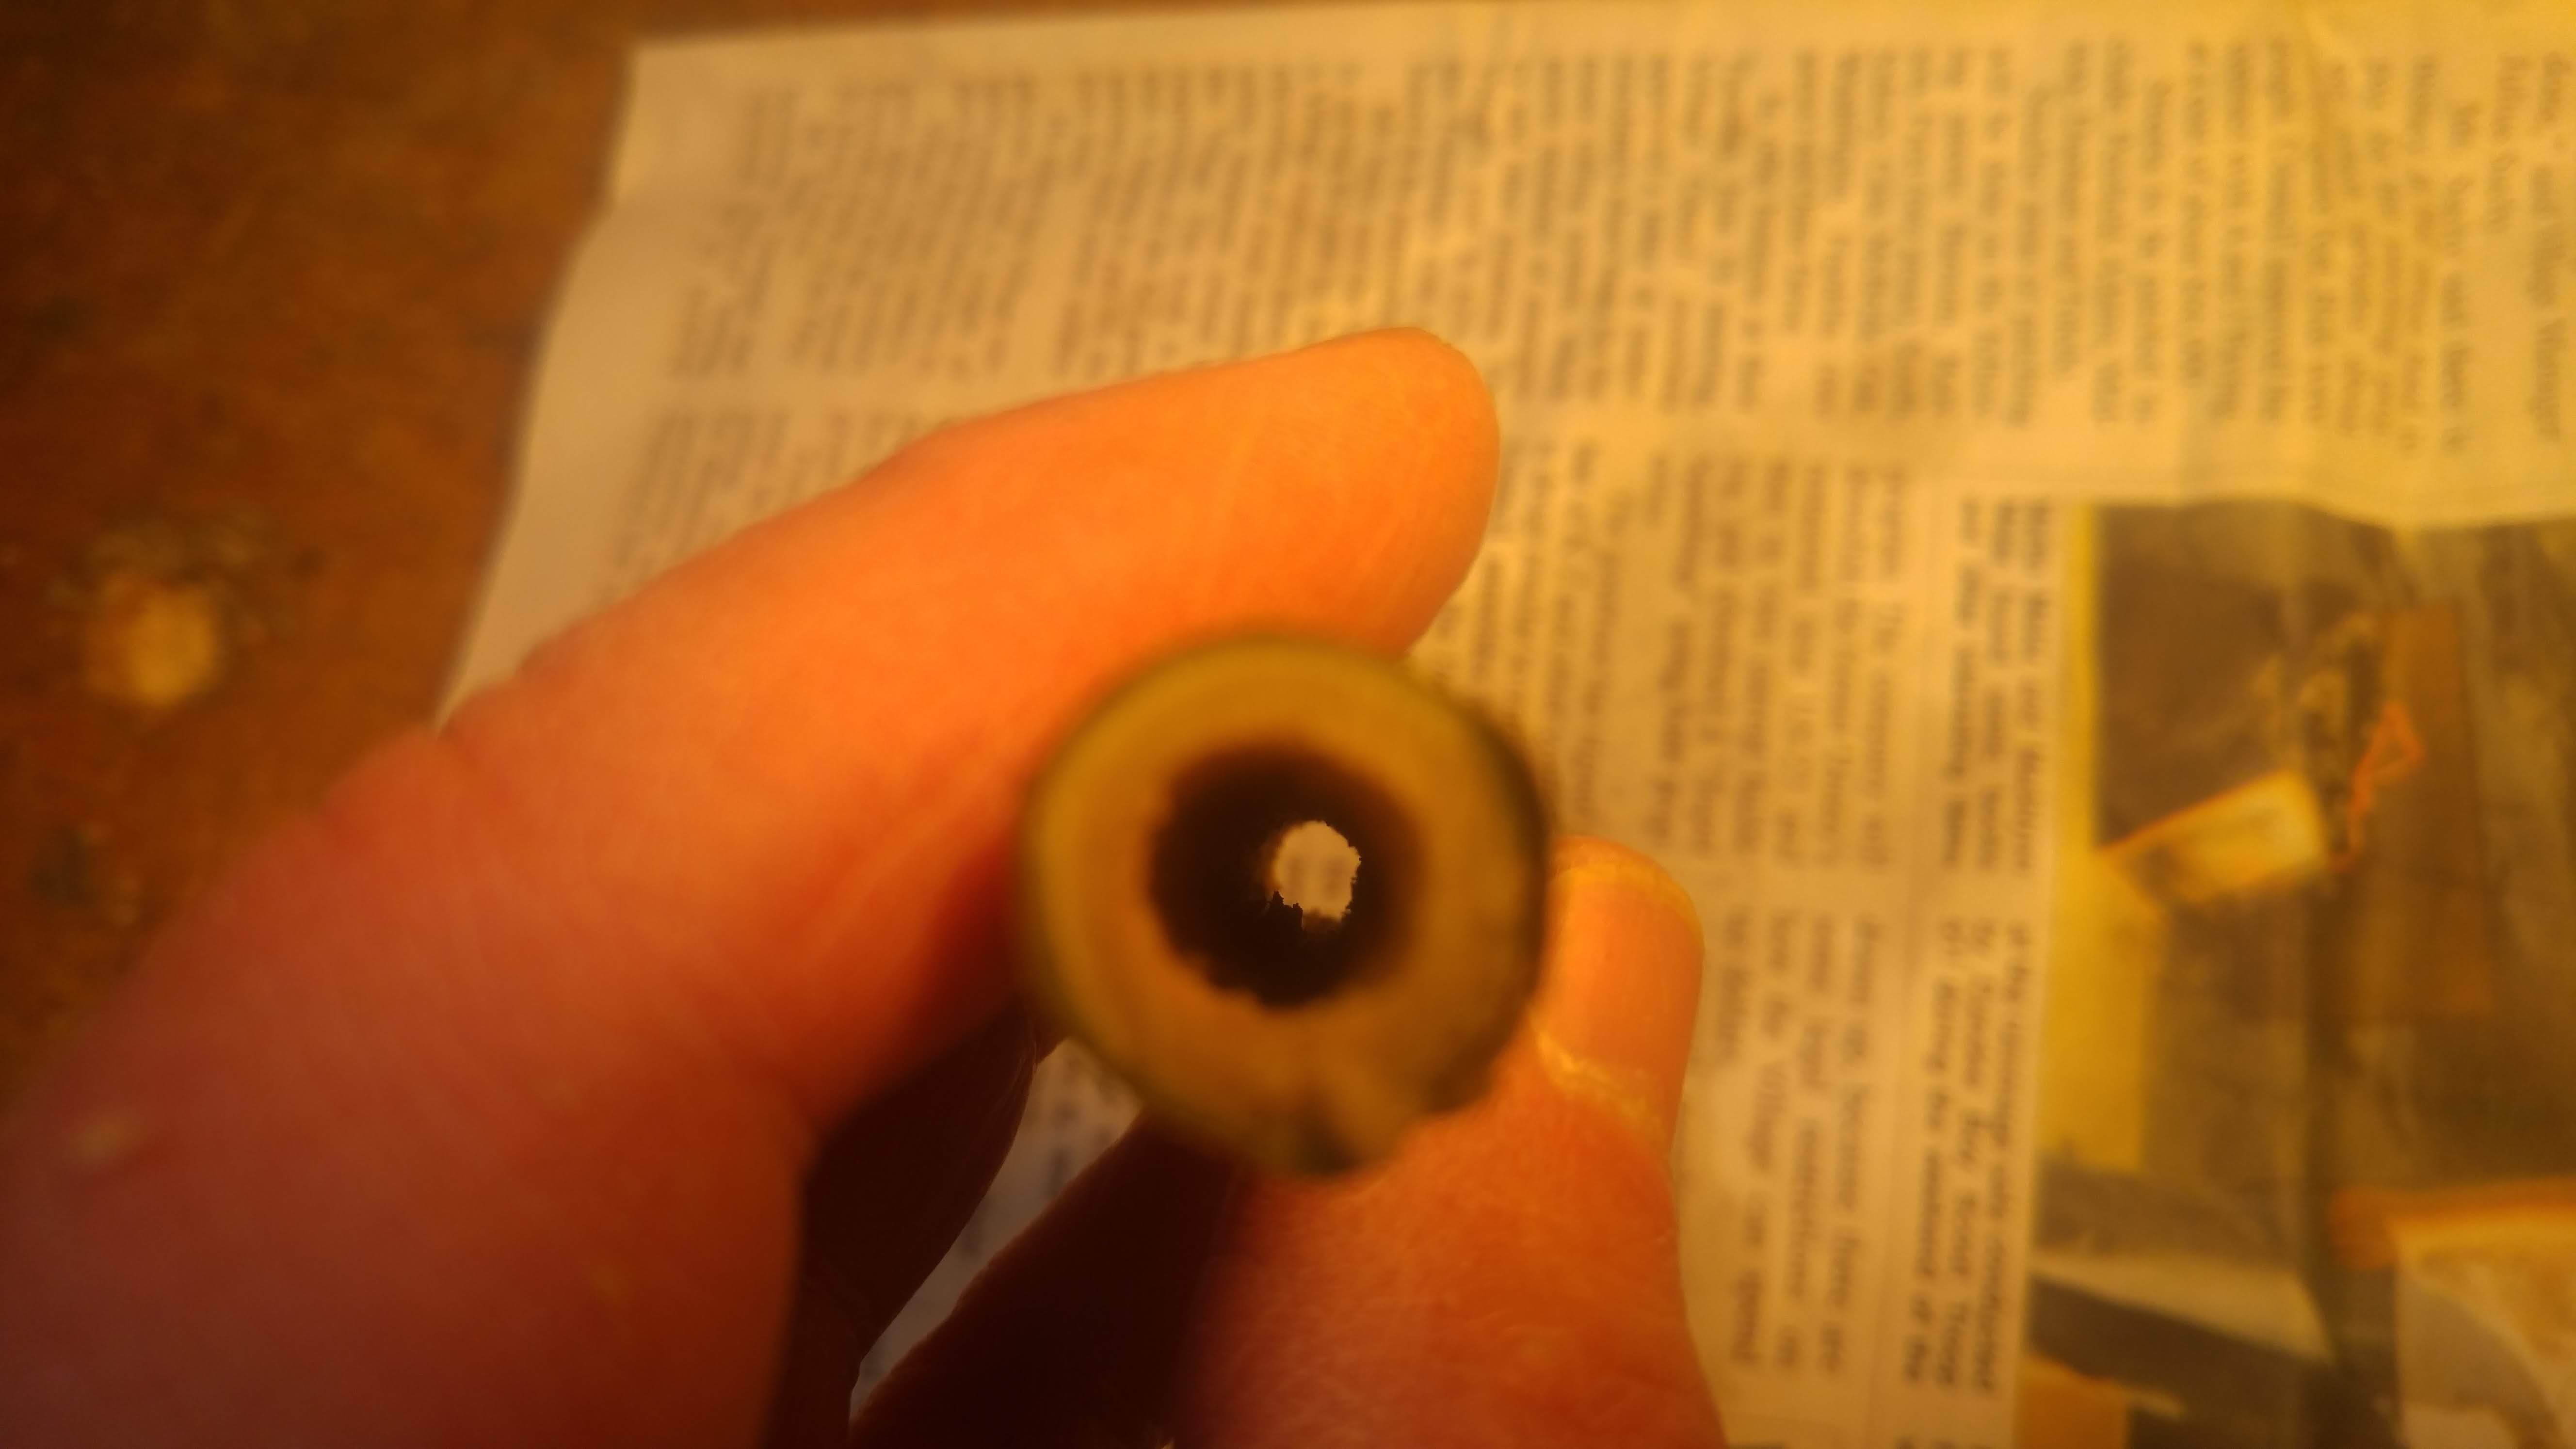
This branch is about ten inches in diameter and about twenty-five feet off the ground. The holes were most likely made by hairy woodpeckers, downy woodpeckers prefer smaller diameter branches.

Unfortunately, people don’t always think about birds when it comes time to cut firewood or tidy up the woodlot. Often, dead or dying trees are the first ones that get cut down. That reduces the number of nesting opportunities for woodpeckers.

When there is a lack of trees,woodpeckers will look for other places to build their nests. The outside wall of a house can be tempting for them, especially if it is covered with wood siding. They can be fairly destructive if they drill into a wall to make their nest.  More dead trees left standing may draw woodpeckers away from homes and back to their preferred habitat.

It’s not only woodpeckers that benefit from standing dead trees, other species of songbirds and small mammals will move into old woodpecker nests once the woodpeckers have eventually moved on.

If you decide to leave a damaged tree standing, just make sure it is in a location where it won’t cause any damage if the branches, or even the whole tree, falls.

Bob

Fixing seed starting mix that won’t absorb water

We’re sowing our seeds right now for growing transplants that we’ll plant out in the garden. It takes some work, but you can save quite a bit of money growing your own transplants.

Another huge advantage that may be even more important is being able to grow the varieties you want rather than relying on what the garden center grows. They usually chooses varieties that are the easiest to grow, not necessarily the tastiest. That makes sense in their business model. People who have success with their plants are more likely to return the following season.

Starting your own seeds is not without its problems. Some of them you can plan ahead for and minimize, others pop up out of the blue.

We’ve had a great start with our seeds this spring, the cabbages and related cool weather crops are up and growing well. We were using the last of last year’s seed starting mix but ran out. The local hardware store had plenty of bags of mix in stock so we bought a small bag so we could keep working. It felt a little light and fluffy when I carried it, that should have been a warning sign but I was in a hurry.

When we got it home and started working with it, we found that it would not absorb water. Even after sitting  in water overnight, not a drop was absorbed by the mix! It was a “hydrophobic” mix; it was repelling water. That happens whenever potting soils dry out too much. Usually manufacturers make sure a minimum amount of moisture is present to keep that from happening or they include a small amount of  a”hydrophillic” ingredient in the mix to help it absorb water.

The soil on left has absorbed water normally, the other on is hydrophobic.

The soil on left has absorbed water normally, the other on is hydrophobic.

One explanation is we grabbed one of last year’s bags of soil that had completely dried out while in storage. But who knows?

To avoid this in the first place, always make note of how heavy the bags are compared to one another. Mixes are sold by volume, not weight so you don’t have to worry about wasting money on buying water. Pick the one that feels a little heavier because it is more likely to have the proper moisture ratio.

If you do happen to pick a bad one, like me, you can still fix it by applying small amount of surfactant. Even professional greenhouse have this problem from time to time. They use specially formulated surfactants that are not available to the general public but dish washing detergent will work just as well.

Here’s the recipe: dissolve one teaspoon (not tablespoon) of liquid detergent to one pint of water. Use the cheapest off-brand detergent you can find, there’s a practical reason for it. The name brands like Joy, Dawn or Palmolive make too many suds for this purpose. I have a bottle of off-brand detergent left over from several bottles I picked up many years ago when Farmer Jack went out of business. How long ago was that?

Place your solution in a spray bottle and spray it on the surface of your mix, that should give you enough surfactant to allow the water to soak in.

Sometimes the soil in a container will dry out and become hydrophobic even when a plant is growing is growing in it. When that happens, the plant will quickly die from lack of water. Your surfactant spray will fix that situation too. Just spritz a light spray on the top of the soil. It will help water penetrate but won’t harm the plant.

Bob

March 8, 2019

Making a DIY maple sap stile from an elderberry or sumac branch

We’re rapidly approaching the maple syrup season. Actually if it wasn’t for this cold snap we’d be gathering sap right now. It all depends on the weather,  cold nights with quickly warming morning stimulates sap flow.

Now that I reminded you of it, maybe you want to try making some maple syrup yourself this year. First you’ll have to collect maple sap and for that you’re going to need some equipment before you start. One very important piece of equipment is the stile, or tap. That’s the little doohickey that is used to funnel maple sap from the tree trunk to a pail or other collecting container.

Like so many other things that started out simple, a huge retail industry has developed around selling items for tapping maple trees. To hear them tell it, you can’t even get sap out of a maple tree without their products. People have been tapping trees and making maple syrup for centuries, How did they do it without access to modern day gadgets? Well, they made their own equipment using raw materials available in the environment around them.

If you hurry and ask for priority shipping, you may be able to order tree tapping stiles online and get them before the season ends. Or you can make your own.

You can easily carve a stile from an elderberry branch using tools you already have around the house. Sumac branches work just as well or perhaps even better than elderberry and may be easier to find in your neighborhood.

The hardest part of the whole process is finding the shrubs. Once you find a likely bush, take out your sharpened pruners and cut off a section of branch around a half an inch in diameter.  Freshly cut, green stems are relatively soft and very easy to work with.

Cut elderberry branches into sections three to four inch long.

This is about the size of stem you need to make a stile.

This is about the size of stem you need to make a stile.

Using a screw driver, hollow out stem by removing the soft pithy part running through  the center.

Use a screw driver to clean out the soft inner pithy part of the stem.

Use a screw driver to clean out the soft inner pithy part of the stem.

Work the screw driver  through the pith to form a hollow tube.

Work the screw driver through the pith to form a hollow tube.

Try to get as much pith out of the stem as you can.

Try to get as much pith out of the stem as you can.

For the next step, use a sharp pocket knife to whittle away one end to form a taper. This will be the end that goes into the tree.

A utility knife with a new blade makes short work of tapering the end.

A utility knife with a new blade makes short work of tapering the end.

Finally, make a slanted cut at the far end to form a spout. And that’s all there is to it. Your first stile will probably take several minutes to make but once you’ve done it, you’ll find the next one will be easier and can be finished in less than a couple of minutes.

Make an angled cut at the opposite end to form a spout.

To complete your stile, make an angled cut at the opposite end to form a spout. Shave off the bark f you want.

I’m not going to go though all the steps necessary to tap a tree and boil down sap into syrup but if you want to learn more, click here to find an old publication that I posted several years ago describing the process from start to finish.

After the first year, you may find you’re interested in expanding your syrup making hobby, if that’s the case then by all means go online and start collecting  more sophisticated equipment for next year.

Bob


Checking stored flower tubers

Several weeks ago I blogged about how I store dahlias. Did you keep some of yours too? If you haven’t already done so, now’s the time to check on them to see how they’re doing. Serious dahlia growers begin planting their tubers in mid-March, in pots and in a greenhouse of course.

I opened mine up right after the polar vortex blew through a couple of weeks ago. They were in a spot that normally stays cool but never freezes. However, this fall I rearranged boxes and stuff in the garage. Without realizing it, doing that must have changed the airflow pattern and allowed cold air to settle in the spot where I stored my dahlia tubers. I didn’t have a thermometer in that area but I knew it got cold because the storage bags were partly frozen. That’s not a good sign.

They didn’t look too bad when I opened them up to take a peek, but some looked to be partly frozen. The outside layer of damp sawdust was lightly froze. Instead of warming the tubers up to thaw, I moved them to another more temperate part of the garage to slowly warm up. Today I finally brought them out to see how they were doing.

It's very easy to tell the damaged tubers from the undamaged.

It’s very easy to tell the damaged tubers from the undamaged. The one on the left was frozen.

As suspected, most of them were damaged beyond salvaging, I’m looking at about an eighty percent loss. The ones that survived look healthy though. I’ll re-pack the good ones in fresh sawdust and compost the rest.

I also had some elephant ears tubers in storage, those I kept in the pots that they grew in last summer. They look pretty good. I gave them a small amount of water whenever the soil looked really dry — maybe once every other week or so. In the spring I’ll knock them out of the pot, divide them and replant.

You can't see much in this photo but the elephant ear roots are looking good.

You can’t see much in this photo but the elephant ear roots are looking good.

Other large pots have cannas that I stored the same way as the elephant ears, right in the pots they grew. They got some water through the winter too but not as much as the elephant ears. I wanted to keep them a little on the dry side so they wouldn’t get water logged and rot. Remember, they are dormant and not growing so they don’t really need much water. On the other hand you don’t want them to dry out and shrivel up. It’s something you have to learn trough experience. I usually ere on the side of less water.

The canna bulbs are in fine shape at this point in time.

The canna bulbs are in fine shape at this point in time.

Unfortunately, we lost a large geranium to the cold. It was one that we’ve been saving and taking cutting from for years and years.  During the most recent warm-up, we set the potted plant out on the front porch and — you guessed it — forgot it was there and it froze overnight. There may be some dormant buds that survived, I’ll let you know how that turns out.

Bob


Powered by WordPress