A couple of posts ago I discussed a hands-off style of flower gardening that works some in established gardens. In those cases the soil is usually in pretty good shape after having had plants growing in the same spot for many years. Not everyone is fortunate enough to have such a garden space.
Sometimes the soil in a potential garden spot requires a lot of work before it is fit to grow vigorous plants. Take for example the case of the typical yard of a newly constructed home. It’s not unusual for the builder to remove the existing topsoil and haul it away to be sold. Then, usually, soil excavated for the basement is spread over the new yard area leaving the new homeowner to struggle with the poor soil. The homeowner often ends up buying topsoil (most likely from a different housing project) to add to the yard.
New topsoil may be adequate to grow a lawn but not necessarily good enough to grow flower and vegetable plants. In that case, the laissez-faire method of gardening will have to be put on hold until the garden has built up fertility and the soil structure has improved. That may take years or decades without major help from the gardener.
There’s a way to drastically improve a garden spot so it can be in tip-top shape the first year. It’s a method called “double digging”. Double digging is not for the faint of heart. I did it one time many years ago for a problem area and I can tell you it’s a heck of a lot of work but the results were impressive.
I suggest starting with a small garden bed in case you run out of energy or patience before the project is done.
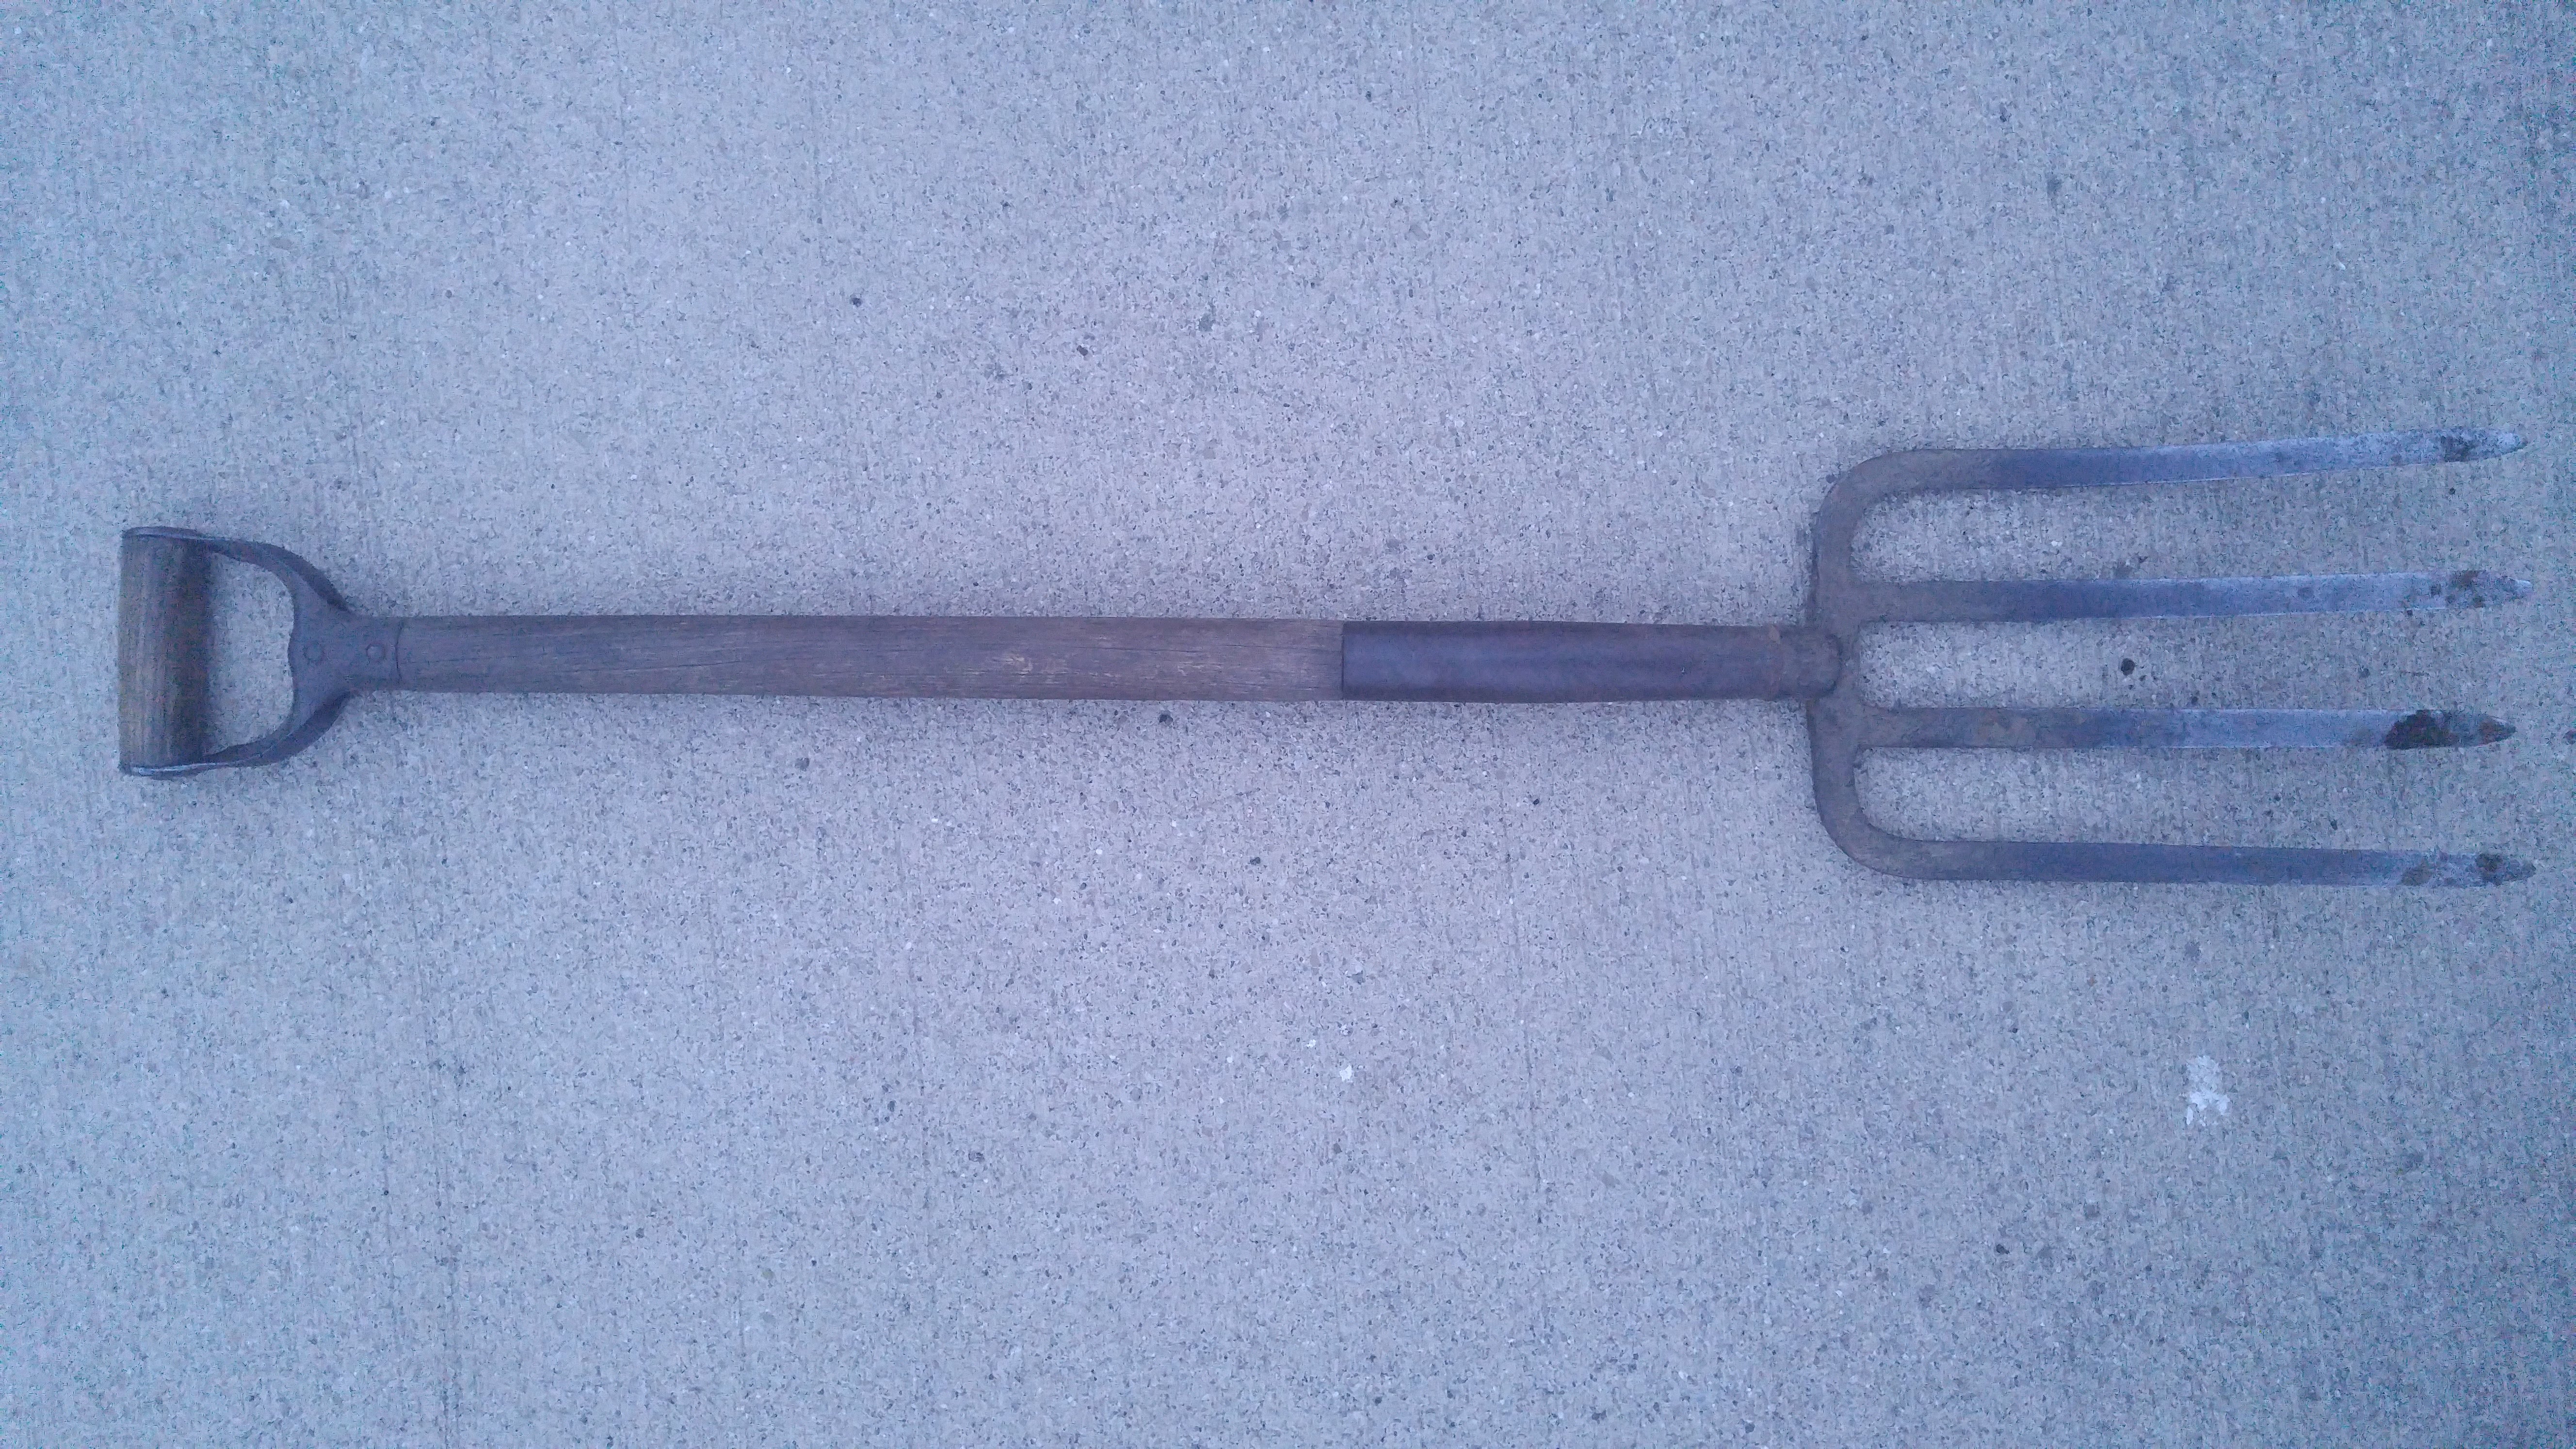
A sturdy garden fork is an essential tool for double digging and general garden work.
Start by digging a trench about a foot wide and the depth of of your shovel along the entire lenght of one side of your new bed. Pile the soil from the trench along side your excavated area. Then insert a garden fork into the soil of the bottom of the trench. Use the tines to break up that layer of dirt and incorporate some compost as deep as you can.
Dig another trench along your original trench, again over the entire length of that same side. Take the soil that you remove from digging your second trench and place it into your original excavation, right on top of the loose soil and compost. Once the second trench is done, dig another and another until you eventually reach the far side of the bed. Fill the final trench with the soil that you took out of your very first trench.
The final step is to spread more compost over the entire garden bed and deeply dig it in to the soil with your garden fork. If you plan to add fertilizer, now would be the time.
The soil will be fluffy and full of air-pockets so you’ll need to water the area a few times to help settle the soil before planting.
In some gardens, double digging seem like over-kill but in certain circumstances it’s the ideal way to build a garden bed.
Bob