Weather conditions in the Pacific ocean always have an effect on our weather here in the Great Lakes area. Because of changing conditions in the Pacific, the National Weather Service is predicting a warmer than normal summer with normal or slightly below normal rainfall.
That means as gardeners, we may have to irrigate our gardeners this year if we want to maximize our vegetable yields.
There are many ways to water a garden. Some are very inefficient uses of a gardener’s time and effort such as carrying watering cans. Other methods are inefficient by wasting water such as spraying water into the air with a sprinkling system. The most efficient way to irrigate is to use a trickle or drip irrigation system.
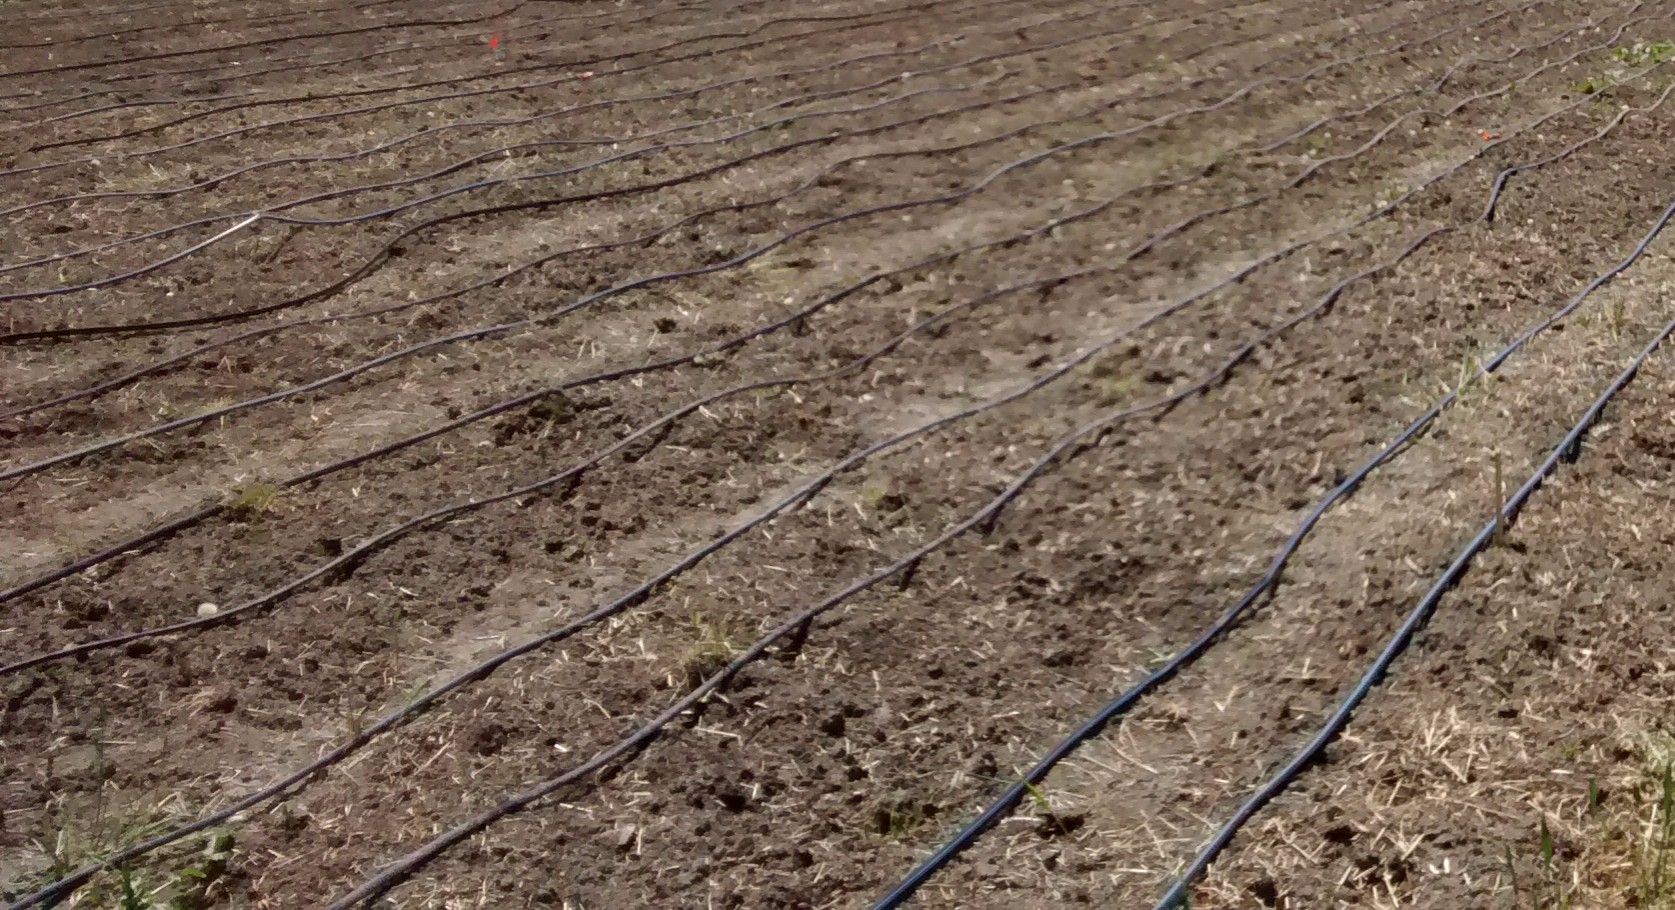
The simplest way to describe a drip system is to imagine a flat, thin-walled hose with tiny slits cut into it at regular intervals. Those tiny slits allow water to slowly drip out of the irrigation line rather than spray out into the air.
Unlike other types of irrigation that wet the entire soil surface and rest of the garden from top to bottom, drip irrigation places water only where it is needed, at the root zone of the garden plant.
As water drips out from the irrigation line, it travels straight down onto the soil for a short distance. It then begins to spread out providing moisture to the area of the soil profile where the plant roots are.

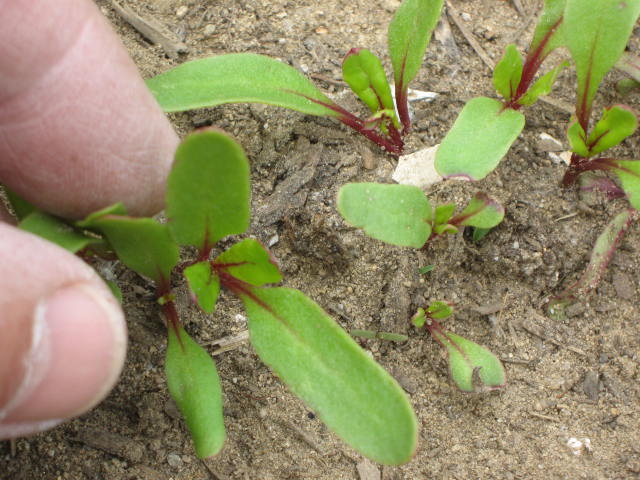
Install irrigation lines before or shortly after planting before the garden plants get too big and in the way.
Looking at an area irrigated by a drip system, the soil may appear to be dry with just spots of moisture at the perforations. Underneath however, down in the root zone, moisture spreads out horizontally becoming available to the entire root zone. Soil texture affects the shape of the moist area somewhat. In sandy soil, water will travel further down into the soil before beginning to spread out compared to loamy or clay soils.
A dry soil surface also means fewer weeds since weed seeds need water in order to germinate.
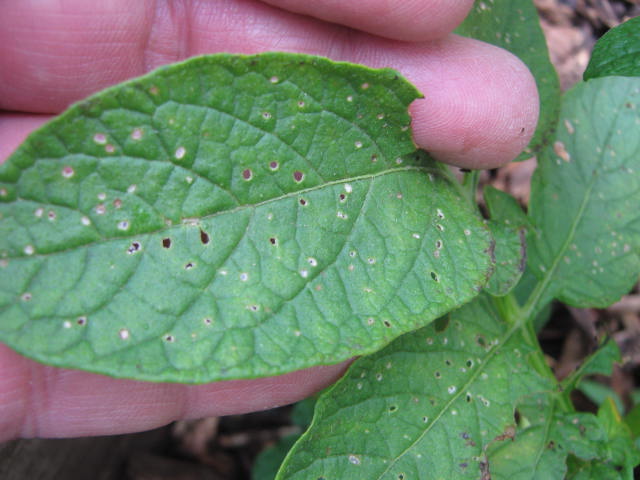
Drip irrigation keeps the plant leaves dry giving plants some protection against diseases since many plant diseases can spread when leaves are wet. That’s why so many Golden Delicious apples come from the state of Washington. Out there very little rain falls and the air is dry — too dry to support plant disease. A drip irrigation system provides all the water the trees need. That is the perfect combination of growing conditions to minimize plant disease and maximize apples production. Here in Michigan our farmers grow wonderful apples but it is more difficult for them to do.
A battery-powered automatic timer coupled with a valve system makes watering your garden a virtually hands-off process once it is installed. It also takes the worry out of leaving your garden to fend for itself while you are away on vacation during the hottest part of the growing season.
With care during installation, removal and storage, irrigation lines can be used over and over again year after year.
A warmer than normal growing season coupled with an efficient irrigation system will produce a bumper crop of garden vegetables this year.
Bob