The Yellow Farmhouse Garden

July 27, 2019

Remove fallen fruit from your orchard

What’s worse than finding a worm in your apple? A: Finding half a worm.

Modern pesticides and strict inspection policies have made finding a codling moth larva, or worm in an apple from a supermarket’s produce department a pretty rare thing for most consumers. Even though kids nowadays have never had that experience, the friendly worm in an apple still is subject of children’s books and cartoons.

A codling moth larva crawling out of an apple -- the proverbial worm in the apple.

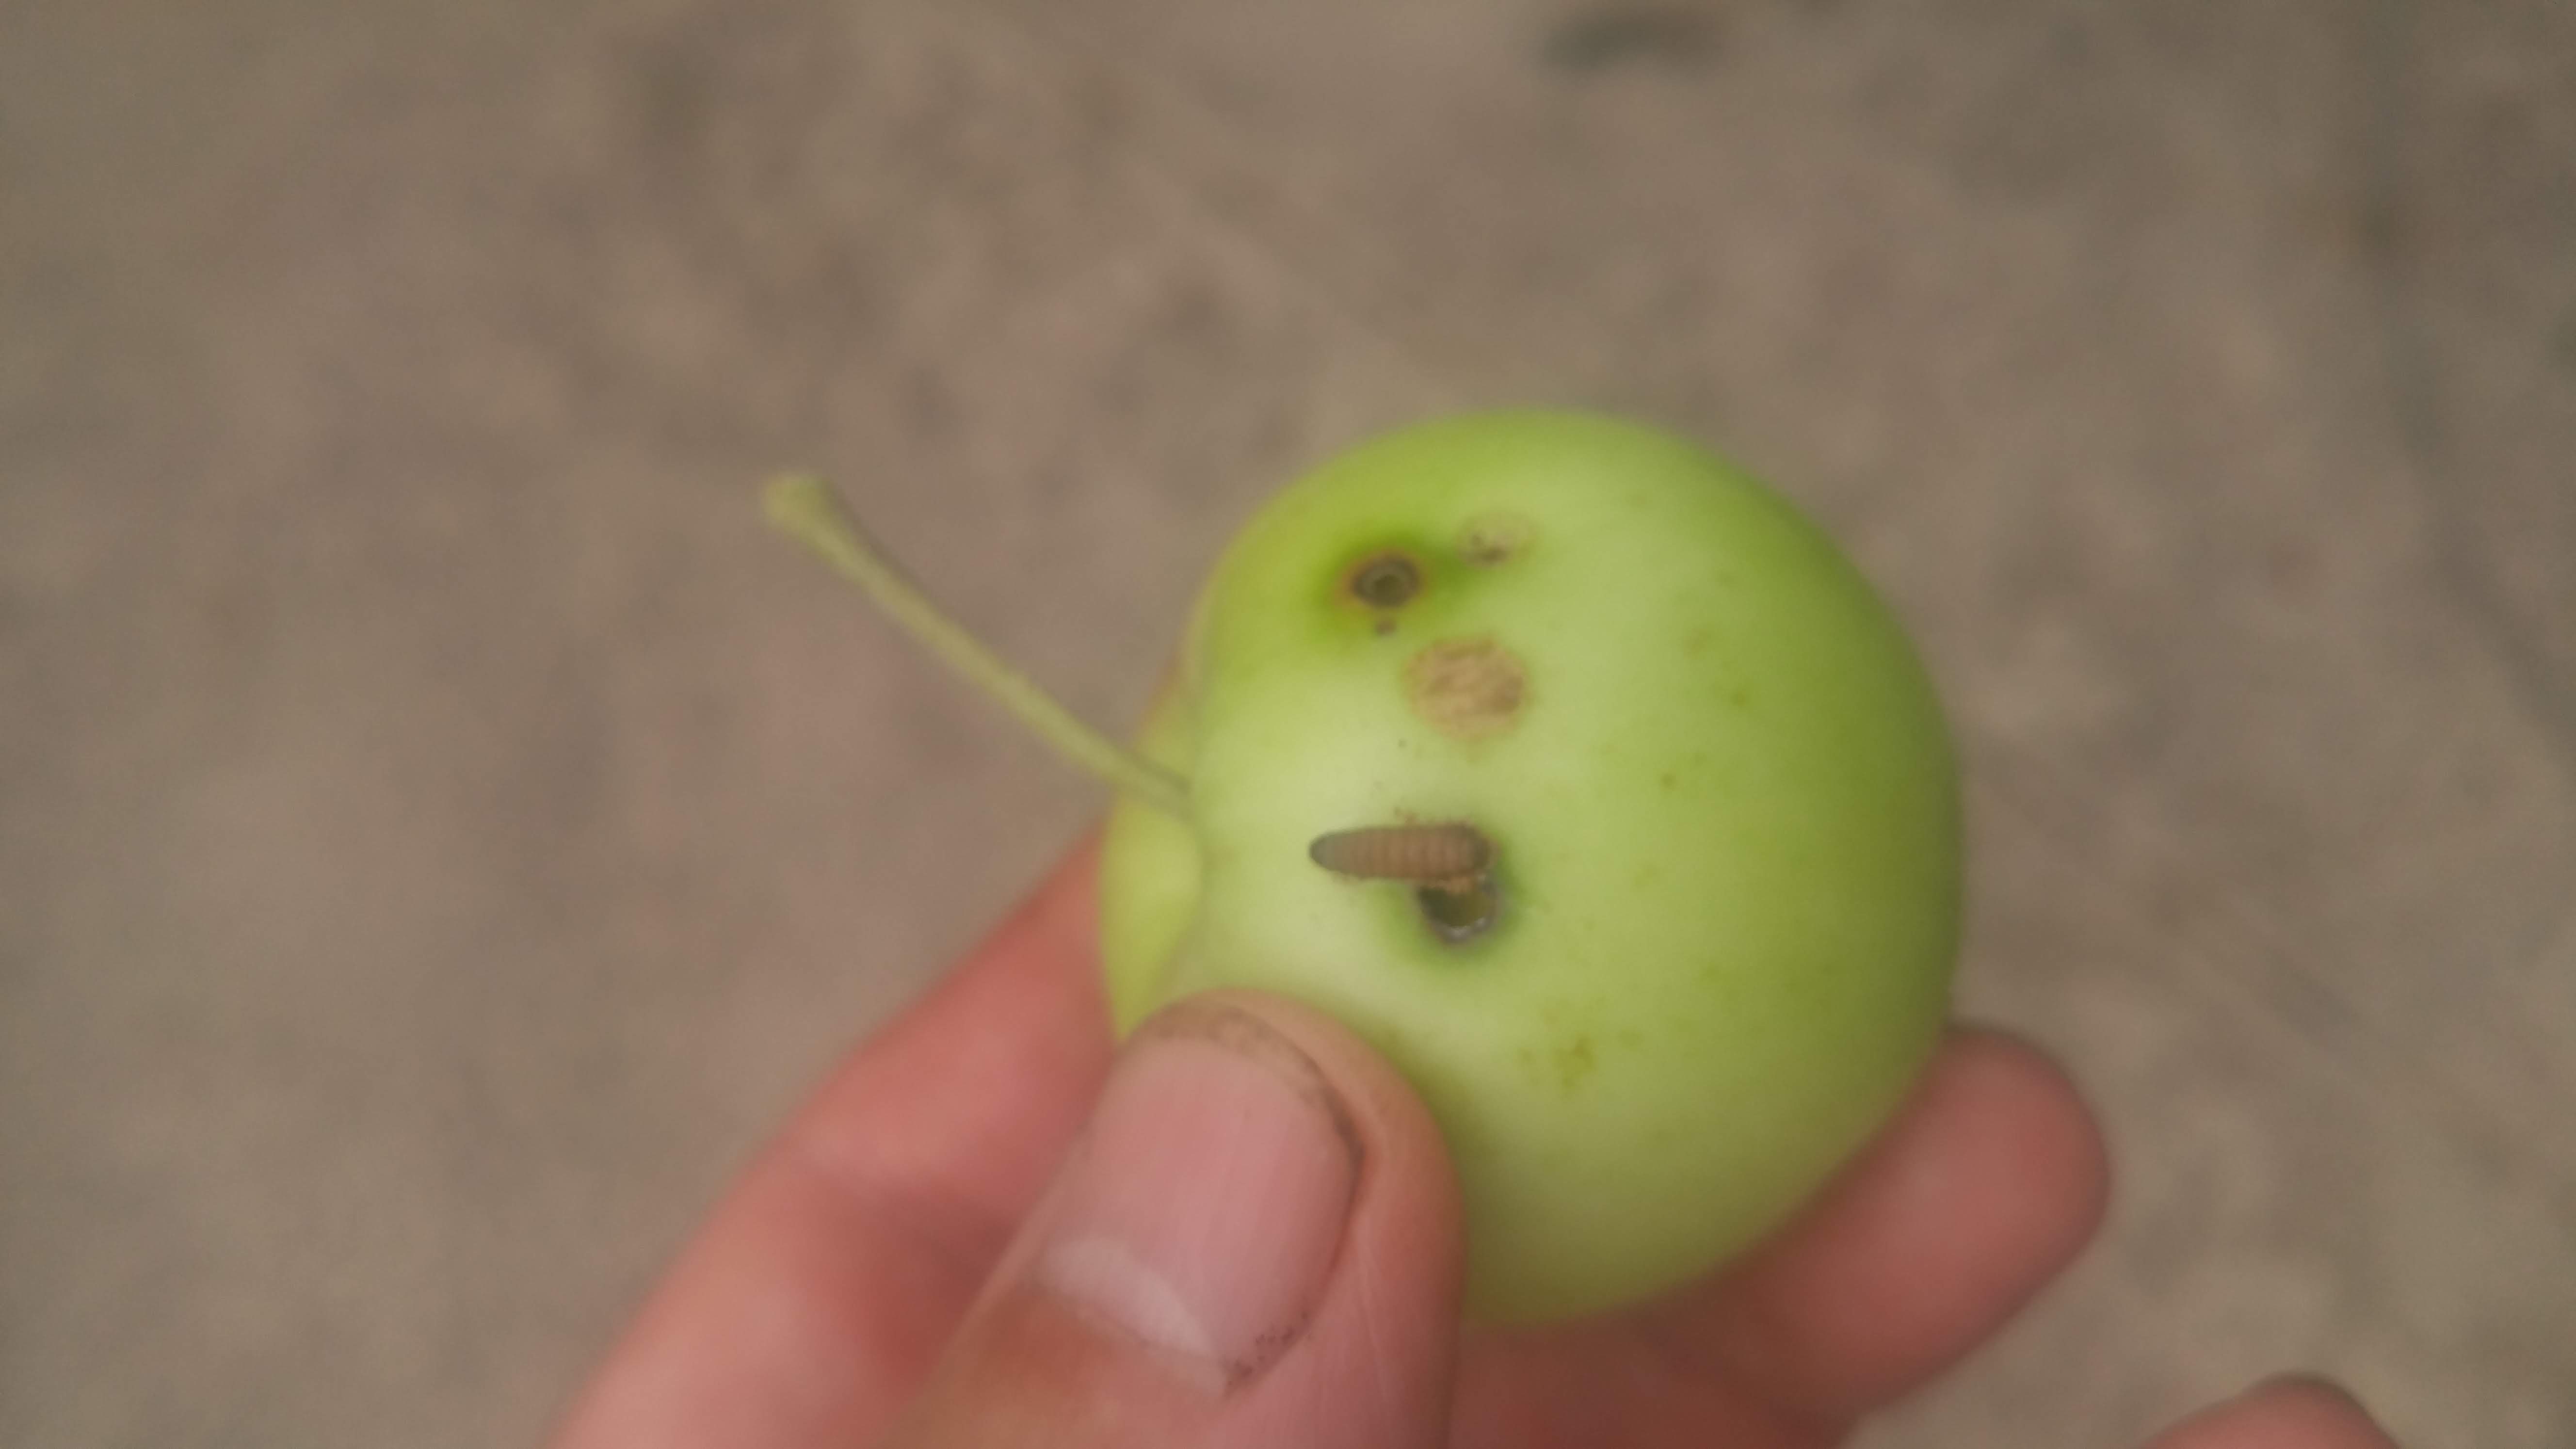
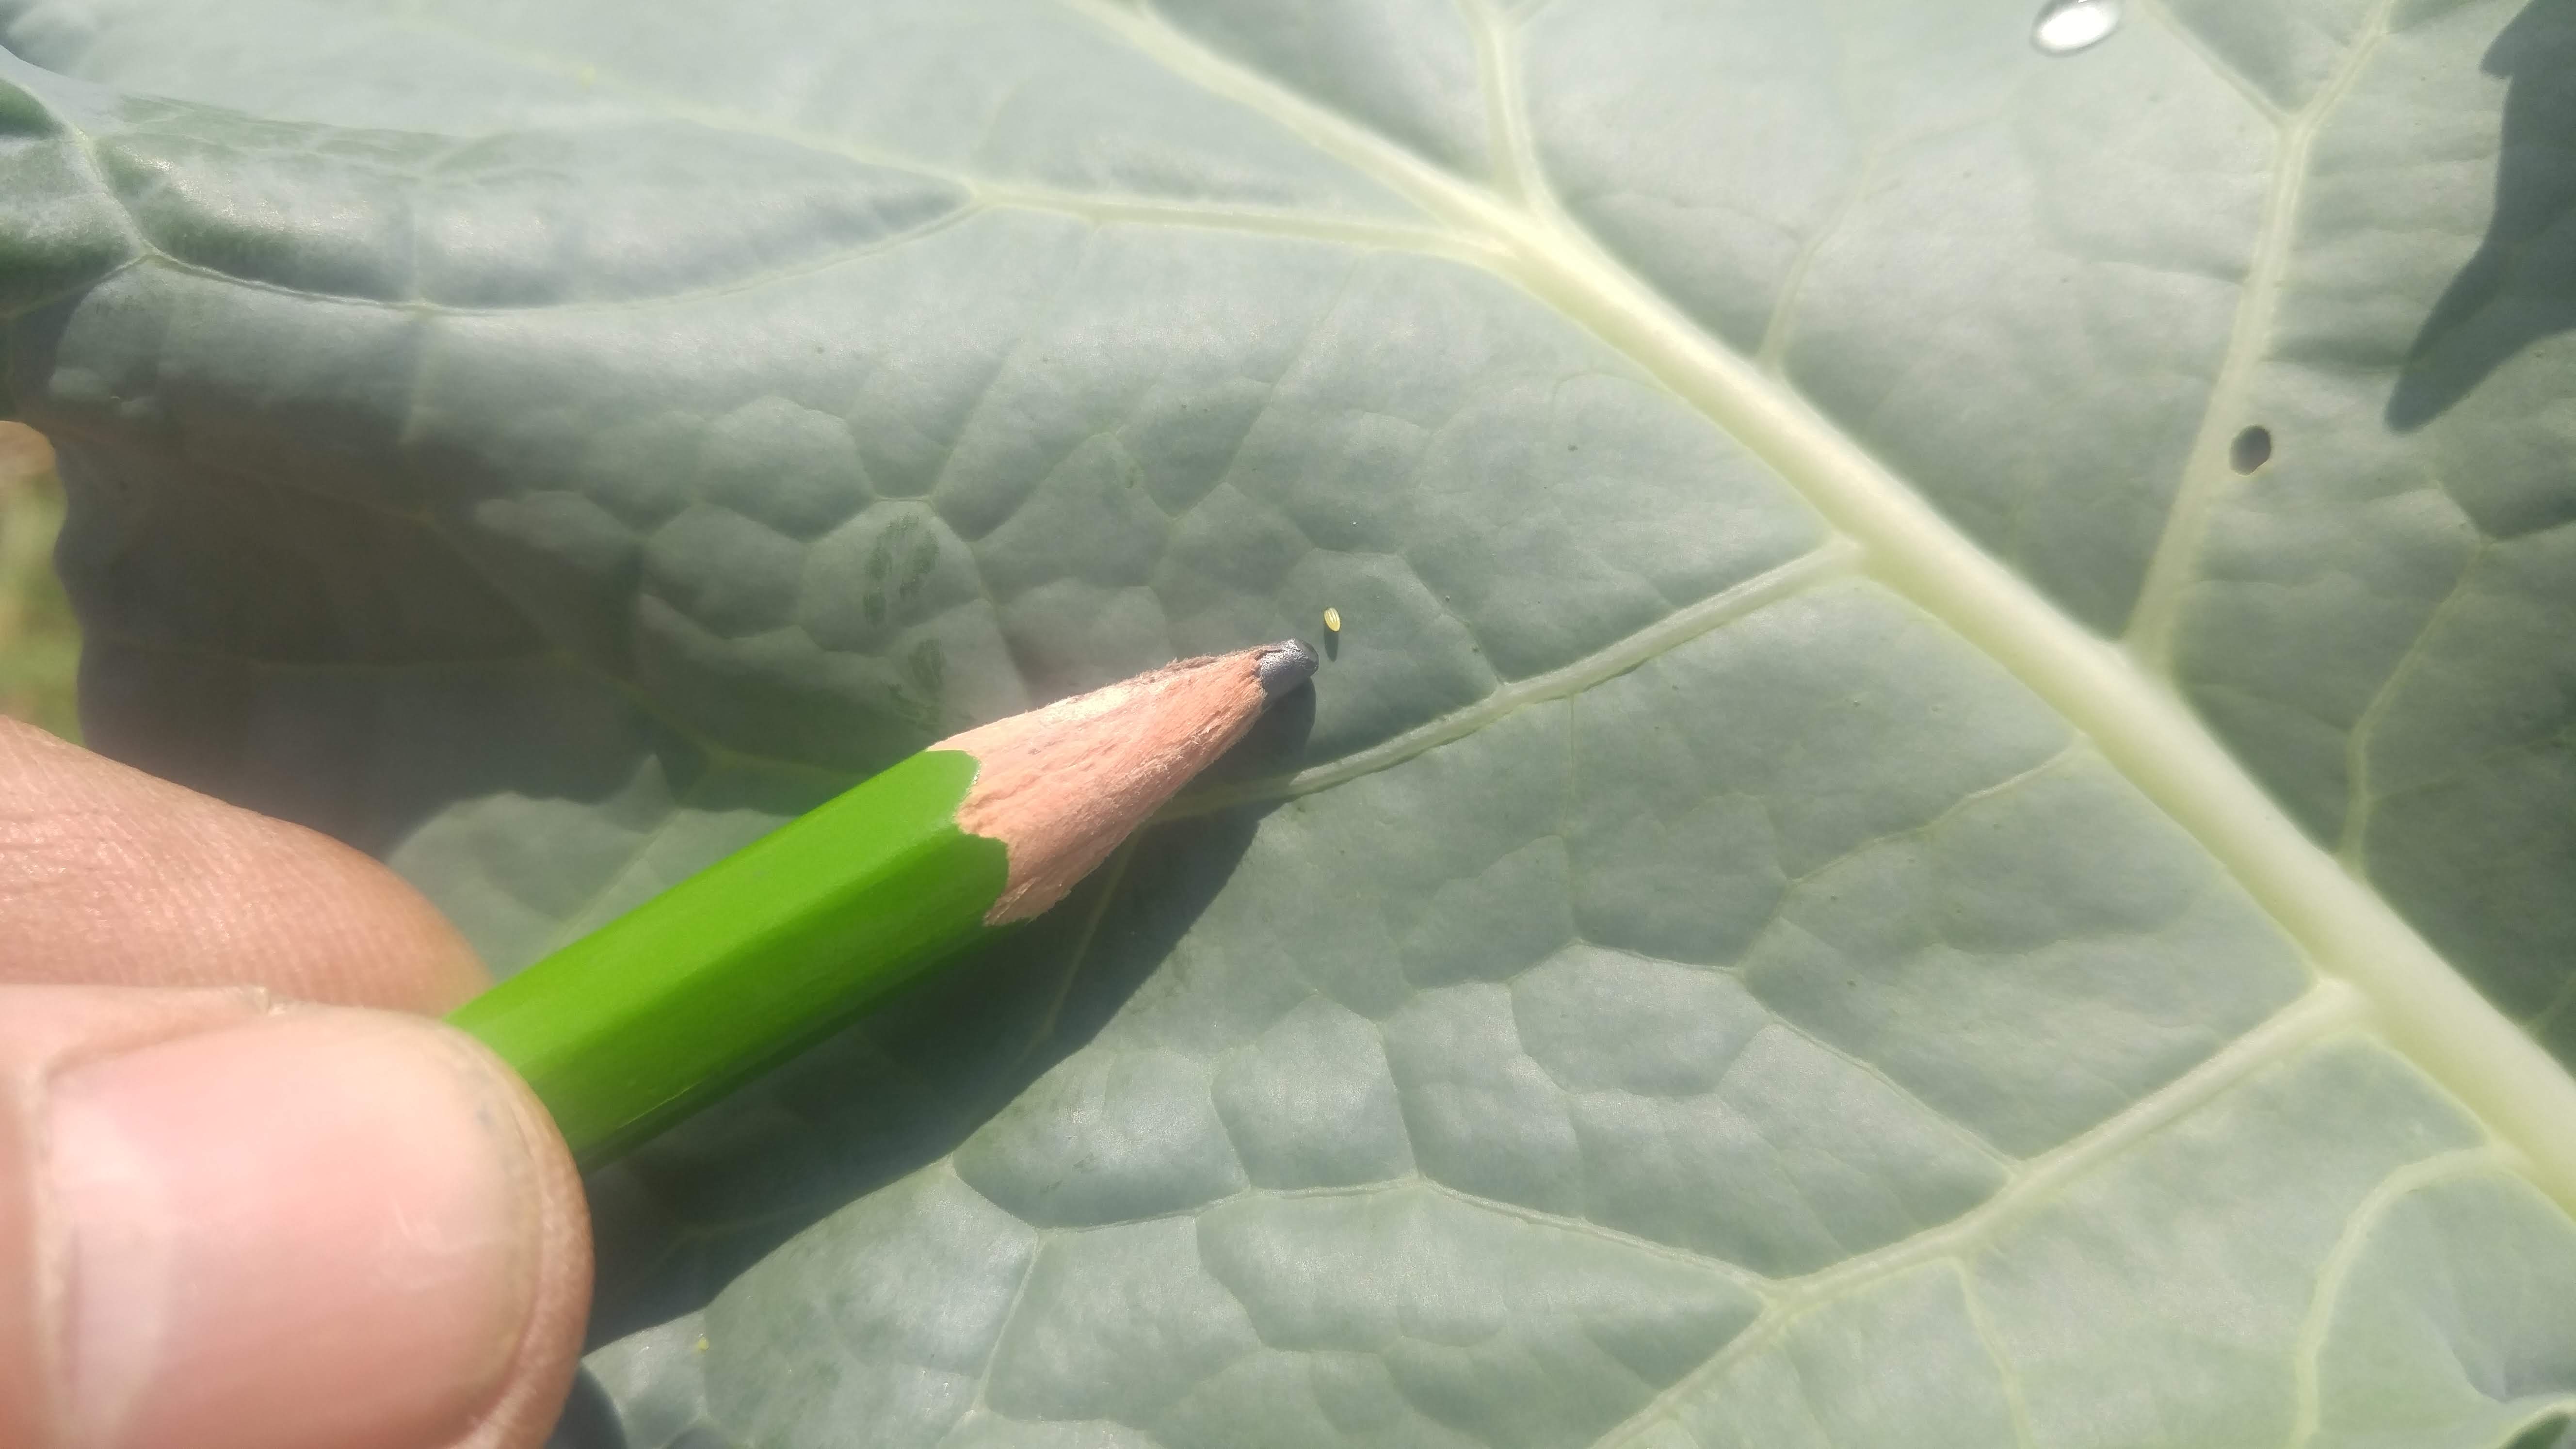
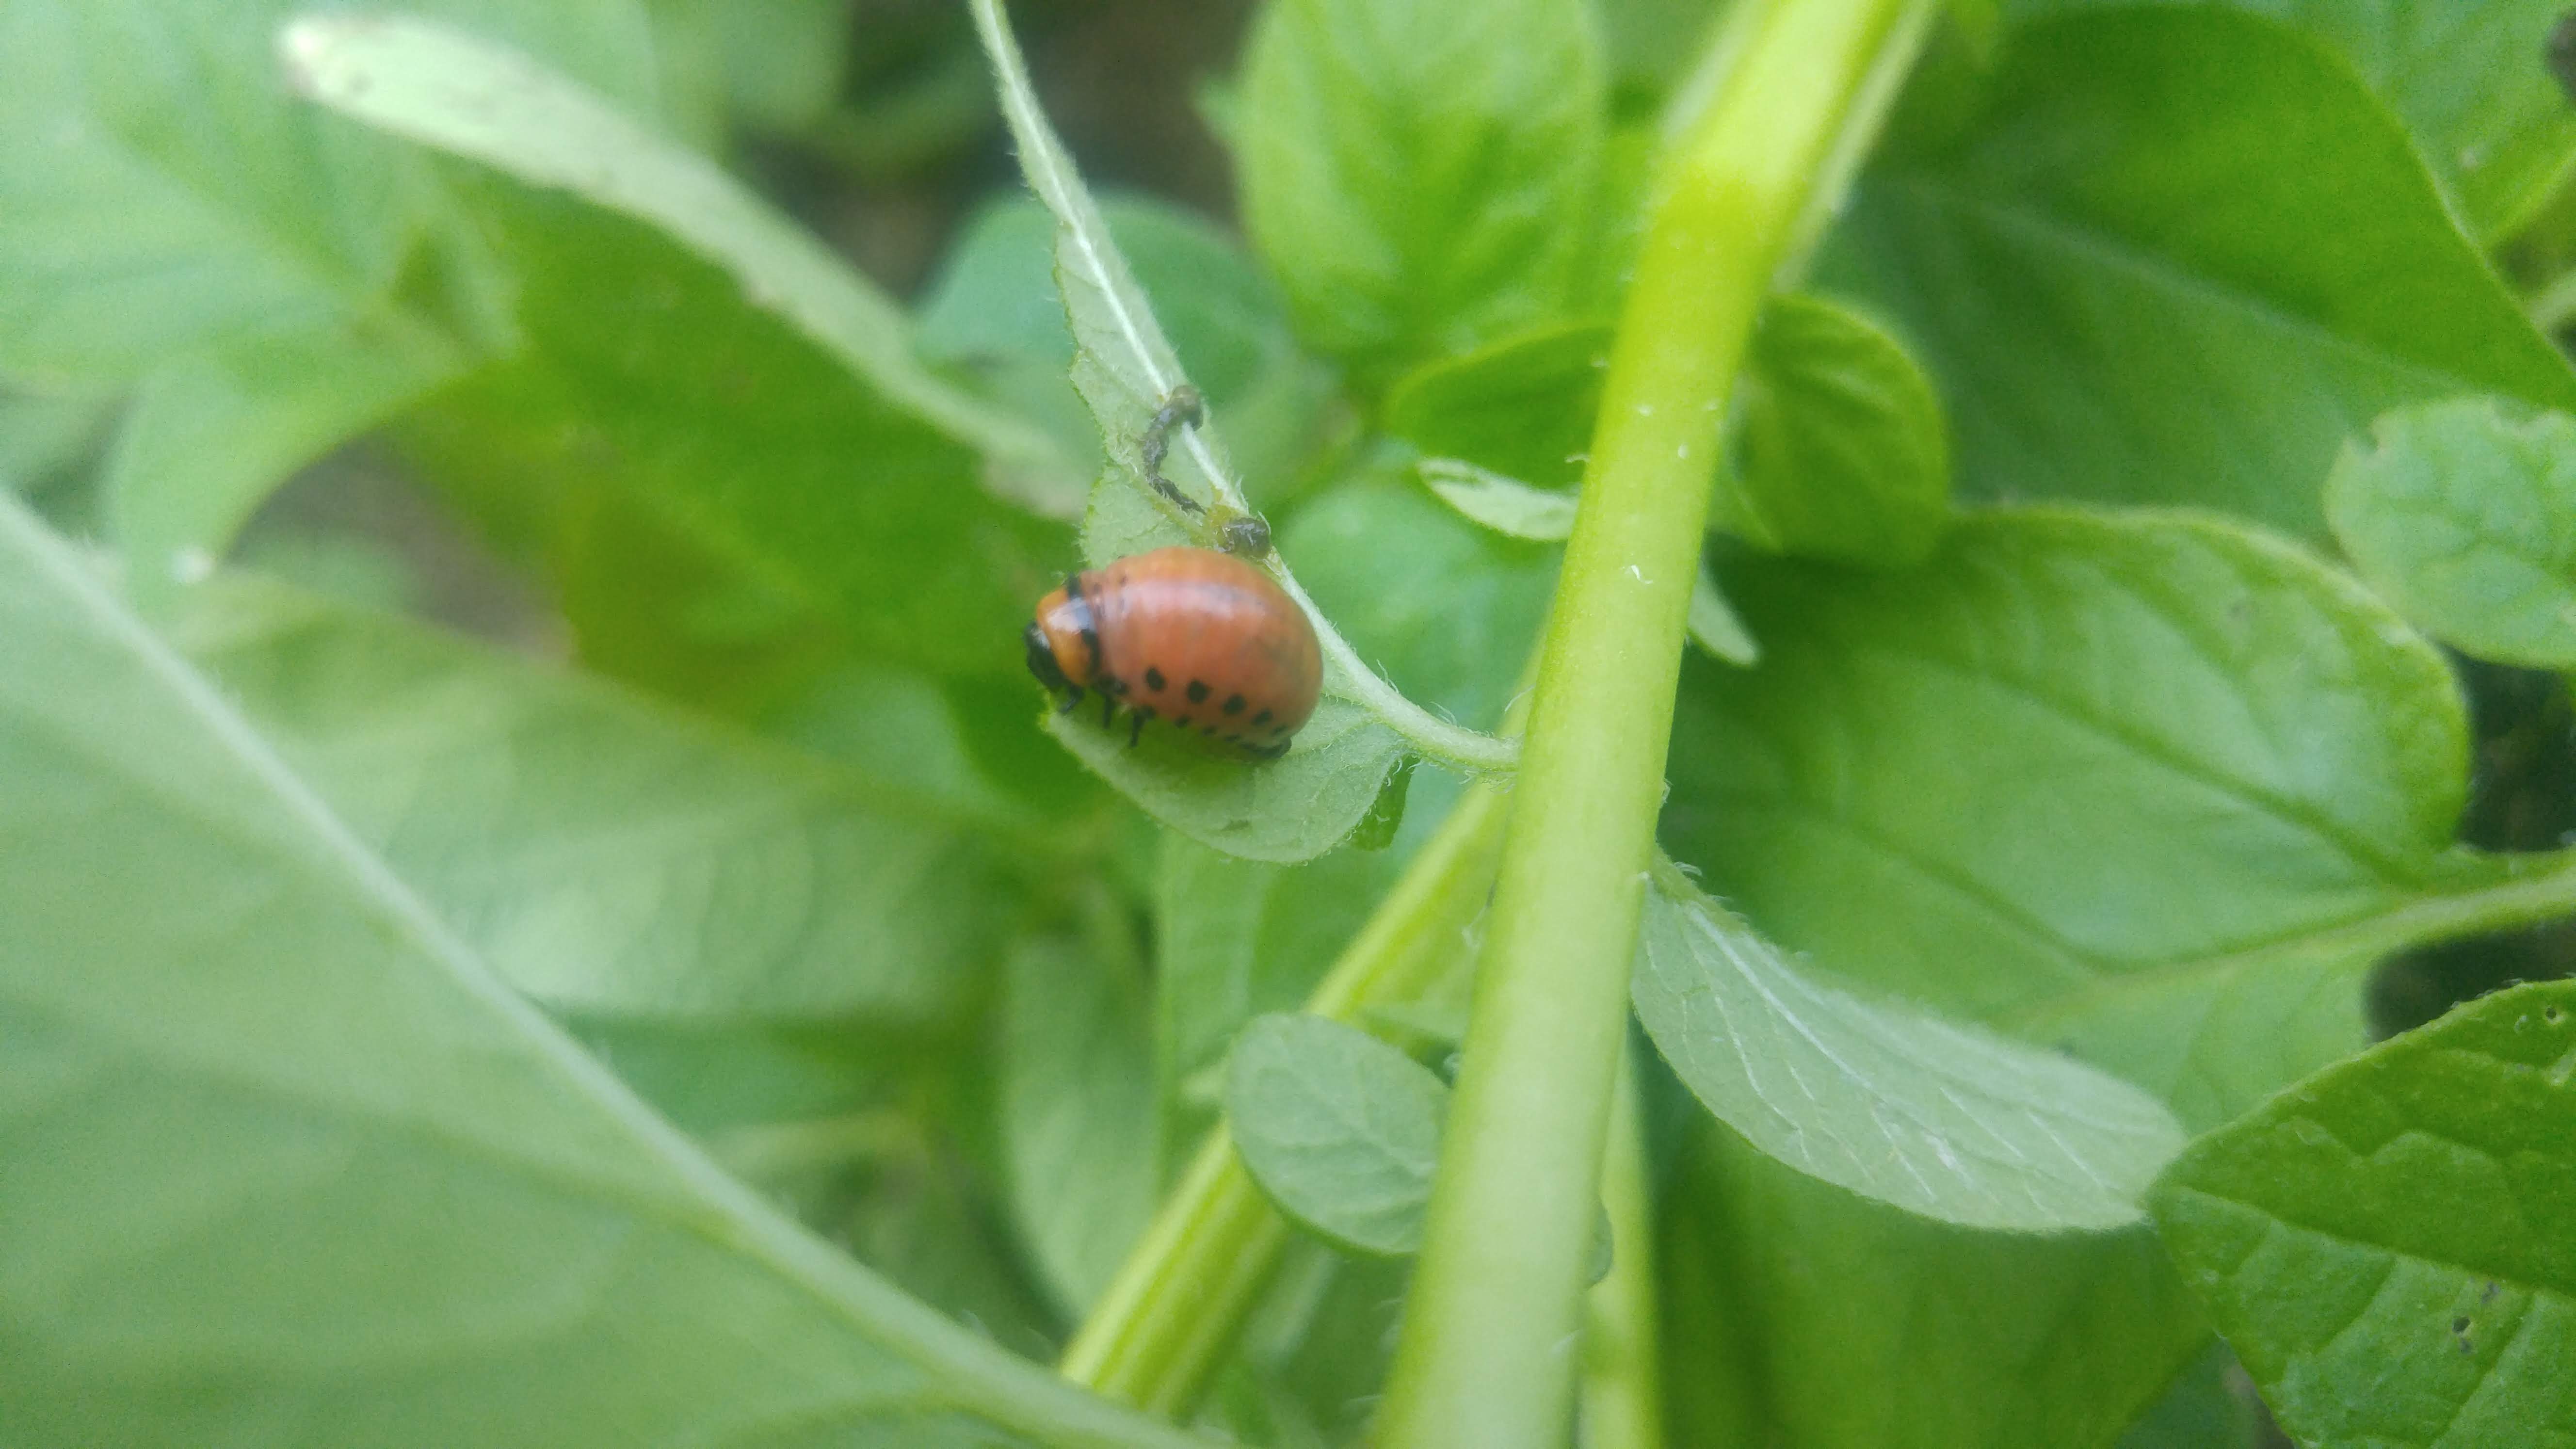
A codling moth larva crawling out of an apple — the proverbial worm in the apple.

Most backyard fruit growers on the other hand, have had direct experience with codling moth larvae. It’s one of the most common insect pests attacking apples and pears and if you let down your guard they will find your fruit and make a home in it.

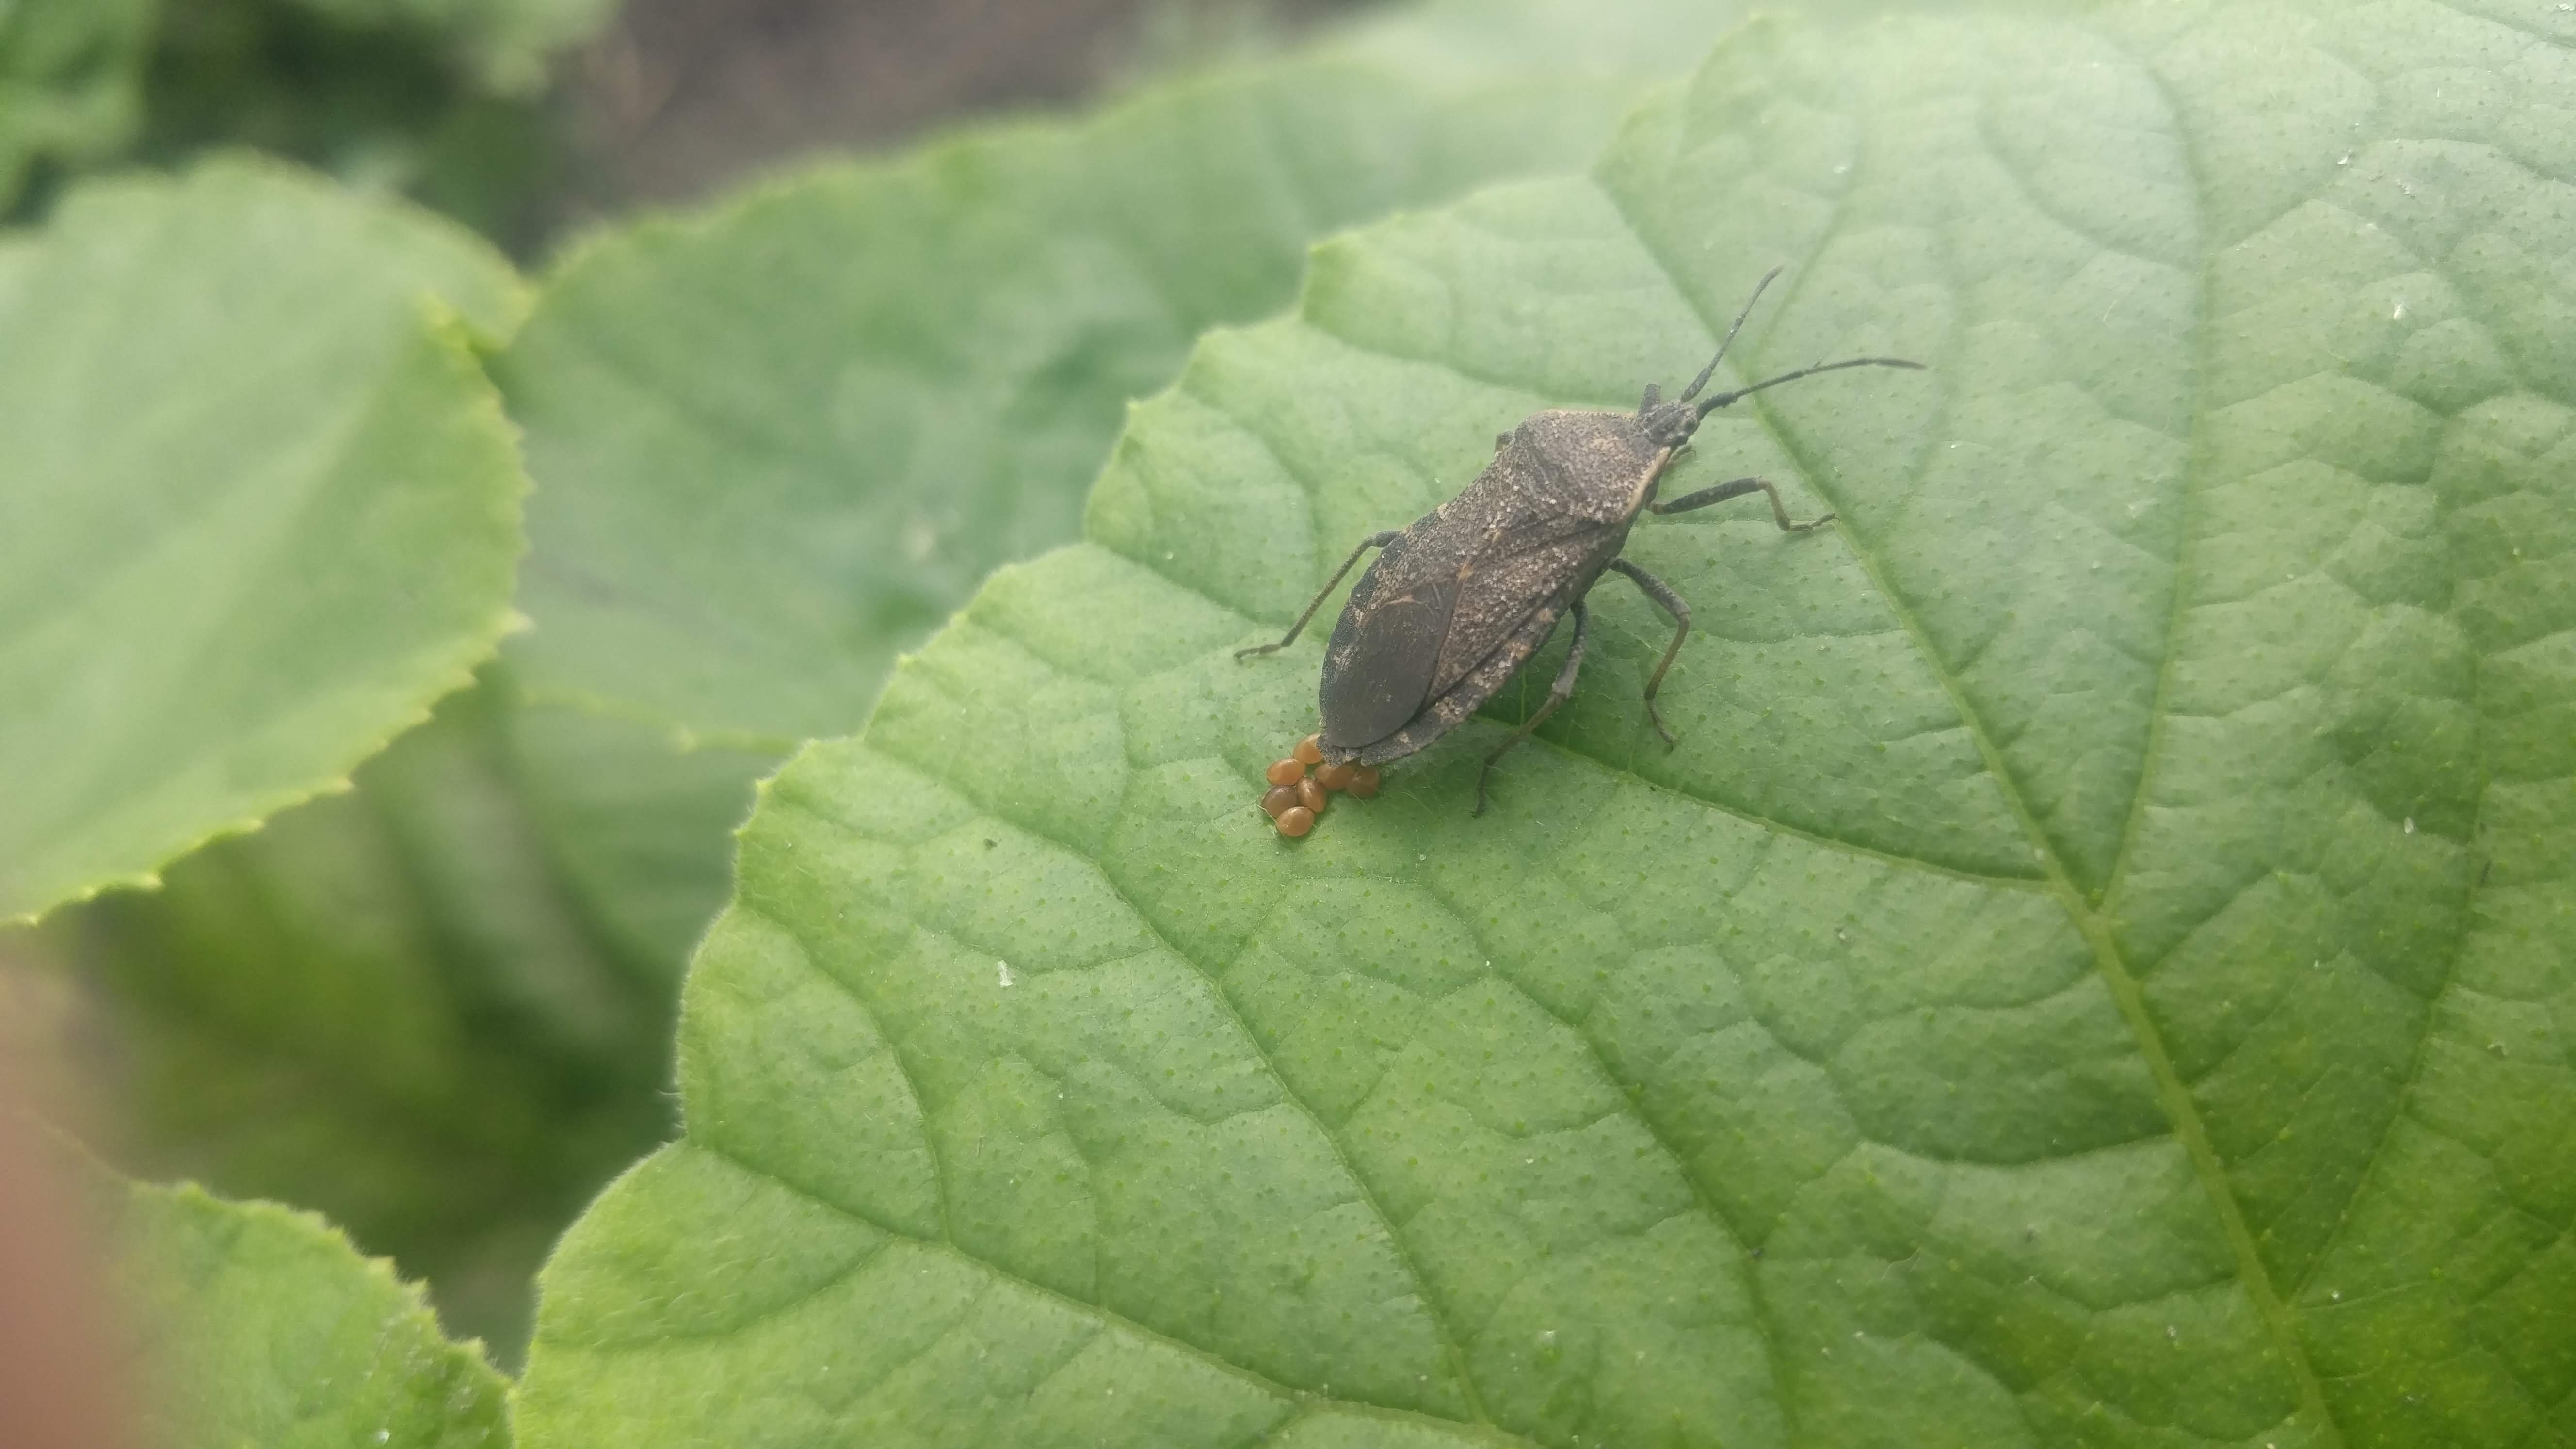
Codling moths have a lifecycle similar to other moths. First, the adult female lays her eggs on the surface of an apple. Then the eggs hatch and the tiny larvae burrow into the fruit eating their way to the core. When fully grown, the larvae emerge from the fruit and find a protected area where they spin a cocoon and pupate. Early in the season they will emerge as new moths and lay more eggs.

Those present at the end of the season will spin a cocoon but will not pupate. Instead they overwinter as larvae inside their cocoon and pupate the following spring.

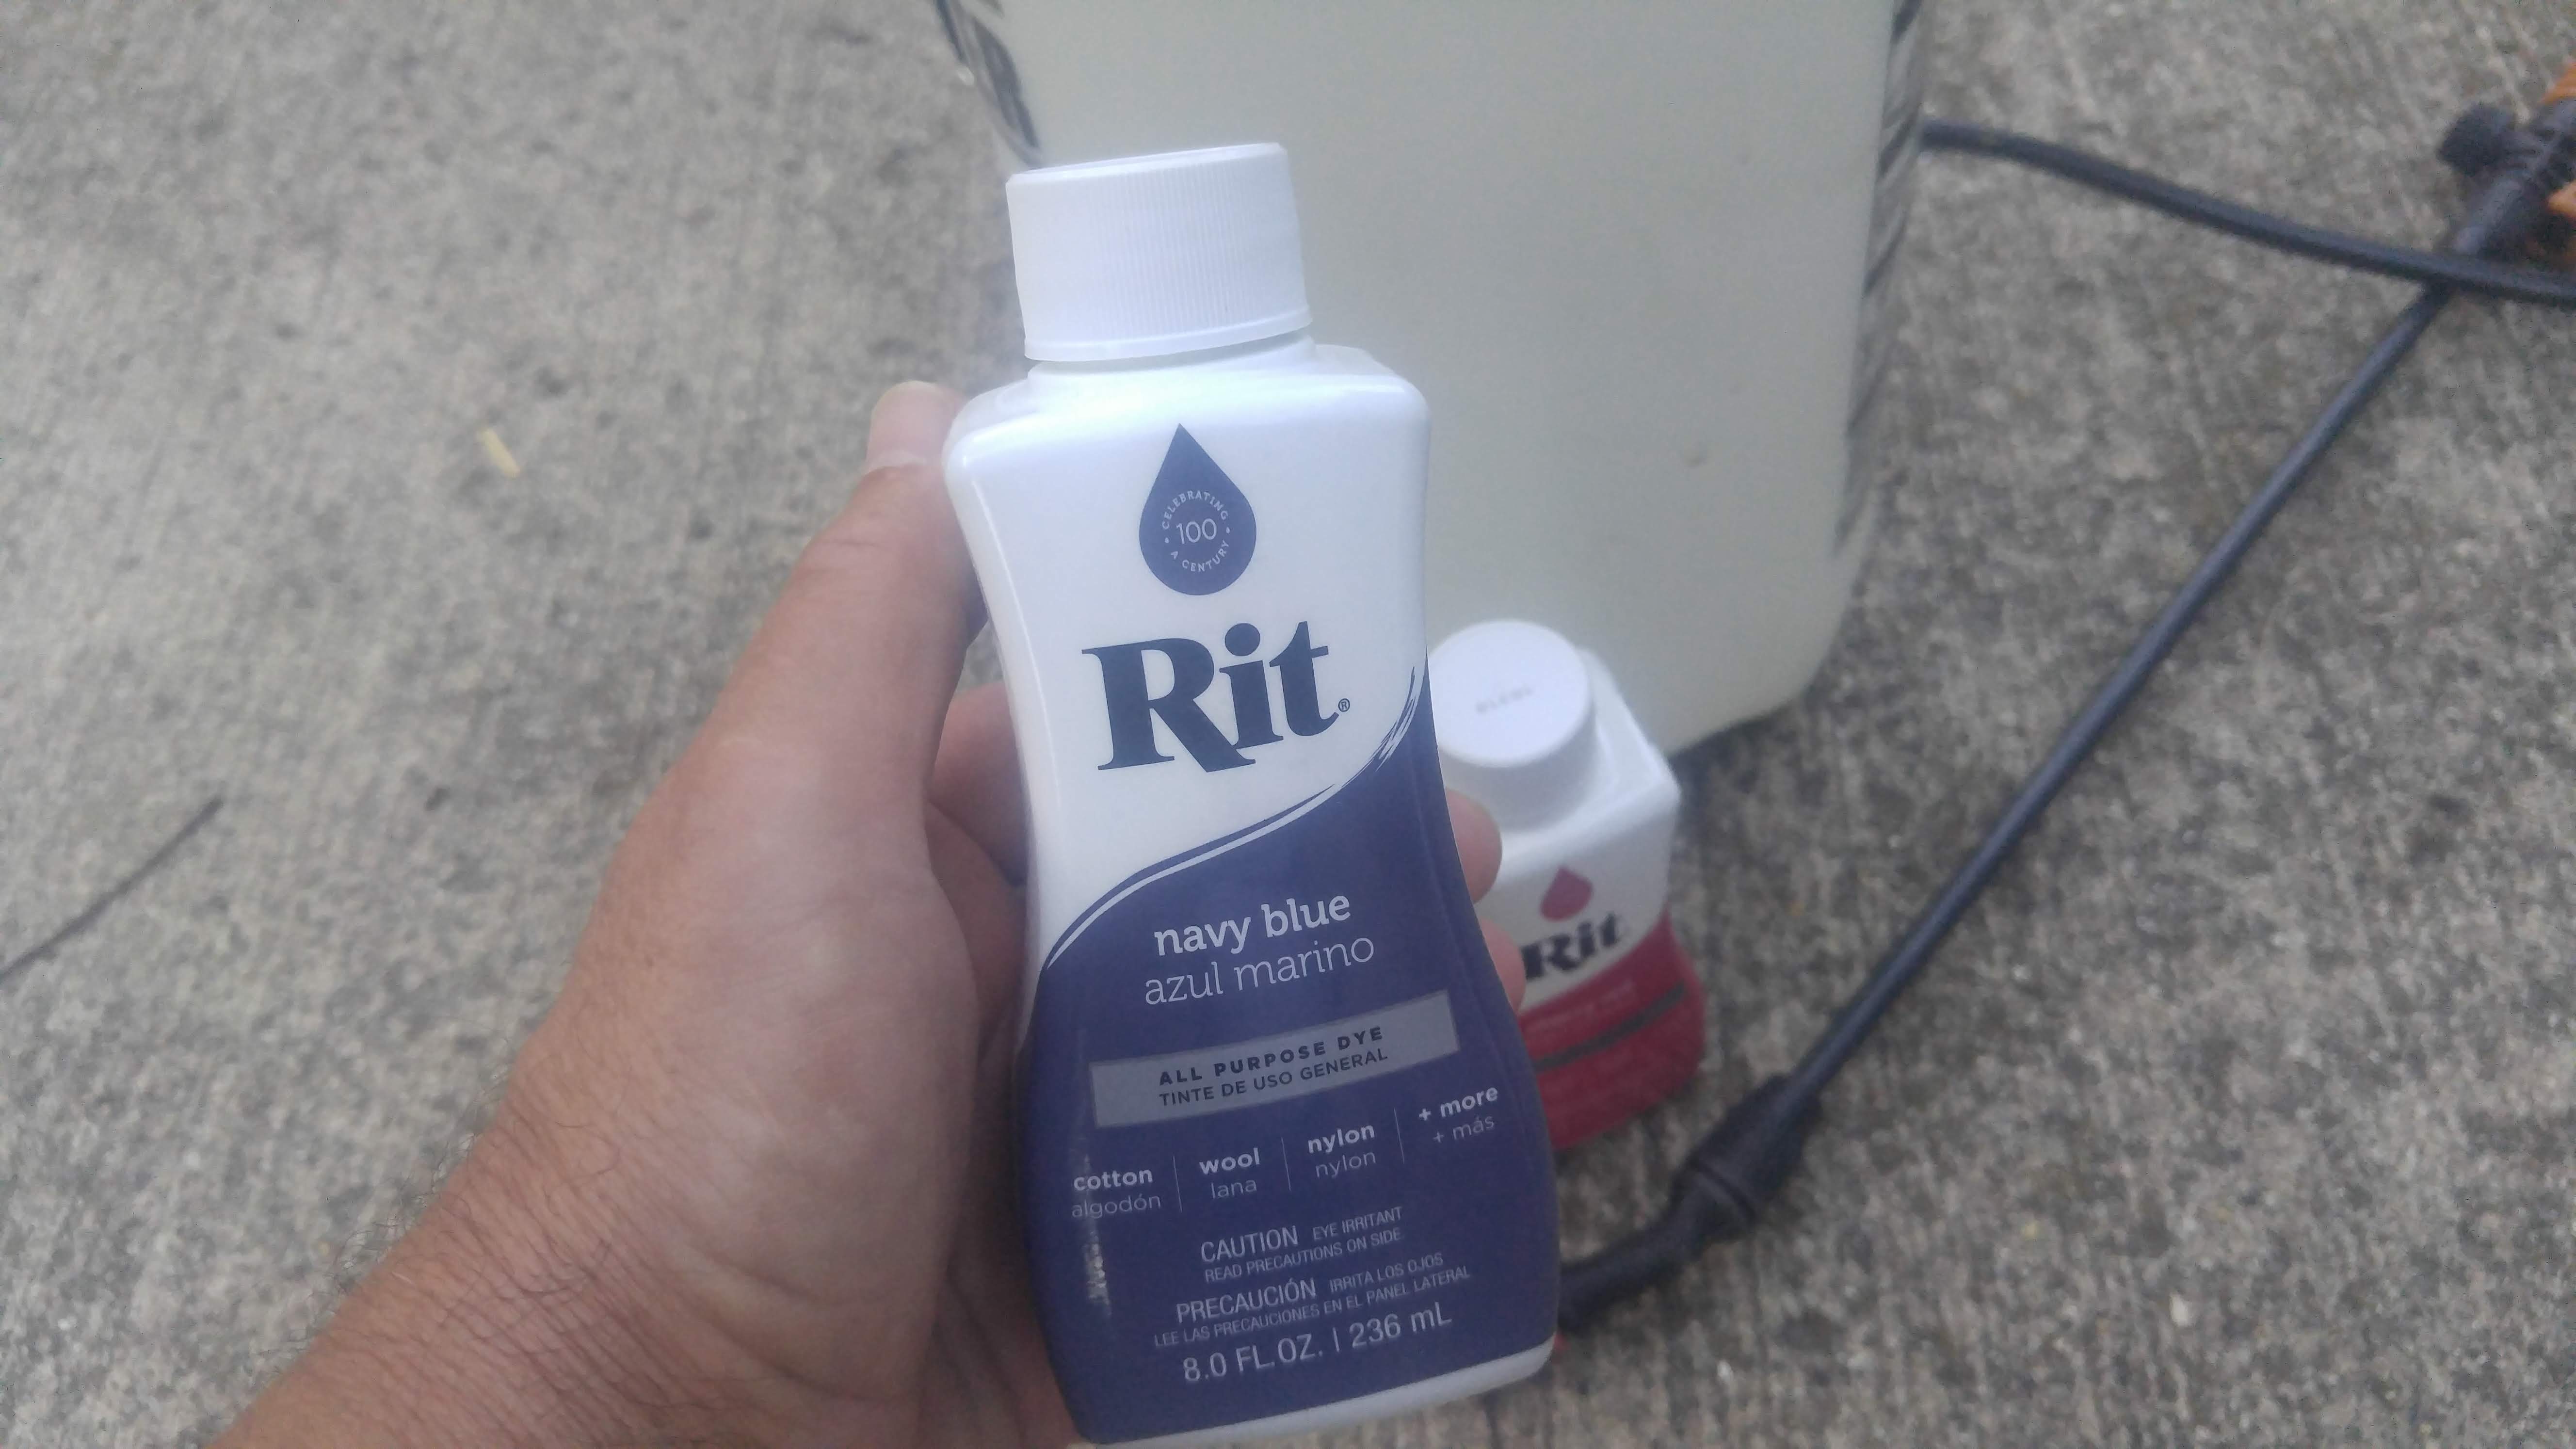
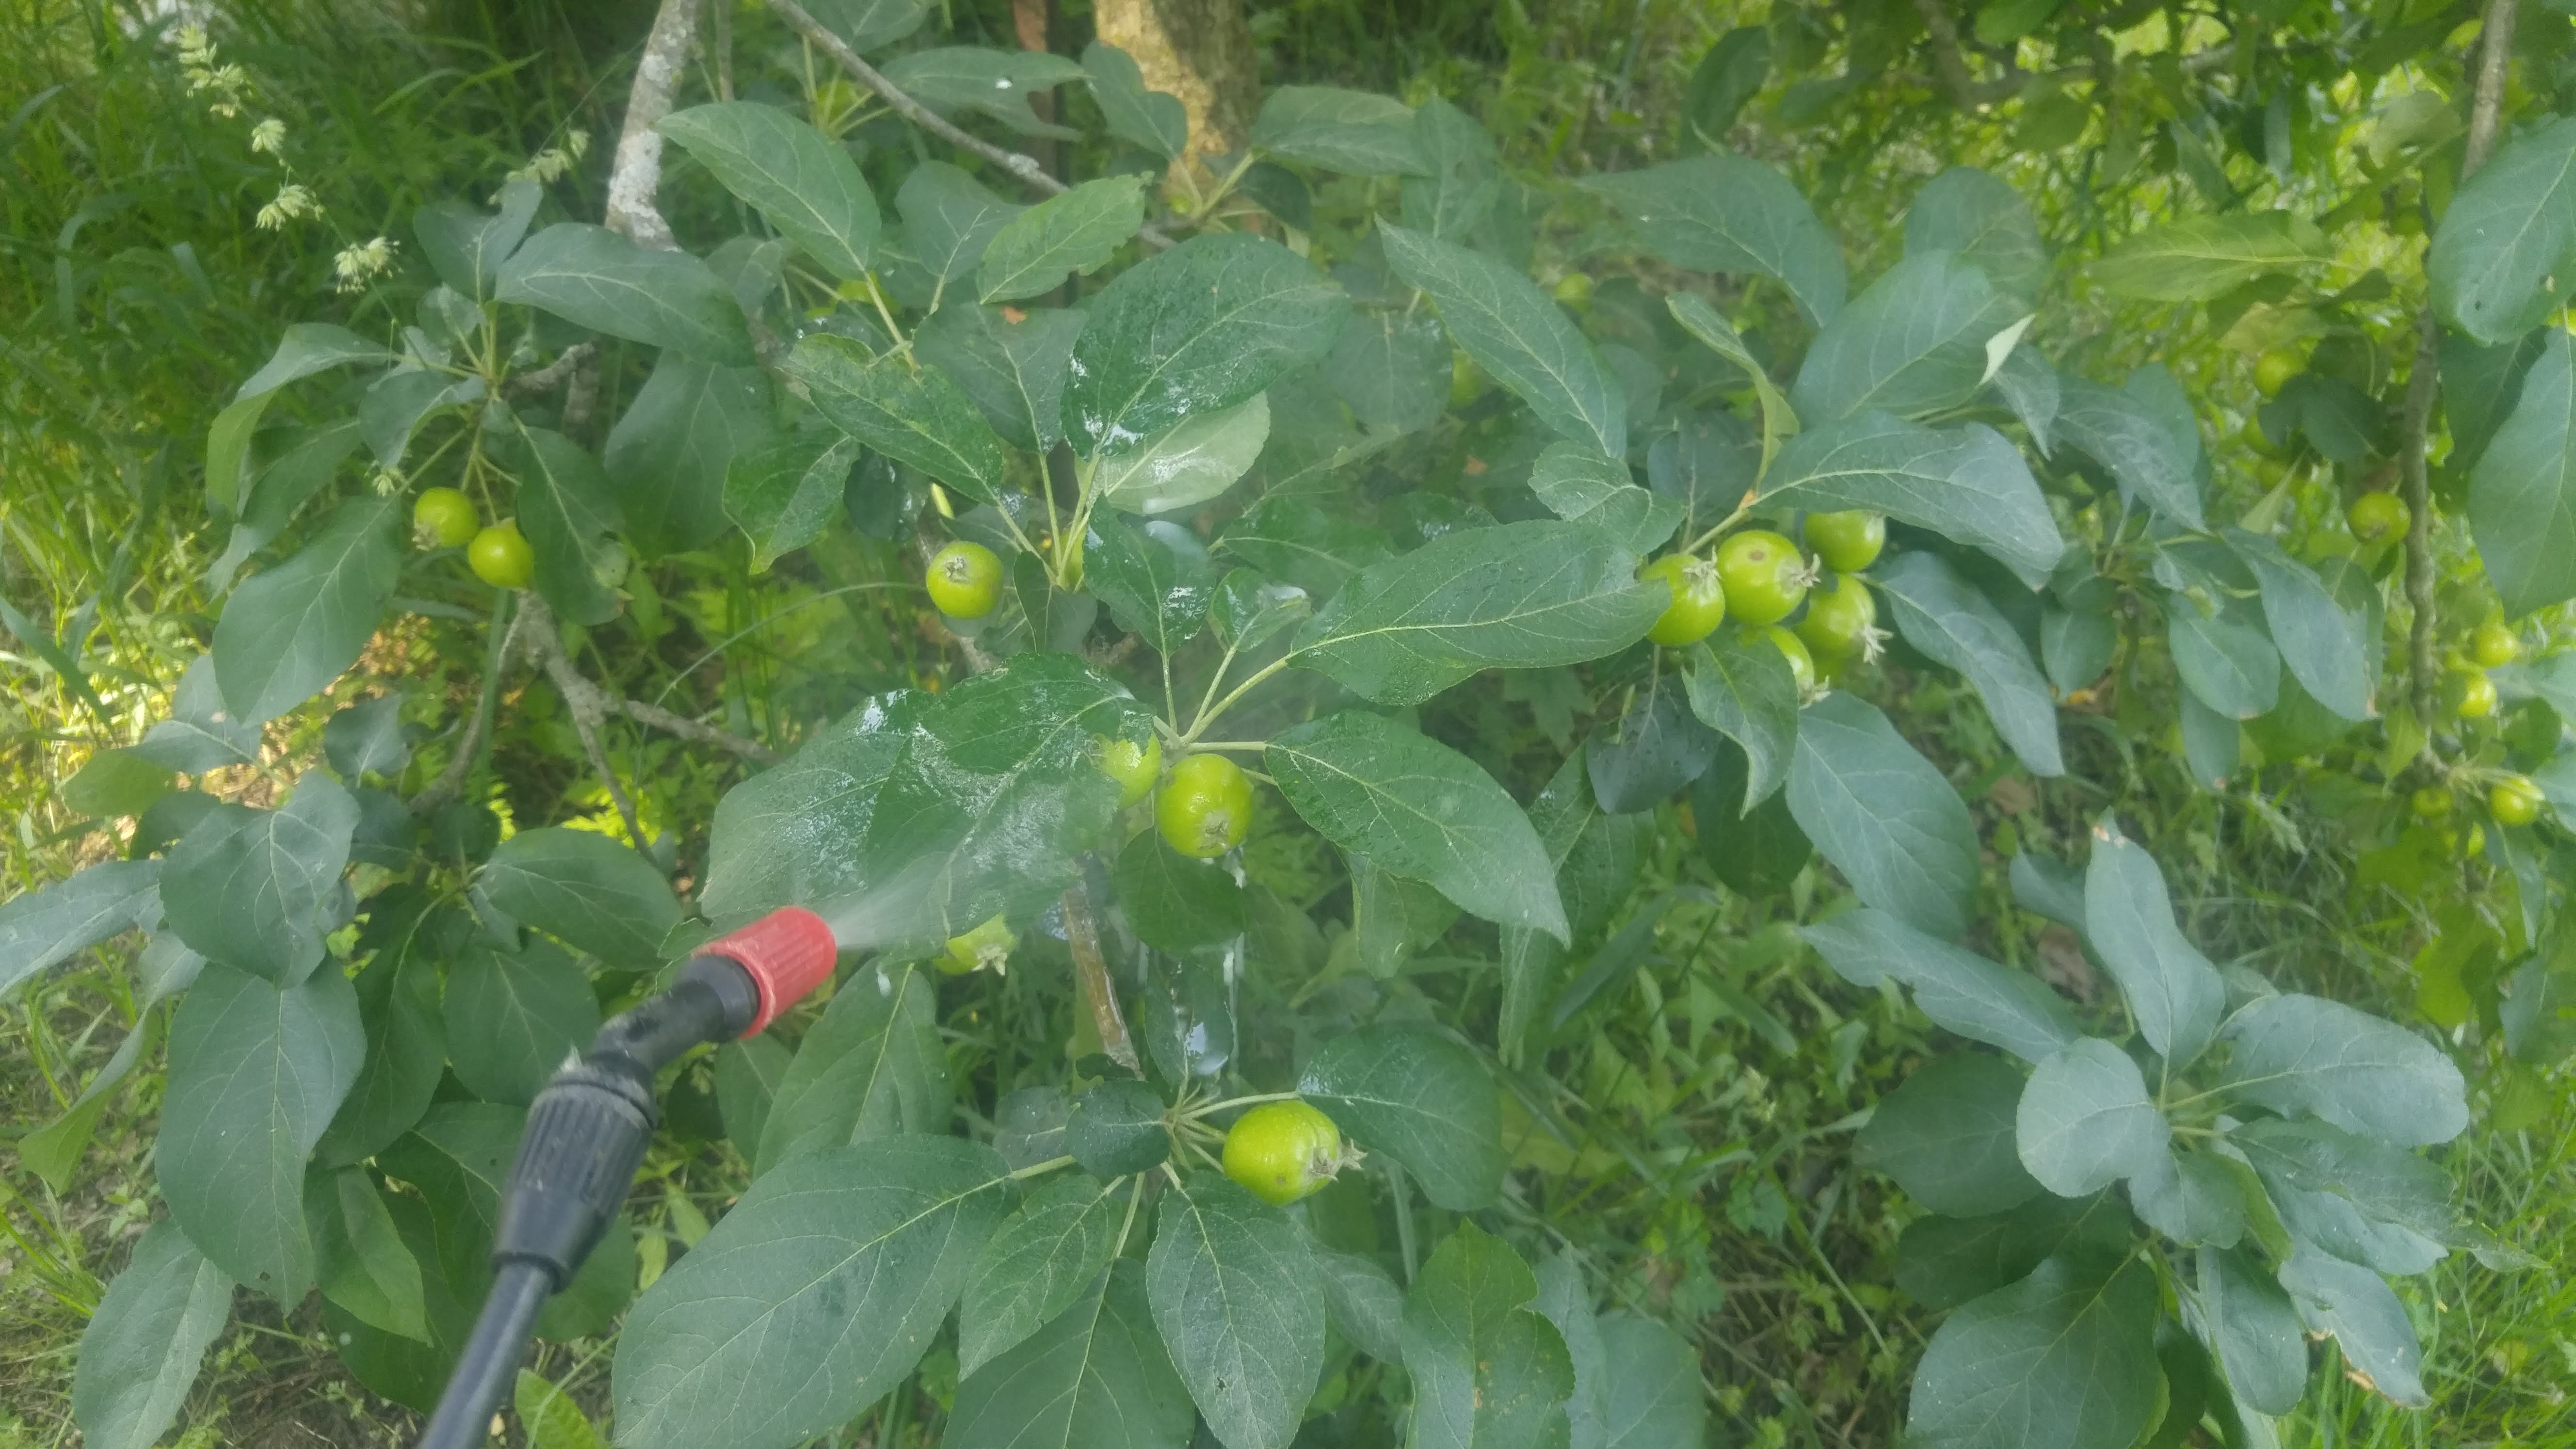
A regular spray schedule will keep these pests at bay but not everyone wants to use chemicals on their produce. In fact a major reason people have for growing their own fruit is to eliminate or reduce the amount of chemicals they may be exposed to. Sometimes a spray or two can missed, due to weather or other reasons, allowing the moths to gain a foothold.

Like most things in life, ignoring the problem will not make it go away. If you don’t want to spray, you’ll have to do some other things to reduce the number of worms.

The first is to pick any damaged fruit on the tree to keep the larva inside from completing their life cycle. Also pick up any fruit that falls. Codling moths are just as happy to live inside a fallen apple as one hanging on the tree. Dispose of these apples in a way that the larva are destroyed. I give mine to our chickens, they love those wormy apples. For them, the worm is a special treat inside!

Composting is usually not a good option for disposal because most backyard compost piles don’t get hot enough to destroy codling moth larva. Municipal composting on the other hand has no problem with them. So bag them up for city compost or put them in with your regular trash.

Codling moth females prefer to lay their eggs on the most protected spot on a fruit. This often is on the spot where two apples are touching each other. Removing one of the apples eliminates the “sweet spot” that egg laying females are looking for. It’s one of the reasons why you should thin fruit as your crop begins to develop.

While getting rid of infested fruit helps tremendously, it won’t completely eliminate codling moths. The can fly fairly long distances and may fly to your trees from surrounding areas where fruit is left to fall and codling moths emerge.

Other fruit pest such as apple maggot, oriental fruit moth and plum curculio also can be reduced by disposing of fallen fruit.

Bob


July 19, 2019

Warning! Insect invasion. Four vegetable garden insect pests in mid-July

Insect pests have begun to show up in my garden this week. It seems like it’s early for them, but that’s only because the garden plants are small for this time of the year due to our late start. It is the middle of July after all so I would expect some insect problems.

The first insect I spotted in the garden were cabbage butterflies. They are those white butterflies that flutter around the garden. They feed on plants in the cabbage family, including cabbage, broccoli, cauliflower, and other related plants. Watch them closely when they’re in your garden. Every time a female butterfly briefly touches down, she lays a single tiny egg. Over time she will lay a lot. Of course the butterfly itself is harmless, it’s her larval offspring that are so destructive. Many of the eggs and small larvae will be eaten by beneficial insects before they even have a chance to do any damage but there will always be plenty left over to munch on your plants.


Cabbage butterfly eggs can be found anywhere on the plant.

Cabbage butterfly eggs can be found anywhere on the plant.

I suggest you take steps now to nip this problem in the bud. A spray of the biological pesticide Bt right now, will easily kill these pests while they’re in their most vulnerable stage of growth.

The next problem insect I spotted was a female squash bug laying her eggs on a squash vine. She’ll lay her eggs on any pumpkin, squash or related plant. Usually you’ll find the eggs on the underside of a leaf but this one was laying her eggs on the upper surface.

     Here’s an adult female squash bug laying eggs.They are hard to kill. Try knocking them into a pail of soapy water.

Here’s an adult female squash bug laying eggs.They are hard to kill. Try knocking them into a pail of soapy water.

One way to reduce their numbers is to squish the egg masses before they hatch. Later on, if the bug population is high and the vines begin to wilt, you may have to resort to an organic or conventional insecticide. They are very destructive to squash vines and can leave you with next to nothing to harvest if left unchecked.

The third insects making their appearance in my garden this week are tomato hornworms. These are the larval stage of the fascinating sphinx moth. Farmers rarely take notice of tomato hornworms because they don’t usually occur in high enough concentration to make it economical to apply insecticide for them. If the worm count goes above one for every two plants, then farmers will think about doing something about them.

In a typical tomato field there are thousands of plants but in a home garden there may be only a few, making tomato worms a real threat to a gardeners harvest.

Even if you look closely you probably will not find any hornworms on your plants because they are so well camouflaged. Plus, right now, since they are just getting started, they are very tiny. The ones I spotted were about a quarter of an inch long. At this early stage, they really don’t harm the plant much.

     I found four of these little guys on my tomato plant. Even at this stage you can see their distinctive horn. Cute huh?

I found four of these little guys on my tomato plant. Even at this stage you can see their distinctive horn. Cute huh?

However, when they grow to their full size — about three inches long — they can decimate a tomato plant by eating all of the leaves and will feed on tomato fruit to boot.

I’m worried about my tomatoes being hammered by hornworms this season. Because I planted them late, they are only about half the size for mid-July. That means there are far fewer tomato leaves per plant for the hornworms to feed on making my small plants more vulnerable. So I’ll be watching them very closely the next few weeks.

The last pest I found were Colorado potato beetles on my potato plants. They must have arrived during the weekend because they were eating my potato plants and getting fat. I killed a couple dozen that were feeding on one plant.

An adult Colorado potato beetle, easily identified by its stripes

An adult Colorado potato beetle, easily identified by its stripes

     Colorado potato beetle larva. Both larvae and adults can be controlled by knocking them off the plant into a pail of soapy water.

Colorado potato beetle larva. Both larvae and adults can be controlled by knocking them off the plant into a pail of soapy water.

Adult beetles and larvae are in my garden now. The female adults are busy laying eggs and the larvae are busy eating. Crush the orange eggs whenever you find them.

I suggest you scout your garden now and take steps to control these pests before they have a chance to cause real damage.

Bob

July 11, 2019

Adding dye to your sprayer mix to help you see where you sprayed

Filed under: Equipment,Pesticides,Weeds — Tags: , , — bob @ 8:55 am

So far it’s been a great growing season for trees, shrubs and perennial plants. Maybe you’ve noticed how much growth has been made so far this year making the landscape look so much more green. I bet, a hundred years from now, when people are looking at tree rings, they’ll notice how large the growth ring is from 2019.

Along with everything else, problem plants such as poison ivy have also been going great guns. It’s a good idea to knock back these plants before they get out of control. The most efficient way is to use herbicide sprays.

The most popular herbicides, such as Round-up and others, are the “non-selective” type meaning they will kill just about any and all plants they touch. When applying these herbicides, it’s very easy to overspray and accidentally kill neighboring desirable plants along with the weed you’re trying to get rid of. To minimize that problem, farmers, landscapers and other plant professionals use a marker dye added to their spray mix to help them see where they sprayed. Generally those dyes wash off in the rain or otherwise dissipate pretty quickly after drying. Those kinds of marker or indicator dyes are available at hardware stores and farm supply stores.

An excellent alternative to marker dyes for homeowners is Rit all-purpose fabric dye. Rit actually dyes the plant leaves, leaving the color visible for quite some time. That is a great advantage if you don’t get all of your spraying done and have to return later to finish the job.

Blue is the traditional color for dying spray.

Liquid Rit dye is much easier to use than powered.

Traditionally, blue is the color used for indicator dyes. This year I’m also trying out red to see how it works, mainly because it was on sale for half price. If it doesn’t work, maybe I’ll try tie dying some tee-shirts.

About one and one-third ounces of liquid Navy Blue Rit will dye a gallon of spray and provide enough color to produce a light-blue hue that will be noticeable on the plants even after drying.

An eight ounce bottle of liquid Rit runs around five bucks at craft stores.

Bob

June 28, 2019

Getting back on track spraying fruit trees

Filed under: Disease,Fruit,Pesticides,Trees — Tags: , , — bob @ 3:11 pm

The almost daily rain we had this spring really put a damper on fruit tree spraying. Pesticides work best if they are applied at least 24 hours before a rain. When a rain happens before the next spray, the effectiveness is reduced as the material begins to wash off. Even a light rain can wash off a percentage of the spray. Heavy rain can remove almost all of the material allowing diseases and insects to get a foothold. So you can see how difficult is was spraying fruit trees this spring.

But now it looks like the weather has finally straightened out allowing us to get back on a regular pest control schedule. It’s too late to do anything about pests that emerged early but summer spraying can control later emerging pests like apple maggot, codling moth, peach tree borer and others.

Backyard fruit growers often use an all purpose fruit tree spray mix that contains a combination of insecticides and fungicides to control a wide variety of pests. It’s much more convenient to use and store a single container than a shelfful of assorted specialty materials.

All purpose sprays are applied as often as every week or two, or as few as twice a season, depending on the formulation used.

There’s a few things to keep in mind when mixing and applying pest control chemicals. These things are always printed on the label but in my experience,  I find that not everyone reads all of the fine print. A common mixing ratio is one or two tablespoons of product per gallon of water — that’s not very much. It’s tempting to pour in extra because it looks like that can’t possibly be a big enough dose to work, but it really is. Some people think they can approximate the ratio by pouring a quick dash from the bottle into their sprayer tank. I can guarantee that will always result in a much more concentrated solution than necessary. Always take the time to measure your materials carefully.

Adjust your sprayer’s nozzle to the most efficient spray consistency. A fine spray is more likely to be atomized, like perfume from an old-fashioned perfume bottle, causing it to be blown about even in a light breeze. You are more likely to inhale finely suspended materials in that case. On the other hand, a very coarse spray will not give you consistent coverage resulting in too much material in one spot and not enough on another.

Wait until the air is calm before spraying to avoid spray going all over the place except where it’s needed, including in your face. Early morning is best because the air is usually still and pests are at rest and have not started flying around yet.

Spray all surfaces of the tree leaves, don’t just make a spray over the top of the tree. Pests often spend time on the underside of leaves. And spray deep into the center of the tree. One major reason for pruning fruit trees is to allow sprays to penetrate into the tree without a lot of unnecessary leaf growth getting in the way.

To get the most protection for your tree, apply enough material until all leaf and stem surfaces are completely covered with adequate amounts of material. With all purpose sprays, that means until the spray just begins to drip from the tree.

Spray all surfaces to control hidden pests.

Spray all surfaces to control hidden pests.

I always try to mix just enough spray so that none is left over.  Any small amount that I have left over gets applied evenly over my trees until it’s gone. Both conventional and organic chemicals will lose their oomph if left in the sprayer tank for any length of time and can corrode, plug up or otherwise damage sprayer parts. Always rinse out your spray equipment right after each use.

Bob


June 21, 2019

Using agricultural paper mulch in the garden

Filed under: Mulch,Planting,Weeds — Tags: , , — bob @ 2:57 pm

Through the years I’ve used a lot of different kinds of mulch ranging from natural materials like straw or grass to man made materials such as plastic sheeting. The plastic I’ve tried has been in all the colors of the rainbow plus some that aren’t.

They’ve all claimed to have an advantage over plain black plastic. The color red was supposed to enhance tomato production. Light reflecting off of silver was supposed to confuse insect pests and on and on. Maybe there was a small incremental advantage they provided that could be seen over acres of crop, but in the garden I could never detect any.

One thing they all have in common is that they physically suppress weeds by preventing growth or inhibiting seed germination. I’ve settled on run of the mill black plastic.

This year I’m experimenting with agricultural paper mulch. It’s been around for some time — maybe you’ve tried it.  I’ve never thought to use it until I started reading about the problems plastic products in general are causing. Some countries have even threatened to declare war over it. Then there’s the problem of micro-plastics showing up everywhere in the environment.

Paper mulch doesn’t have those kinds of drawbacks. One big advantage is, over the course of a growing season, it will slowly break down. Then when the growing season is over, it can be tilled into the soil saving a lot of work removing it.

There are biodegradable plastic sheet mulch products that farmers use but first generation materials leave behind undesirable by-products in the soil as they decompose. That’s the reason why many of these products are not approved for organic farming. The paper mulch I have has been found to be acceptable by an organic certifying agency.

When I opened the box, I expected to see brown paper, sort of like a grocery bag but it has a faint purple hue to it. I don’t know if that is a result of the manufacturing process or if the color was added to differentiate if from other paper products.

Like all kinds of sheet mulch, it’s critical that the edges are firmly secured so the wind doesn’t get under it and tear it or blow it away. Some gardeners pin down their mulches with metal landscape pins. I like to make shallow trenches that accept the edges of the mulch then I’ll bury the edges with soil, sort of like what a farmer’s mulch laying machine would do.

Installing paper mulch is similar to plastic mulch.

Installing paper mulch is similar to plastic mulch.

You have to be a little careful when laying it down. With plastic if you start to veer off course, you can stretch it back in place. Paper does not stretch so any adjustments have to be made slowly over a distance. To minimize any placement issues, I stretch string as a guide when digging my trenches.

Paper mulch cuts easily with a pair of scissors or a utility knife.

Paper mulch cuts easily with a pair of scissors or a utility knife.

It’s important to have a smooth seed bed too so that the paper will lay flat and not have open voids between it and the soil surface.

To plant, I cut an X-shaped opening and fold back the edges of the cut. Then I carefully dig out some soil and place the plant in the hole and fold back the paper.

The paper makes an attractive looking mulch when it is new, I’m not sure how it will look after being exposed to garden conditions for several weeks.

This fall I’ll let you know how it performs over the course of a growing season and how well it tills in to the soil.

Bob

« Newer PostsOlder Posts »

Powered by WordPress