This is another episode in the grape vine cutting story that began last spring. At that time I took some pieces of grapevine that I cut off the vines during pruning and used them to start new grapevines. You can browse through my older blog posts to find out about those grapes.
I stuck the cuttings into a soil mix and grew them through the summer. Nearly all of the cuttings developed a good set of roots and had nice tops. Then last fall I buried them in a trench in the garden to help protect them from any potential harsh winter weather. As it turned out, this winter was so mild they probably would have done just fine in their pots with some mulch banked up against them.
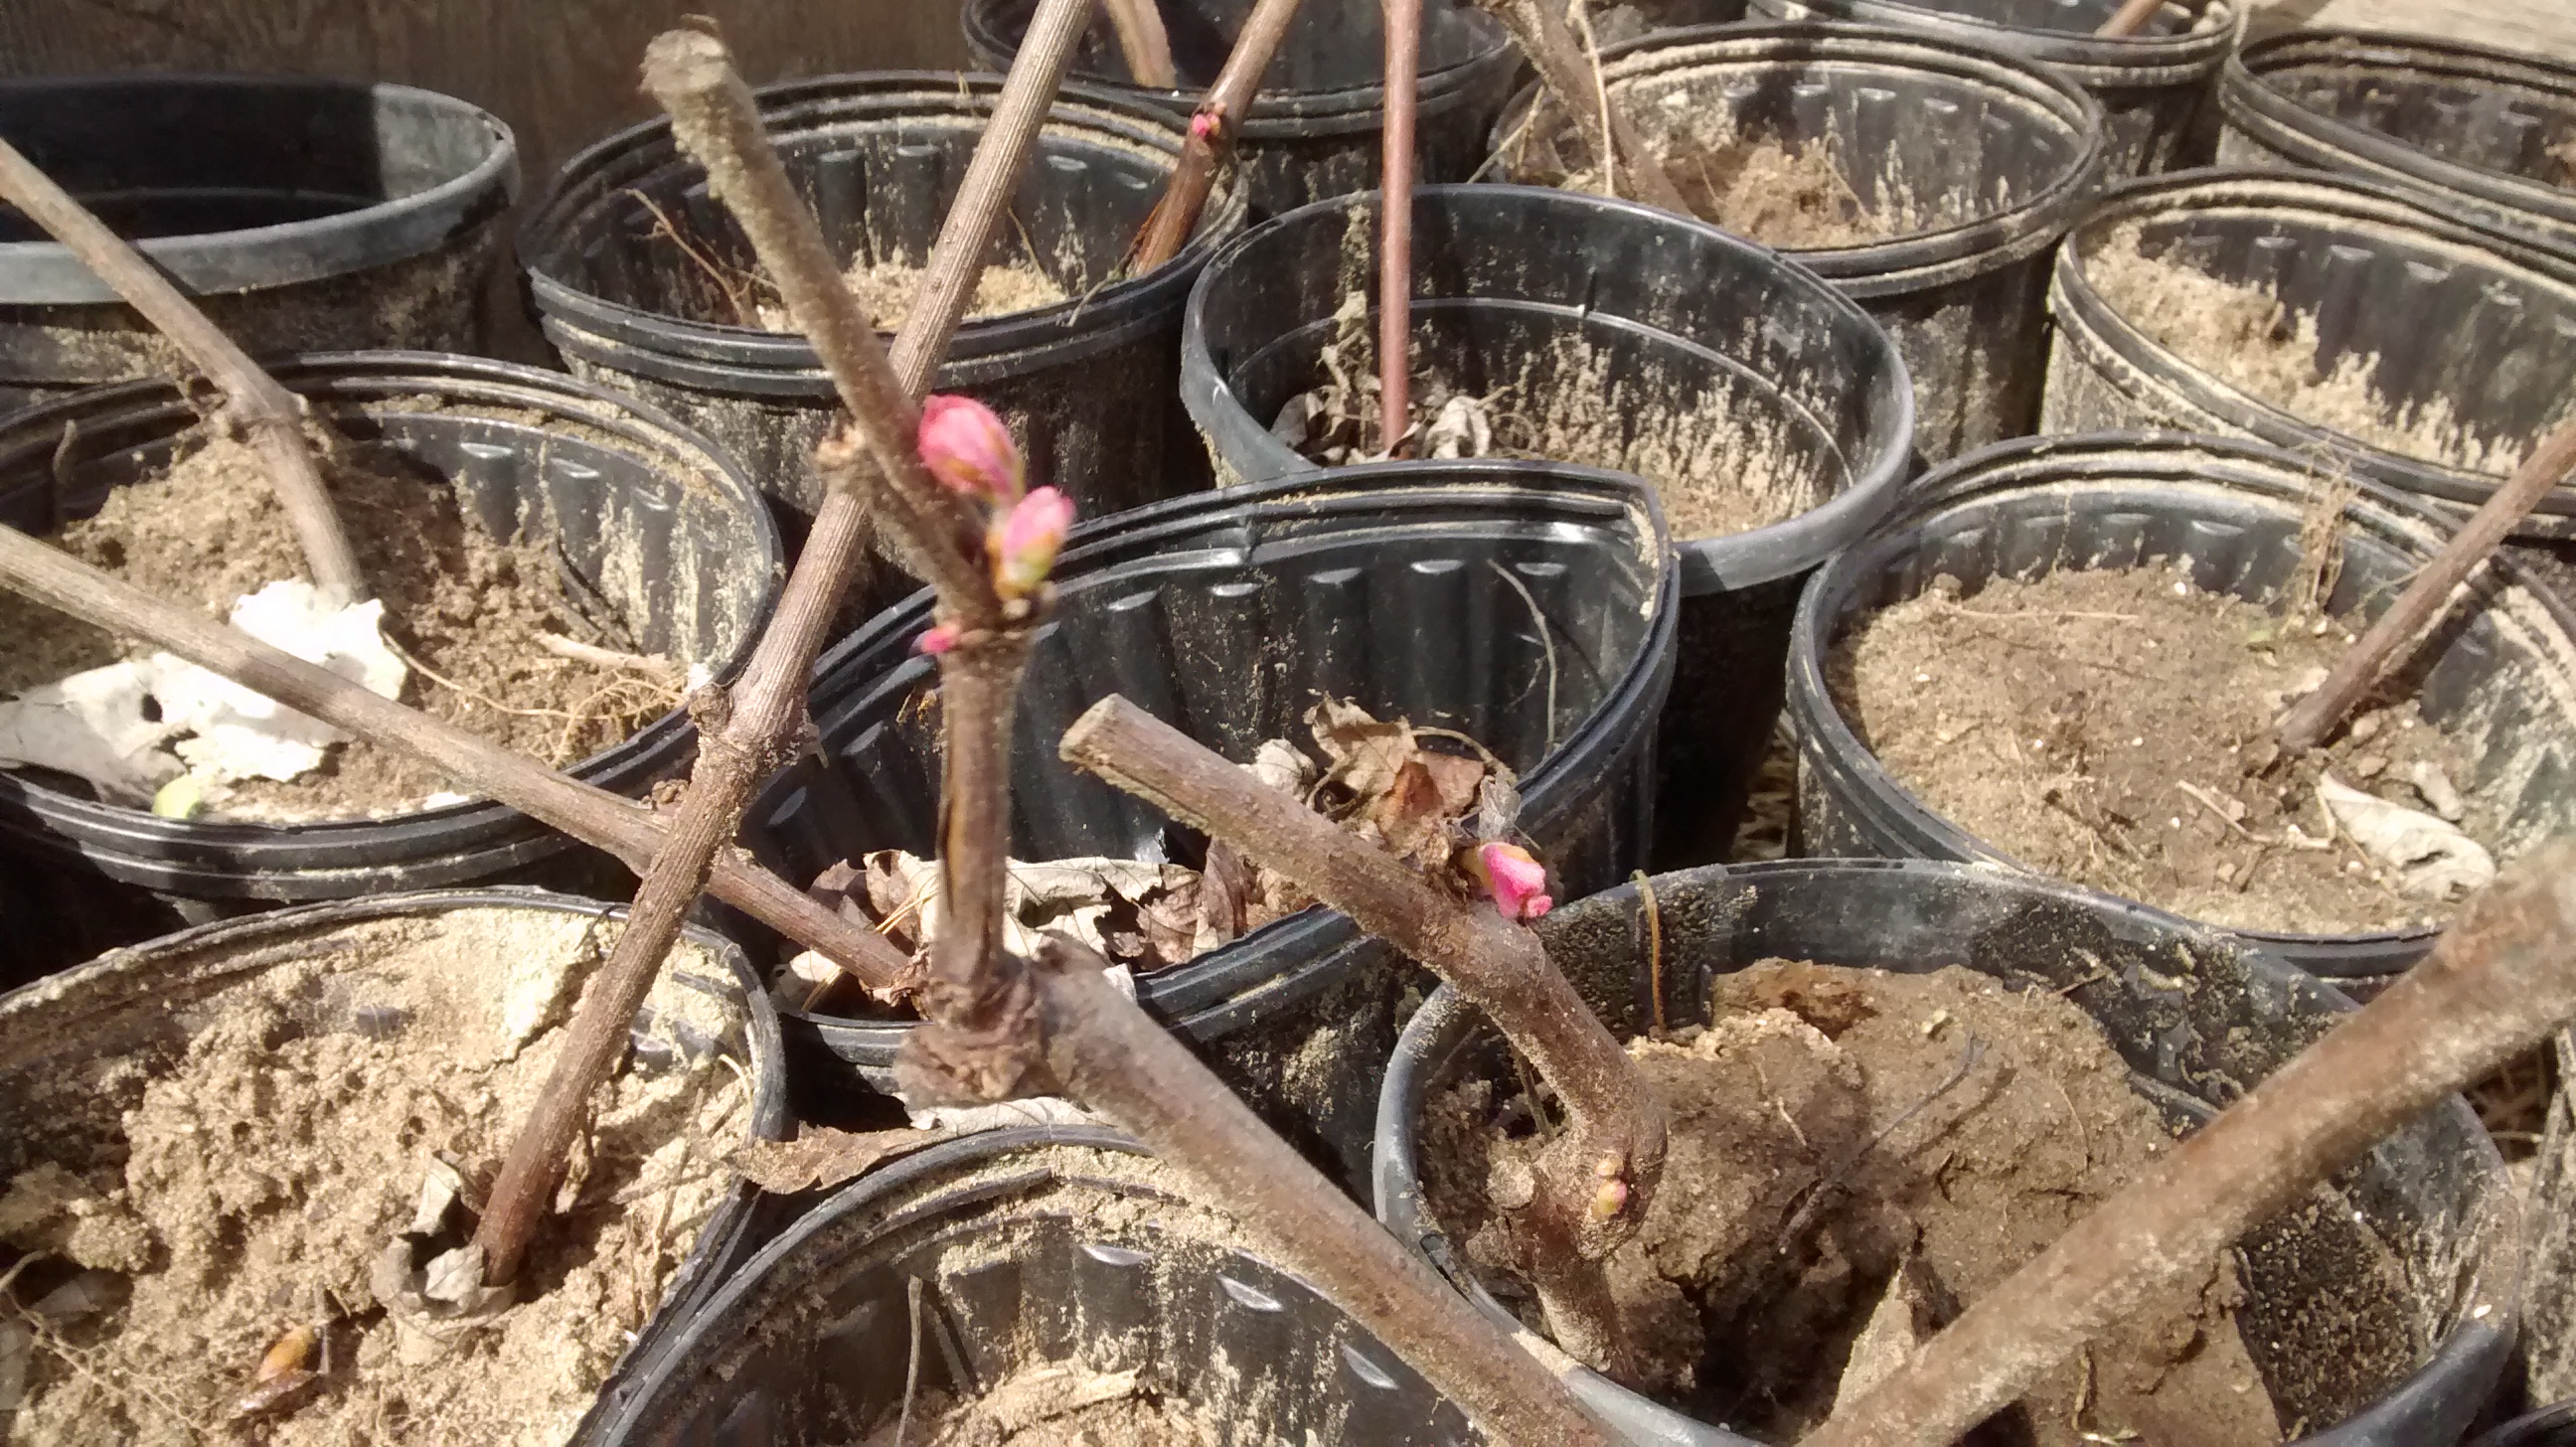
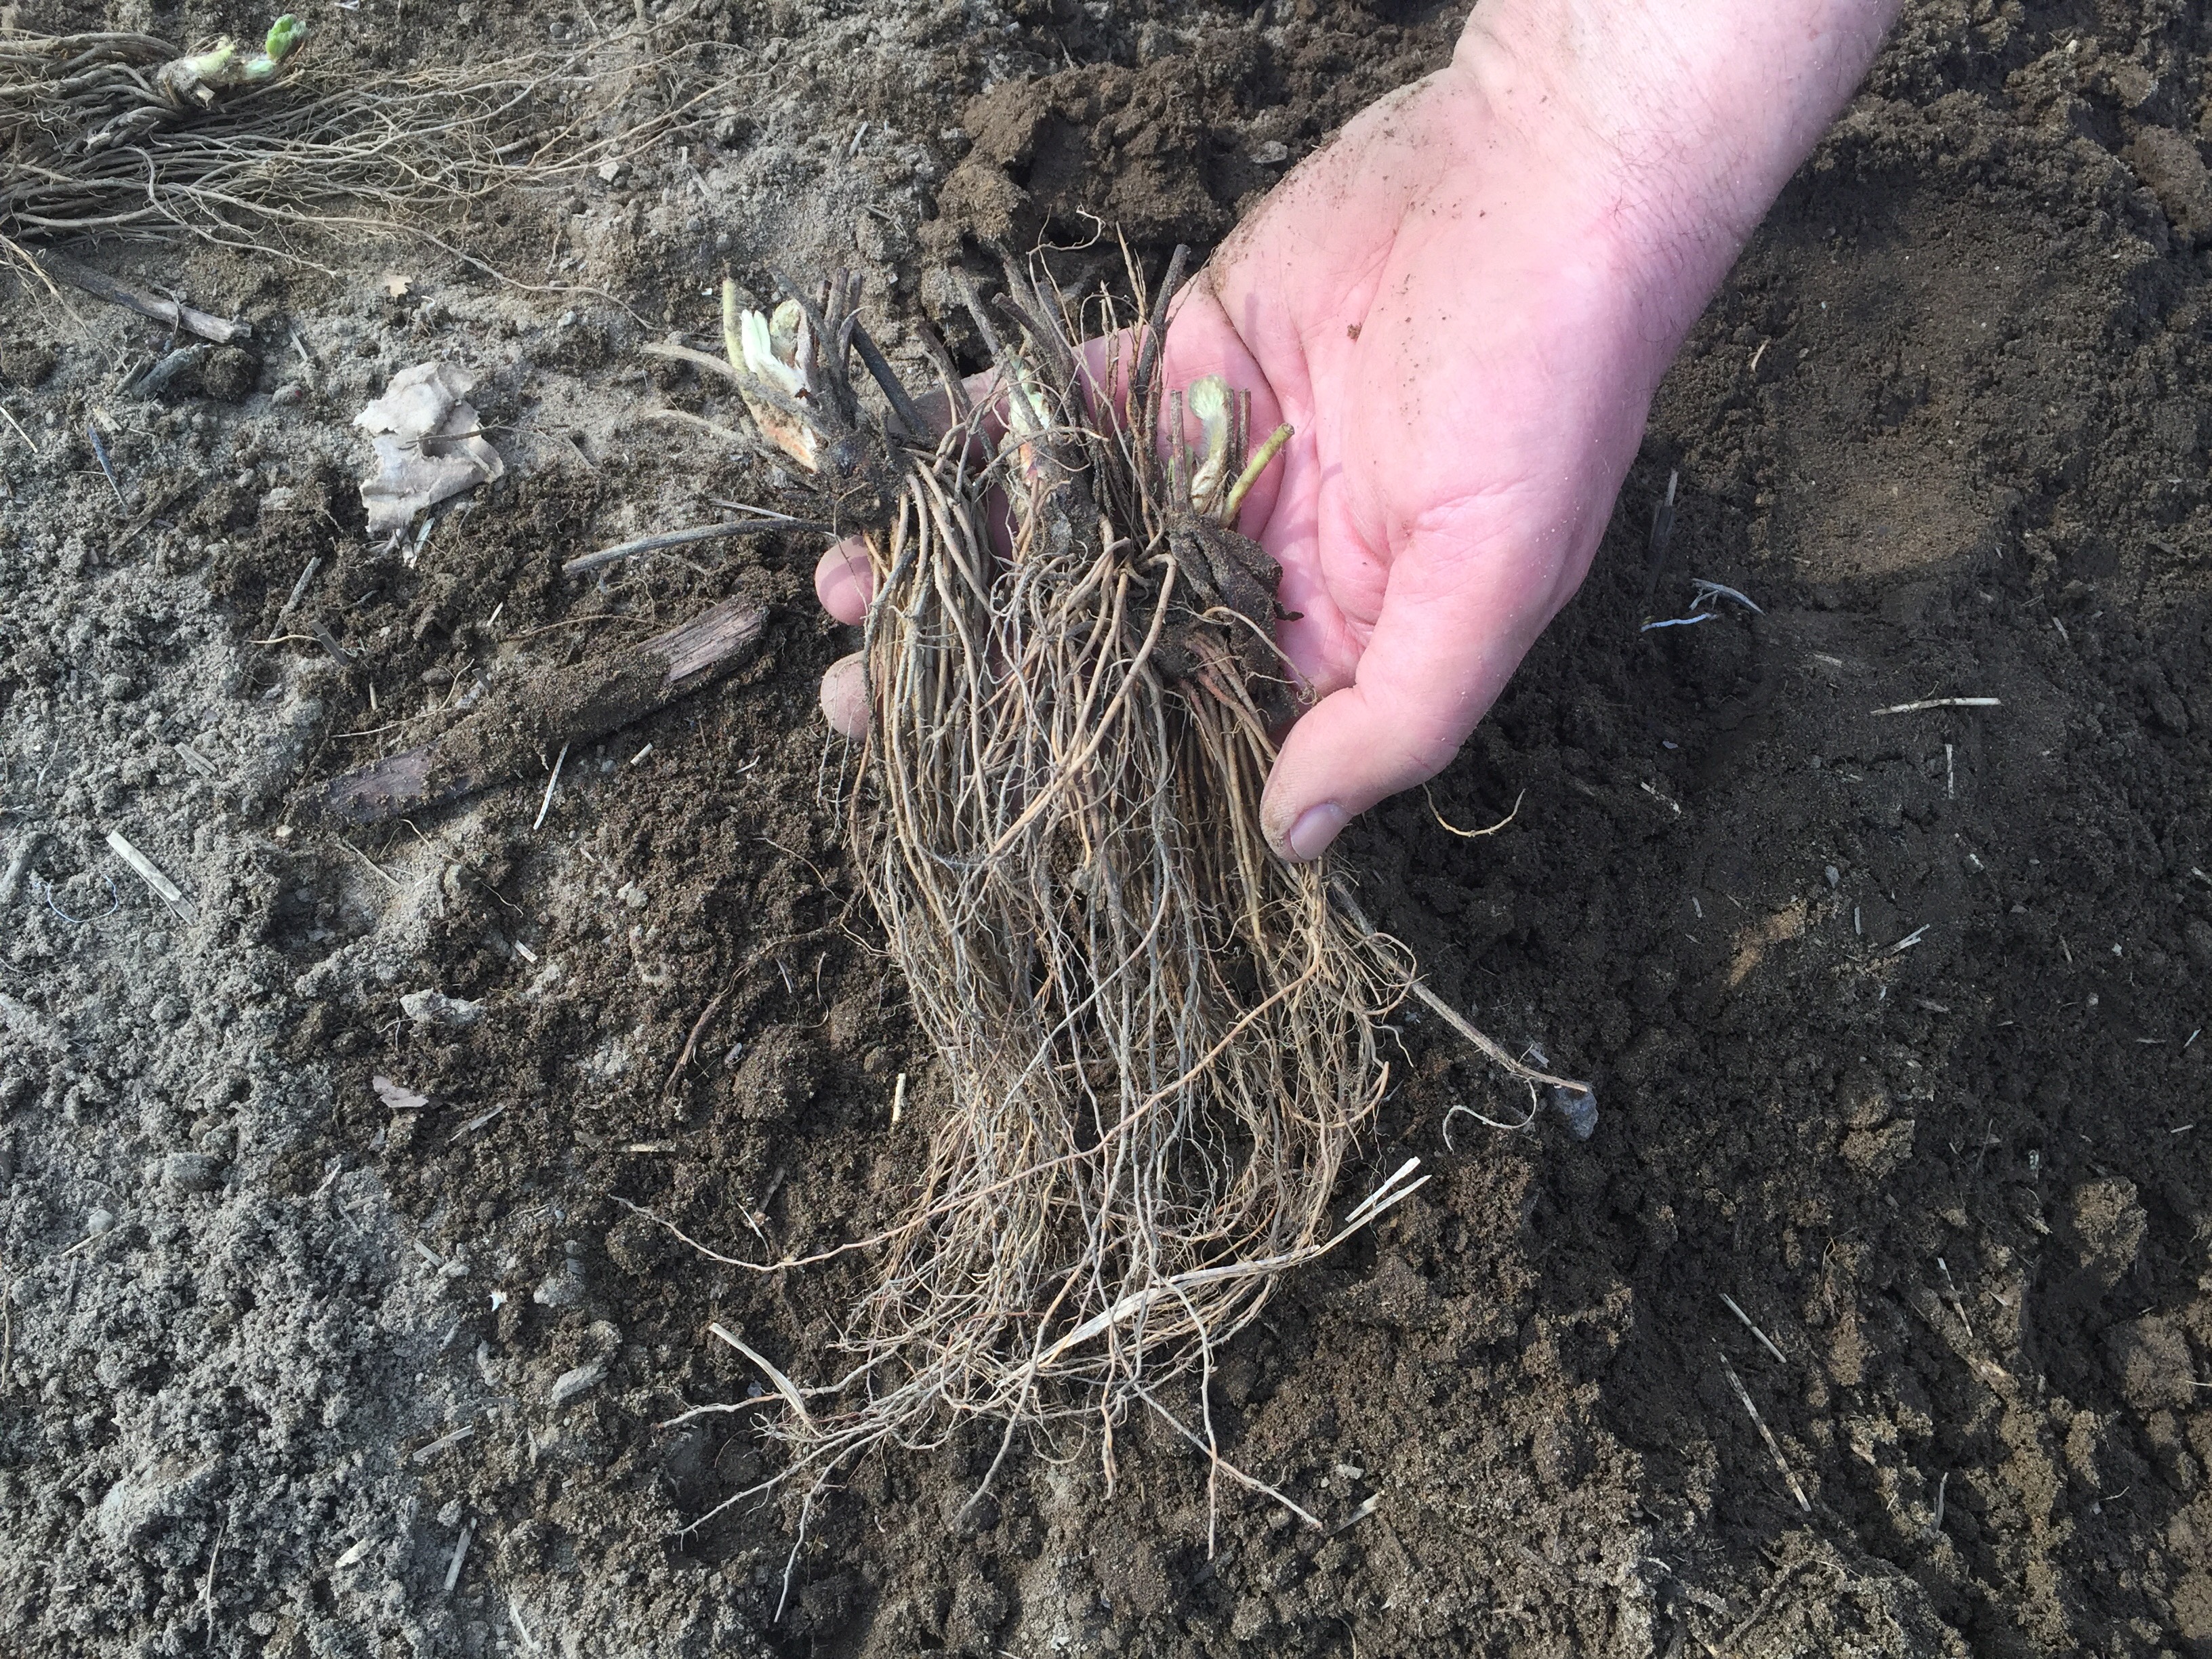
The best cuttings had strong leaf buds and plenty of roots.
Earlier this spring I dug them out of their trench, set them in a shady spot and made sure they were watered well. I ended up with 15 good plants which was about half of the cuttings I started with.
Last week I planted them into their permanent spots near the edge of the garden. They’re off to a good start in their new location.
Retail prices for grape plants like these can run nine or ten bucks each — before shipping. Taking grape cuttings can save you lots of money if you’re interested in starting a vineyard. The biggest drawback is that you have to wait a year for the cuttings to turn into plants.
Come to think of it, this grapevine story started way before last year. Those vines I pruned and took the cuttings from last spring were themselves started from cuttings 15 years ago.
Bob