The Yellow Farmhouse Garden

April 11, 2014

Use a heat mat for quick seed germination

Filed under: Equipment,Greenhouse,Seeds — bob @ 10:11 am

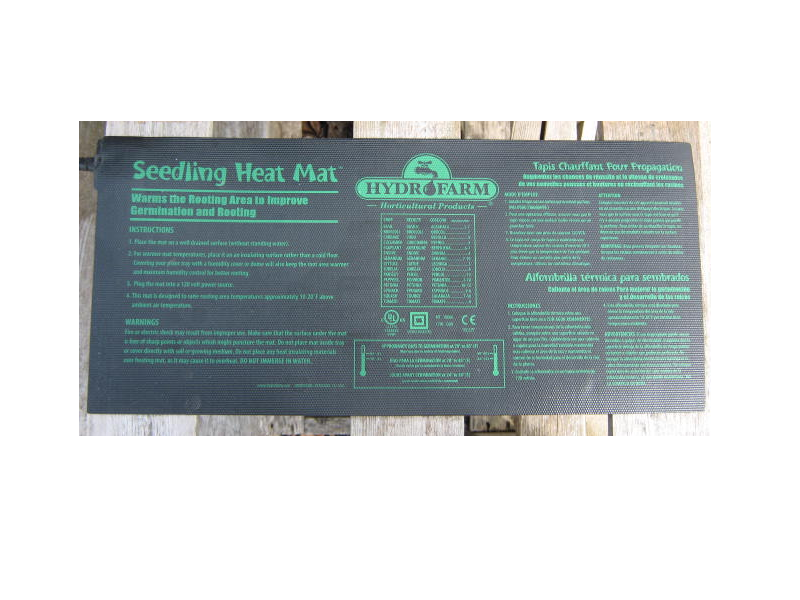
For many years I started seeds without using a seedling heat mat.There never seemed to be any problems doing it that way as long as I was able to find a warm spot for my seed trays. Those were the days when the tops of refrigerators radiated heat and were nice and warm. That was the best place to germinate small amounts of seeds because the constant heat warmed up the seed starting containers to the ideal temperature. Small heat mats for home use were not readily available back then.

It wasn’t until I worked in a large private greenhouse that I really found out the advantages to using bottom heat. I needed to grow thousands of flower and vegetable plants from seed. Time was, and still is, a valuable commodity, I couldn’t afford to wait for seeds to sprout.

Seeds I grew on heat mats seemed to jump up through the soil surface compared to their unheated brethren — germination percentage went up too. After the first transplant growing season, I invested in a few large commercial heat mats.

These days, nearly all garden centers sell small heat mats. They are usually preset at a specific temperature and are not adjustable, unlike the commercial mats.

Heat mats will last for years  if you use them properly and store them carefully.

Heat mats will last for years if you use them properly and store them carefully.

The small mats work just fine for small amounts of seeds. By small amounts, I mean you can still germinate enough seeds to grow hundreds of plants. That’s more than enough for an average home garden.

If you are even a little bit serious about growing plants from seed, a seedling heat mat is an essential investment, especially now that refrigerators aren’t warm anymore.

Bob
February 4, 2014

Genetic engineering vs home grown tomatoes

Filed under: Seeds,Vegetables — bob @ 9:35 pm

The last tomato I had in storage finally started to spoil last week. That was a very long time for a tomato to keep without using any kind of special equipment. It was one from my own heirloom strain that I have been keeping for several years now.

This was a great opportunity for me to select for another trait in my tomato line: long term storage.

The fruit looked fine on the outside but, by the time I finally opened it, it was starting to break down inside. The slippery capsules surrounding the seeds had dissolved due to fermentation setting in. A small amount of fermentation is OK when it comes to saving tomato seeds. The alcohol produced helps to preserve the seeds to some extent.

I took my time separating  the seeds from the pulp. After all, it was one gardening related project I could do even though it was snowing outside. I ended up with quite a few sound seeds.

Picking through tomato pulp doesn’t require a lot of concentration. I found my mind wandering a bit and starting thinking about an article about genetic engineering I read in the trade publication Inside Grower. Part of the article talked about the very first genetically engineered tomato variety to reach the market, Flavr Savr.

One thought I had was that I was selecting for genes inside my tomato to get a specific characteristic. The method I used is one that farmers have used for thousands of years. The Flavr Savr biologist’s method was so brand new that it was patented. In their laboratory, they took a short cut by moving pieces of DNA from one tomato variety to another — if you call taking 8 years and twenty million dollars a short cut. I wish I had the budget they had.

The Flavr Savr tomato and it’s technology was eventually sold. The tomato itself has been off the market for many years.

We have several more weeks before tomato seed-starting time arrives.  In the meantime, my seeds are safely in storage waiting to be planted. I’m interested in finding out my seed germination percentage this spring. Next winter I’ll find out how well the storage trait gets passed along to this year’s generation of tomatoes.

The website Retro Report has a video about the Favr Savr. It’s interesting to watch whichever side of the GMO debate you’re on.

Hmm, I wonder if any gardener ever thought to save any seeds from that variety.

Bob

May 15, 2013

Common mistake when sowing carrot seeds

Filed under: Seeds,Vegetables — bob @ 9:42 am

One common mistake beginning gardeners make when sowing carrot seeds is planting them too deep.

The seed packages say something like “place the seeds in a furrow, cover with soil and press the soil down firmly”. This makes it sound like you have to dig a small trench and heap garden soil over the top.

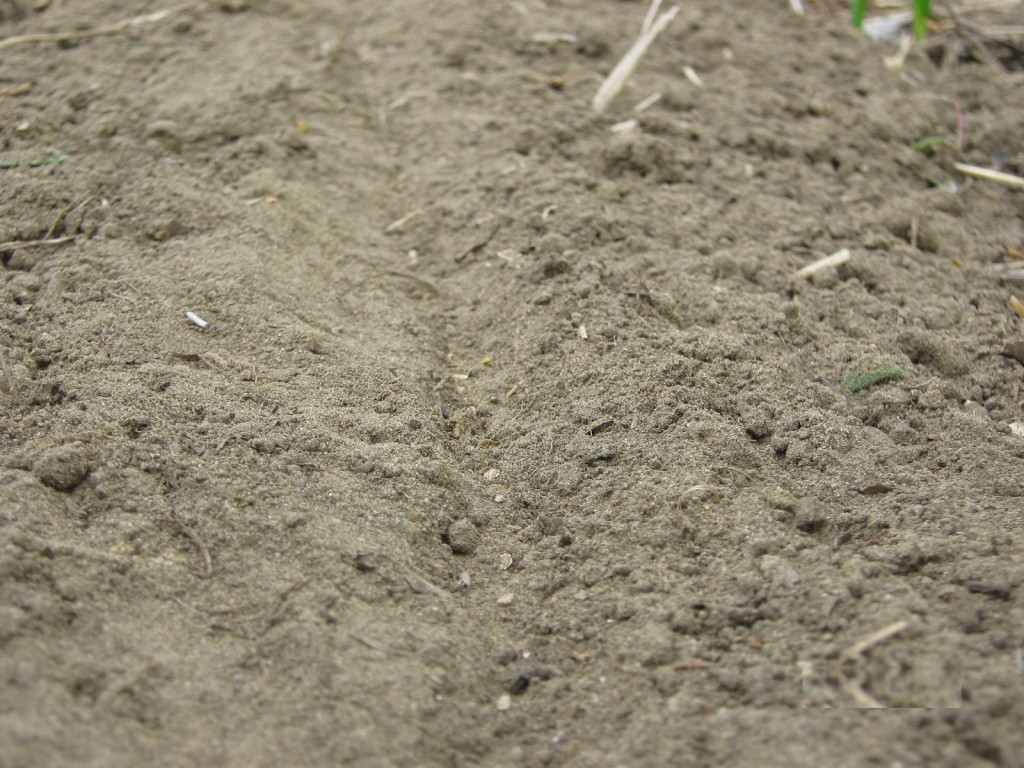
Actually, carrot seeds only need a shallow depression about one-quarter of an inch deep or so.

Cover them with a small amount of loose garden soil. Mixing some sand with the soil you use for covering will help keep it from crusting over. Crusted soil will hurt seed germination. Finally press the soil down firmly enough so the seed has good contact with the soil particles.

A shallow furrow for carrot seeds should be no deeper than 1/4 to 1/2 inch deep.

Carrot seeds take anywhere from one to two weeks to sprout.

Bob

March 15, 2013

Start seeds indoors at the proper time

Filed under: Seeds — bob @ 3:39 pm

Mid-March is the time when gardeners begin to sow seeds indoors.

A friend mentioned to me that she knew someone who started cantaloupe seeds already. It’s much too early for that. Those plants will end up so leggy and weak that they will not recover from transplanting out into the garden — if they live that long. It’s about a month too early for cantaloupes. I know it’s hard to do sometimes — especially for beginners —  but try to resist the urge to start seeds before their recommended sowing date.

Many seeds can be started now,  especially the cool weather vegetable crops like those in the cabbage family. Onions and their relatives such as leeks and chives are sown now too.

The time is right for indoor sowing of foxgloves, echinacea, sweet william,  petunias, snap dragons, holly hocks and several other flowers.

Parsley, thyme, oregano, sage as well as other herbs should be sown indoors now.

So, follow the suggested seeding times on the package or in the seed catalog. Amaze your friends with your healthy, home grown transplants.

January 25, 2013

Organizing stored seeds

Filed under: Seeds — bob @ 2:23 pm

I finally decided to tackle a job that I’ve been putting off for quite a while — sorting my old seeds. This is a good time  of the year to do it since things are on-hold out in the garden.

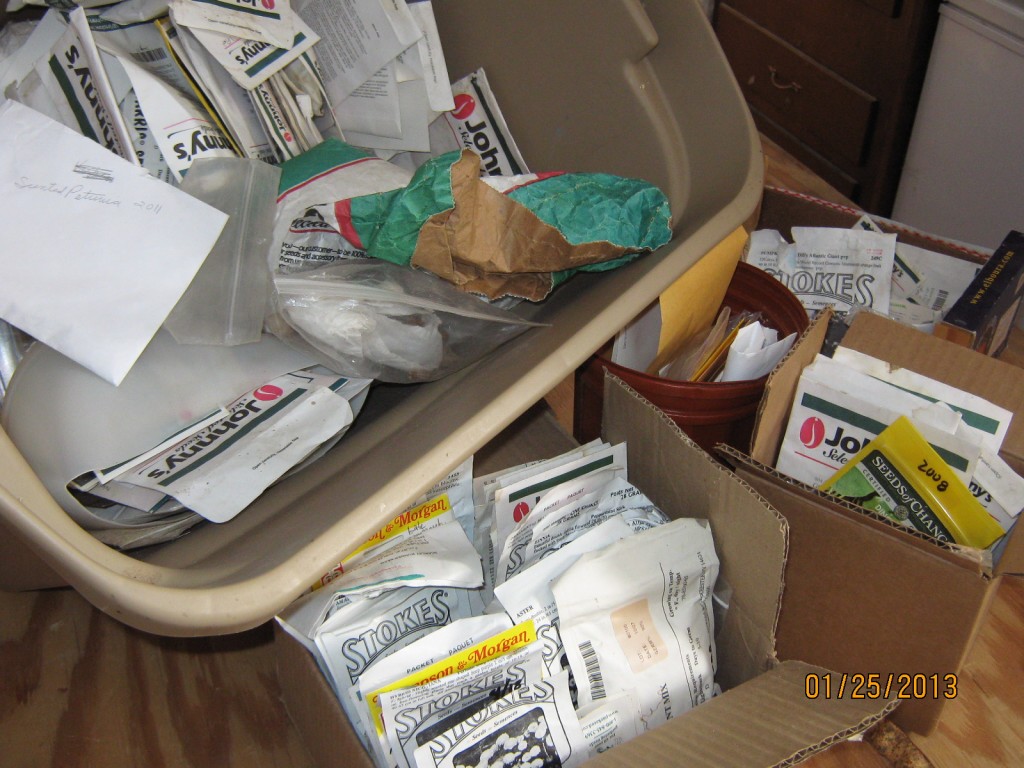
There’s a large storage tub full of seed packs that I’ve been accumulating for years. At one time I had them pretty well organized. However, during the past few gardening seasons, I’ve rummaged through the tub looking for particular seeds and was not very careful putting them back in the right place. Now they’re getting disheveled again.

There are quite a few packs that have never been opened. Many of those are professional-grade packs that have the original factory seal and are air-tight. Some of those contain hundreds of seeds.

A sheet of plywood on a pair of sawhorses make a good temporary table for a big job like this.

I know many of the seeds are too old and are no longer viable. I’ll have to toss them out. Others are still OK so, those will go back in to storage.

As for the seeds I’m not sure about, I plan to do a simple germination test. Here’s the way I do it: 1) take a set number of seeds and roll them up in a damp paper towel; 2) put the rolled up paper towel inside a plastic zip-lock bag; 3) place it in a warm spot and check them once a day.

If the seeds are good, they will usually sprout in a several days time. Then I count the number that germinated and calculate the germination percentage. That gives me a rough idea how well the seeds will perform this spring.

Once this project is done, it will be a lot easier to keep track of my surplus seeds in the future.

Bob

« Newer Posts

Powered by WordPress