The Yellow Farmhouse Garden

April 13, 2011

Over-Wintered Orange Trees

Filed under: Fruit,Greenhouse,Trees — bob @ 9:58 am

We brought out our two Valencia orange trees during the warm spell we had earlier in the week.  I figured the really cold weather was behind us for the most part.  These trees are about 5 feet tall and are in 18 inch terra-cotta pots.

The two trees are part of an informal experiment I have been conducting over the past two years.  They were not kept in a greenhouse or even in the house in front of a south window; instead I put them into our semi-heated garage.  They each received some sunlight from a small south window; the size of window you would expect to find in a garage.

The temperature ranged from the upper 30′s F to lower 40′s F through most of the winter.  There were a few days when the heat was raised a bit up into the 50 degree F range.

I cut way back on watering.  They received water only five or six times during the whole winter.  I let the leaves start to wilt before I even thought about watering.  Then I watered just enough so the water began to drain out of the bottom of the pots.  Neither pot had a saucer under it so they didn’t stand in water.  They didn’t get any fertilizer either.

About mid-winter, the trees looked like they went into a kind of semi-dormant state.

Even though the trees seemed to be hibernating, the oranges that were on the tree last fall turned orange and ripened.  The fruit  didn’t get much bigger which is no surprise considering the lack of water.

There are quite a few oranges on our over-wintered orange trees.

Last night it got down to 33 degrees F and I left the oranges outside.  They looked perfectly fine this morning; they are used to the cool temperatures.

This is a good way to keep trees like these over winter if you are short on space in your house.  You don’t have room in the garage either? … well I can’t help you there.

Bob

March 25, 2011

Greenhouse Plans

Filed under: Greenhouse — bob @ 8:10 am

We’re thinking about adding a small greenhouse here at Yellow Farmhouse.  It won’t be anything fancy and doesn’t have to be very big. I plan on building it myself to keep costs down.

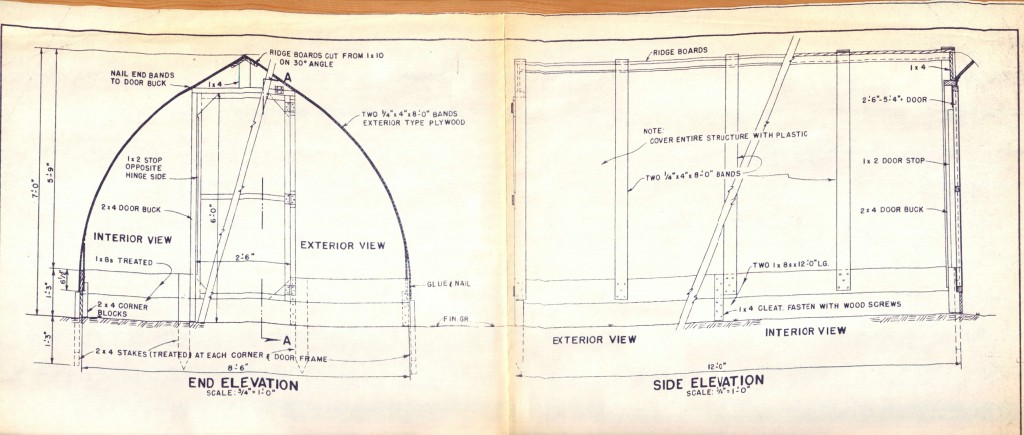
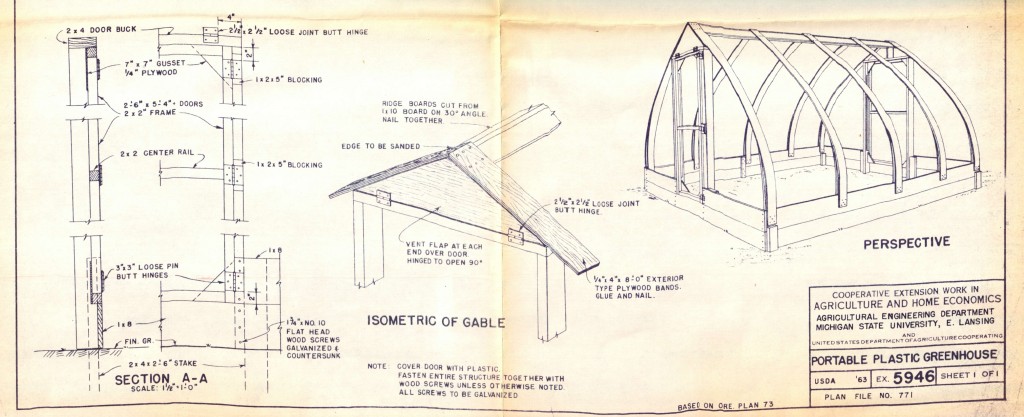
While going through my files I came across a set of plans for a small (8′-6″ x 12′) homemade greenhouse. It measures seven feet from the floor to the center ridge making it easy to walk inside. This set of drawings dates back to 1963 and was developed by Michigan State University and the Department of Agriculture.

It uses 1/4″ treated plywood ripped into strips and laminated together to provide the supports for the walls. The base is made from treated 1×8 boards. The whole structure is covered with a sheet of plastic. Anyone with moderate construction skills will be able to build it.

I’m not sure if this is the one I’ll build. I have some other ideas using materials we already have on hand.

Bob

December 26, 2008

Caring for Your Poinsettia

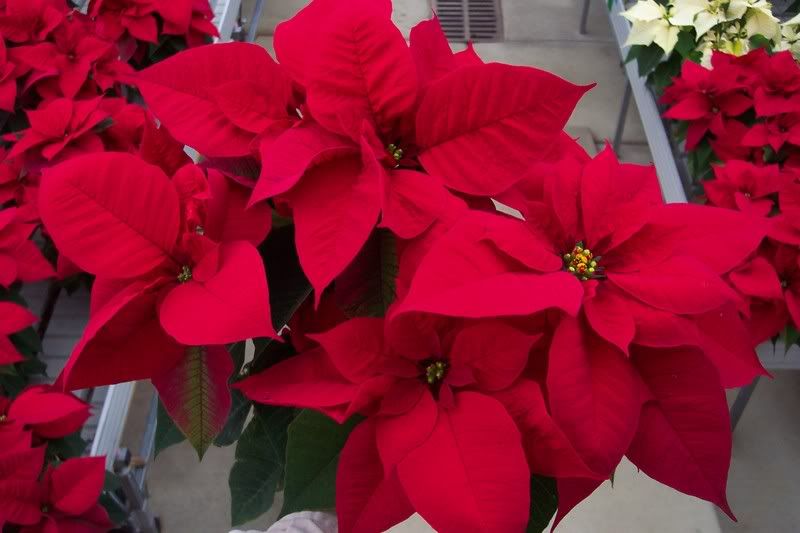
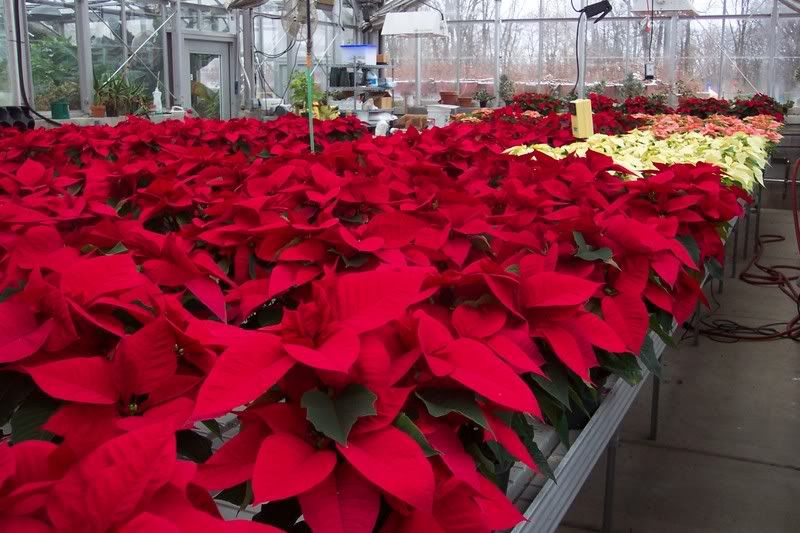
Our Poinsettias turned out wonderful this year.

The color and size were outstanding.

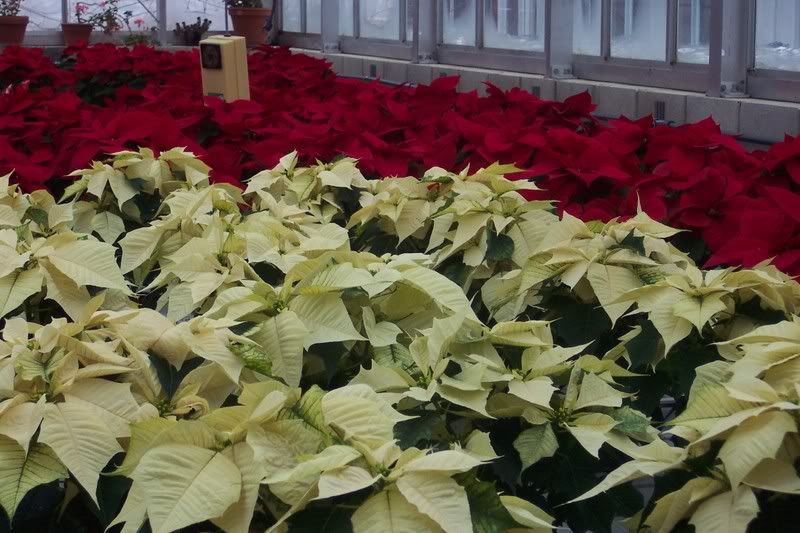
We grew about 250 poinsettias of various colors: marble-pink, burgundy, white, and of course, red.

We started giving them out about mid-December and sent the last ones out on the 23rd.

To keep your poinsettia going for as long as possible, you need to follow just a couple of simple guidelines.

First, keep in mind that most poinsettias die from over-watering. Your home probably has a lower quality of sunlight than the greenhouse from which it came, so your plant will be less actively growing and therefore need less water.

So, let the pot dry out some before watering. Then water the plant thoroughly until water flows out of the bottom of the pot.

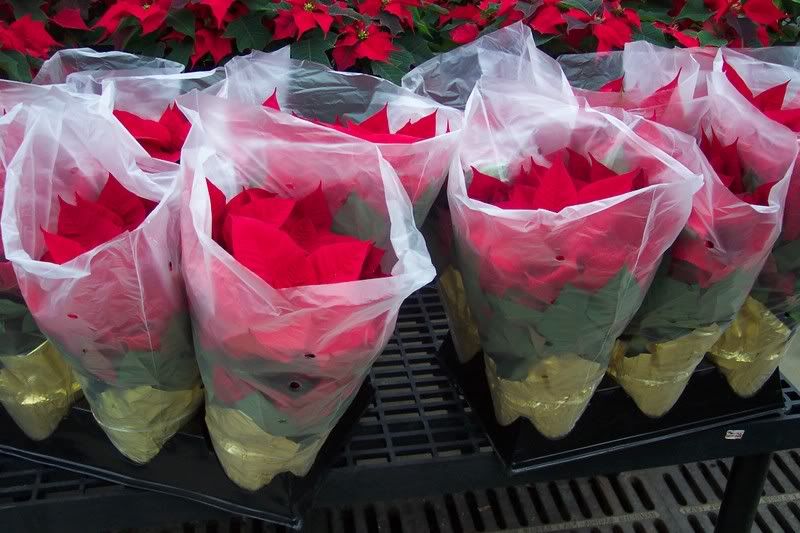
If any water remains in the foil pot-wrapper, dump it out. It is this extra water in the foil that causes main reason of poinsettias dying prematurely;  waterlogged roots.

Don’t worry about fertilizer for your plant, it won’t really need much until spring. A half-strength dose of water soluble fertilizer once in a while should be adequate.

Also, keep in mind that poinsettias weren’t meant to last too much longer than the Christmas season.  They were bred for color, not hardiness.

Enjoy your poinsettia as a reminder of wonderful Christmas memories.

Bob

December 10, 2007

This Year’s Poinsettia Varieties

It’s been a while since I last posted an article here, but that doesn’t mean that things have slowed down in the garden and greenhouse.

Christmas is just around the corner, so for us that means Poinsettias are the focus of our work.  Actually, the poinsettias have been in the greenhouse since September.  As a result, here in the greenhouse, Christmas has slowly crept up since that time. We’ve watched them grow from small, green cuttings to full colorful plants.

Greenhouse Poinsettias

We’ve been so used to the greenhouse being full of Poinsettias, that it’s hard to believe that they will all be gone soon.

Some of the plants have already been given away last week.

Many people are not aware that there are different Poinsettia varieties, just like there are different varieties of tomatoes.  Through the years, plant breeders have developed varieties for not only color, but, also growth habit (short or tall), leaf shape (smooth or lobed), maturity date (early, mid, or late) and other characteristics.

One very important development in  Poinsettia breeding is the ease of production.  The old varieties needed to be covered with a black shade cloth during a period of their life cycle.  Any light, even from street lamps at night, could cause the crop to fail to bloom.

Fortunatly, this is not as critical anymore.

This year, we are growing three varieties of Poinsettias.

Premium Red Poinsettia

Premium Red is our main crop, we have about 150 of those.

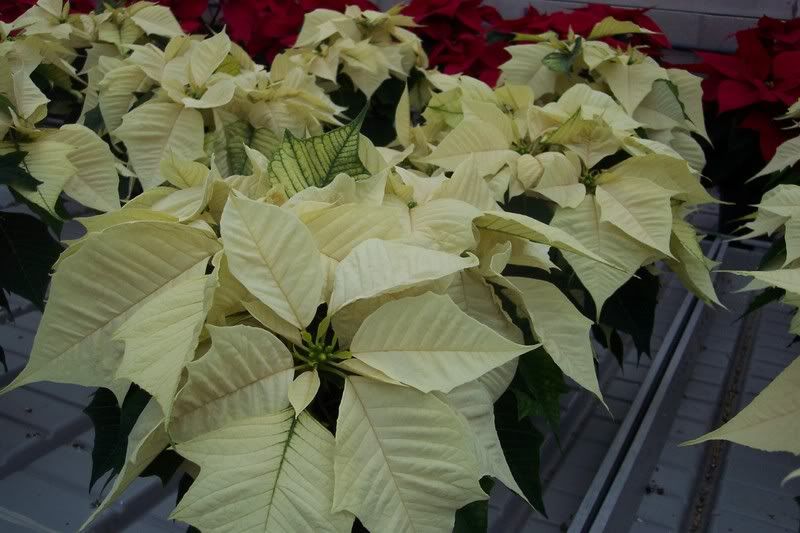
Sonora White

Sonora is our white variety, there’s about 40 of them.

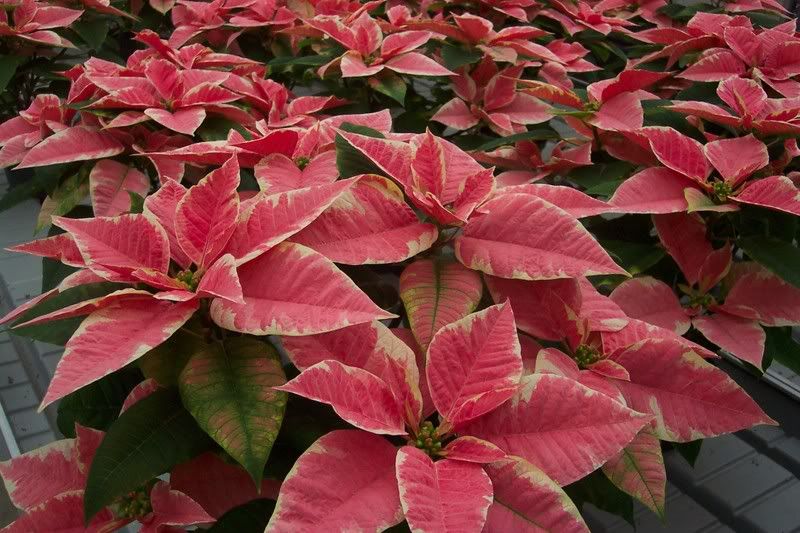
Marblestar Poinsettia

Marblestar is a pink and white variety.  We have about 50 of those.

Greenhouse Poinsettias  of Almost all of our Poinsettias are grown in 6″ pots, except for a couple  dozen 10″ pots.
In two weeks time the greenhouse will be empty of Poinsettias except for a few that we will continue to grow. A couple will be saved for taking cuttings for next year’s crop, while a few more will be left to grow into larger plants for Christmas of 2008.

Bob

March 23, 2007

How We Sow All Those Seeds

Filed under: Greenhouse,Seed Starting — bob @ 4:32 pm

Someone asked me a couple of days ago how do we manage to sow all those different seeds each spring. You see, we sow thousands of seeds, involving dozens of varieties. Each type of seed is a different size and shape.

Other than our fingers, we have some tools and devices that help the process along.
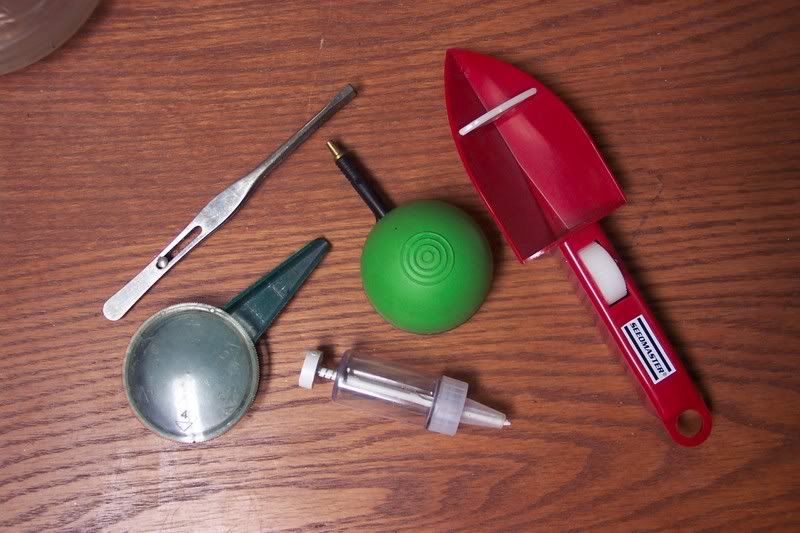
Here we see the five main tools we use in the greenhouse; tweezers, a suction-type seeder, a hypodermic-type seeder, a vibrating seeder, and a seed holder.

Seeding tools.

Tweezers are used quite a bit for medium sized seeds, we just place a small pile of seeds in the palm of our hand and pick them out one by one. It is a slow process but you can develope some speed with practice.

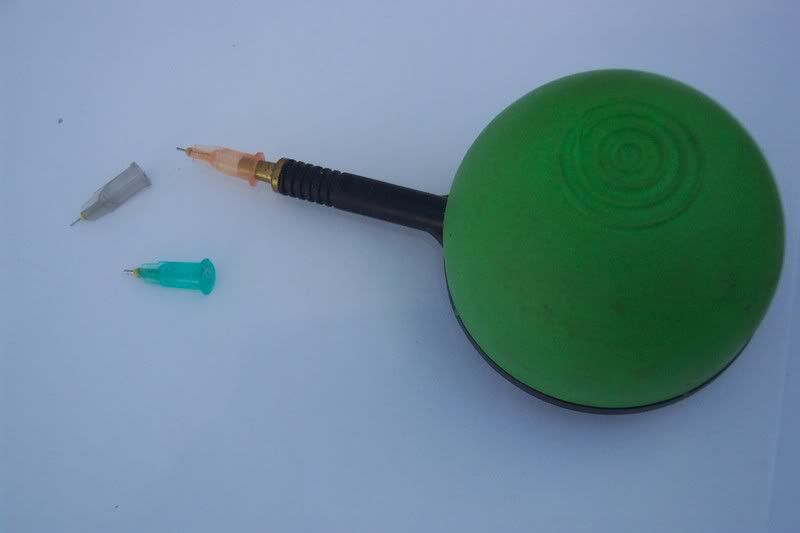
The suction-type seeder is used for the smallest of our seeds, begonia, petunia and the like. The device comes with three different size tips. You use the one closest to the size seed you are working with.

Suction-type seeder.

The suction seeder also picks up one seed at time. You just squeeze the bulb and release, it creates a vacuum that is used to pick up the seed. Many times the seed we sow with this tool is very small and hard to see. It helps to place the seed on a piece of white paper. This tool occasionally will get plugged up with debris. The manufacturer sends along three stiff pieces of wire that you use to unclog the tip. Don’t do what one of my helpers did and throw away that little 1″ piece of paper. That is how the cleaning wires are packaged!

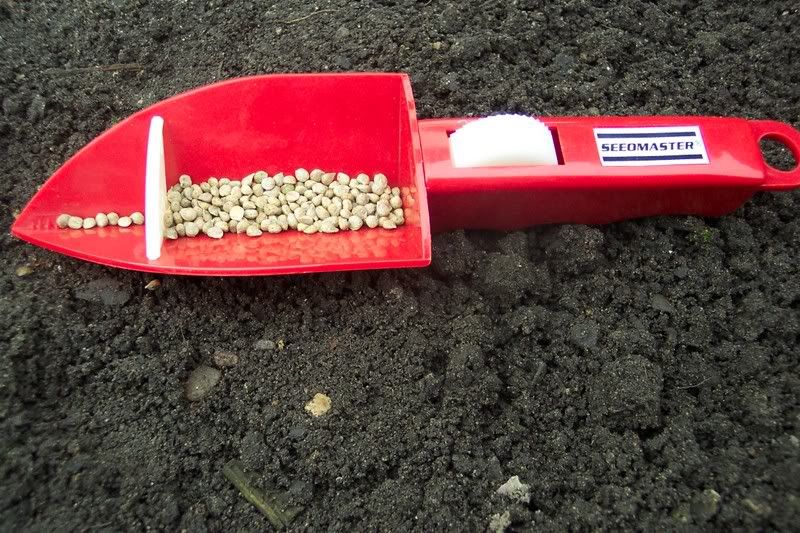
The vibrating seeder is used for medium sized seed that are some-what heavy. The vibrating action of the tool can flip light weight seeds right off your table and on to the floor ! This device has a knurled wheel on the handle that you turn with your thumb. The wheel rubs on an internal part of the seeder causing it to vibrate thereby shaking off the seeds from the tip. A set of interchangeable baffels with different sized openings keeps too much seed from collecting at the tip.

Seedmaster vibration seeder.

The “hypodermic” style seeder has a plunger with a groove cut into it. As you press the plunger up and down it picks up a seed from inside the seeder and deposits it on the soil.

The tool we use the most is the seed holder. This simple tool has a round part to place your seeds into. A clear cover that has different sized holes cut into it, keeps too many seeds from moving into the spout. To use this tool you just tap the side with a pencil or rub the ridges molded into it. This causes a slight motion that moves the seed. If you have it slanted down at just the right angle, the seeds can be placed very accurately onto your potting mix.

We use a variety of containers for sowing seed into.

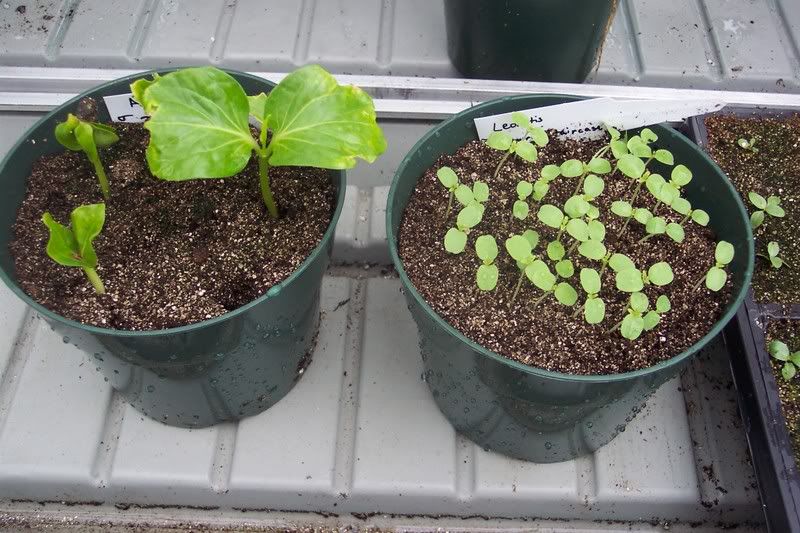
A six inch pot works great whenever we have just a few seeds to sow; anywhere from a half dozen to a maximum of about 60 or so.

6 inch plastic pots.

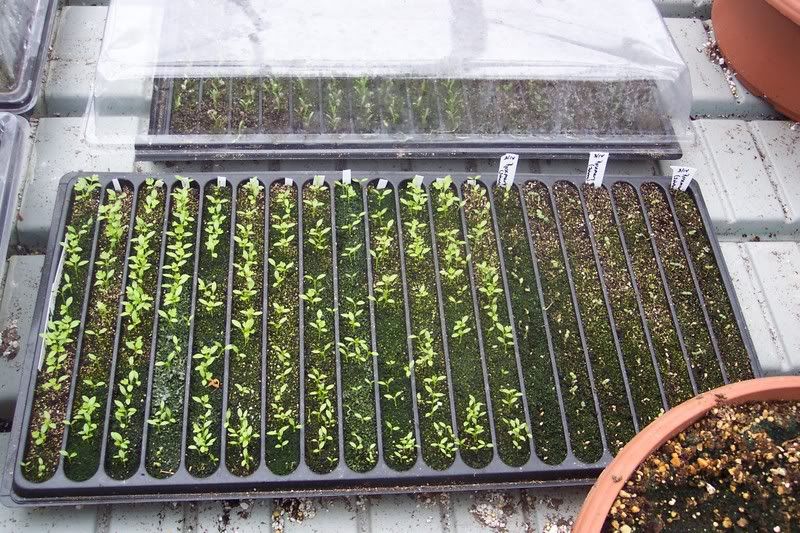
The divided-row flat is used for a greater quanity of seed, twenty five to fifty seeds fit in each row. It is also used to sow different varieties that you would like to keep apart but have the same germination requirements.

Divide row flat.

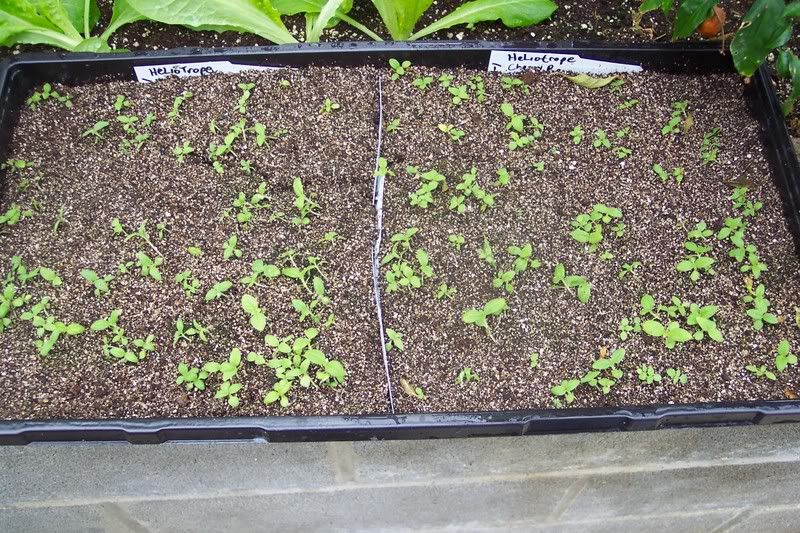
An undivided flat is used when we want to sow the seeds thickly as in the case of onions. Here we divided the flat in two using plastic pot tags.

Standard flat with two varieties sown into it.

On occasion we sow the seeds directly into “cells” that range from 48 to 128 cells per flat.

We also have sown into Jiffy pots and other containers. The old stand-by, a cut down milk carton works wonderfully as do yogurt containers with drainage holes cut into the bottom.

Next time we will discuss starting mix and seeds.

Bob

« Newer PostsOlder Posts »

Powered by WordPress