Spring is the best time of year to plant trees. During the winter the dormant buds and roots are in a kind of holding pattern until the right growing conditions happen in the spring. Then they have the entire growing season to establish themselves before next winter.
No doubt you’re aware of the requirements for a proper sized planting hole and the need to water the young tree after planting. Proper planting depth is also very important. I’ve mentioned in previous posts how important it is to remove the wrapping from the root ball, even though it can be a hassle.
I always set aside any sod and never use it to back-fill the planting. Actually, I don’t use the topsoil to back-fill either. I just use the subsoil from the hole for back-fill and save the topsoil for the very top of the hole. That way the original soil profile is maintained.
After I’ve taken great pains to get the tree into the ground, there’s one more thing I like to do to and that is to create an artificial forest floor covering. It’s something I’ve been doing for decades and I like the results.
It’s really a way of mulching that small trees seem to respond to. I first apply a thin layer of partially decomposed wood chips around the newly planted tree, over the topsoil, maybe a couple of inches deep. Then I cover that with a layer of chopped leaves. Chopping the leaves prevents them from matting down which can slow down rain water penetration into the soil.
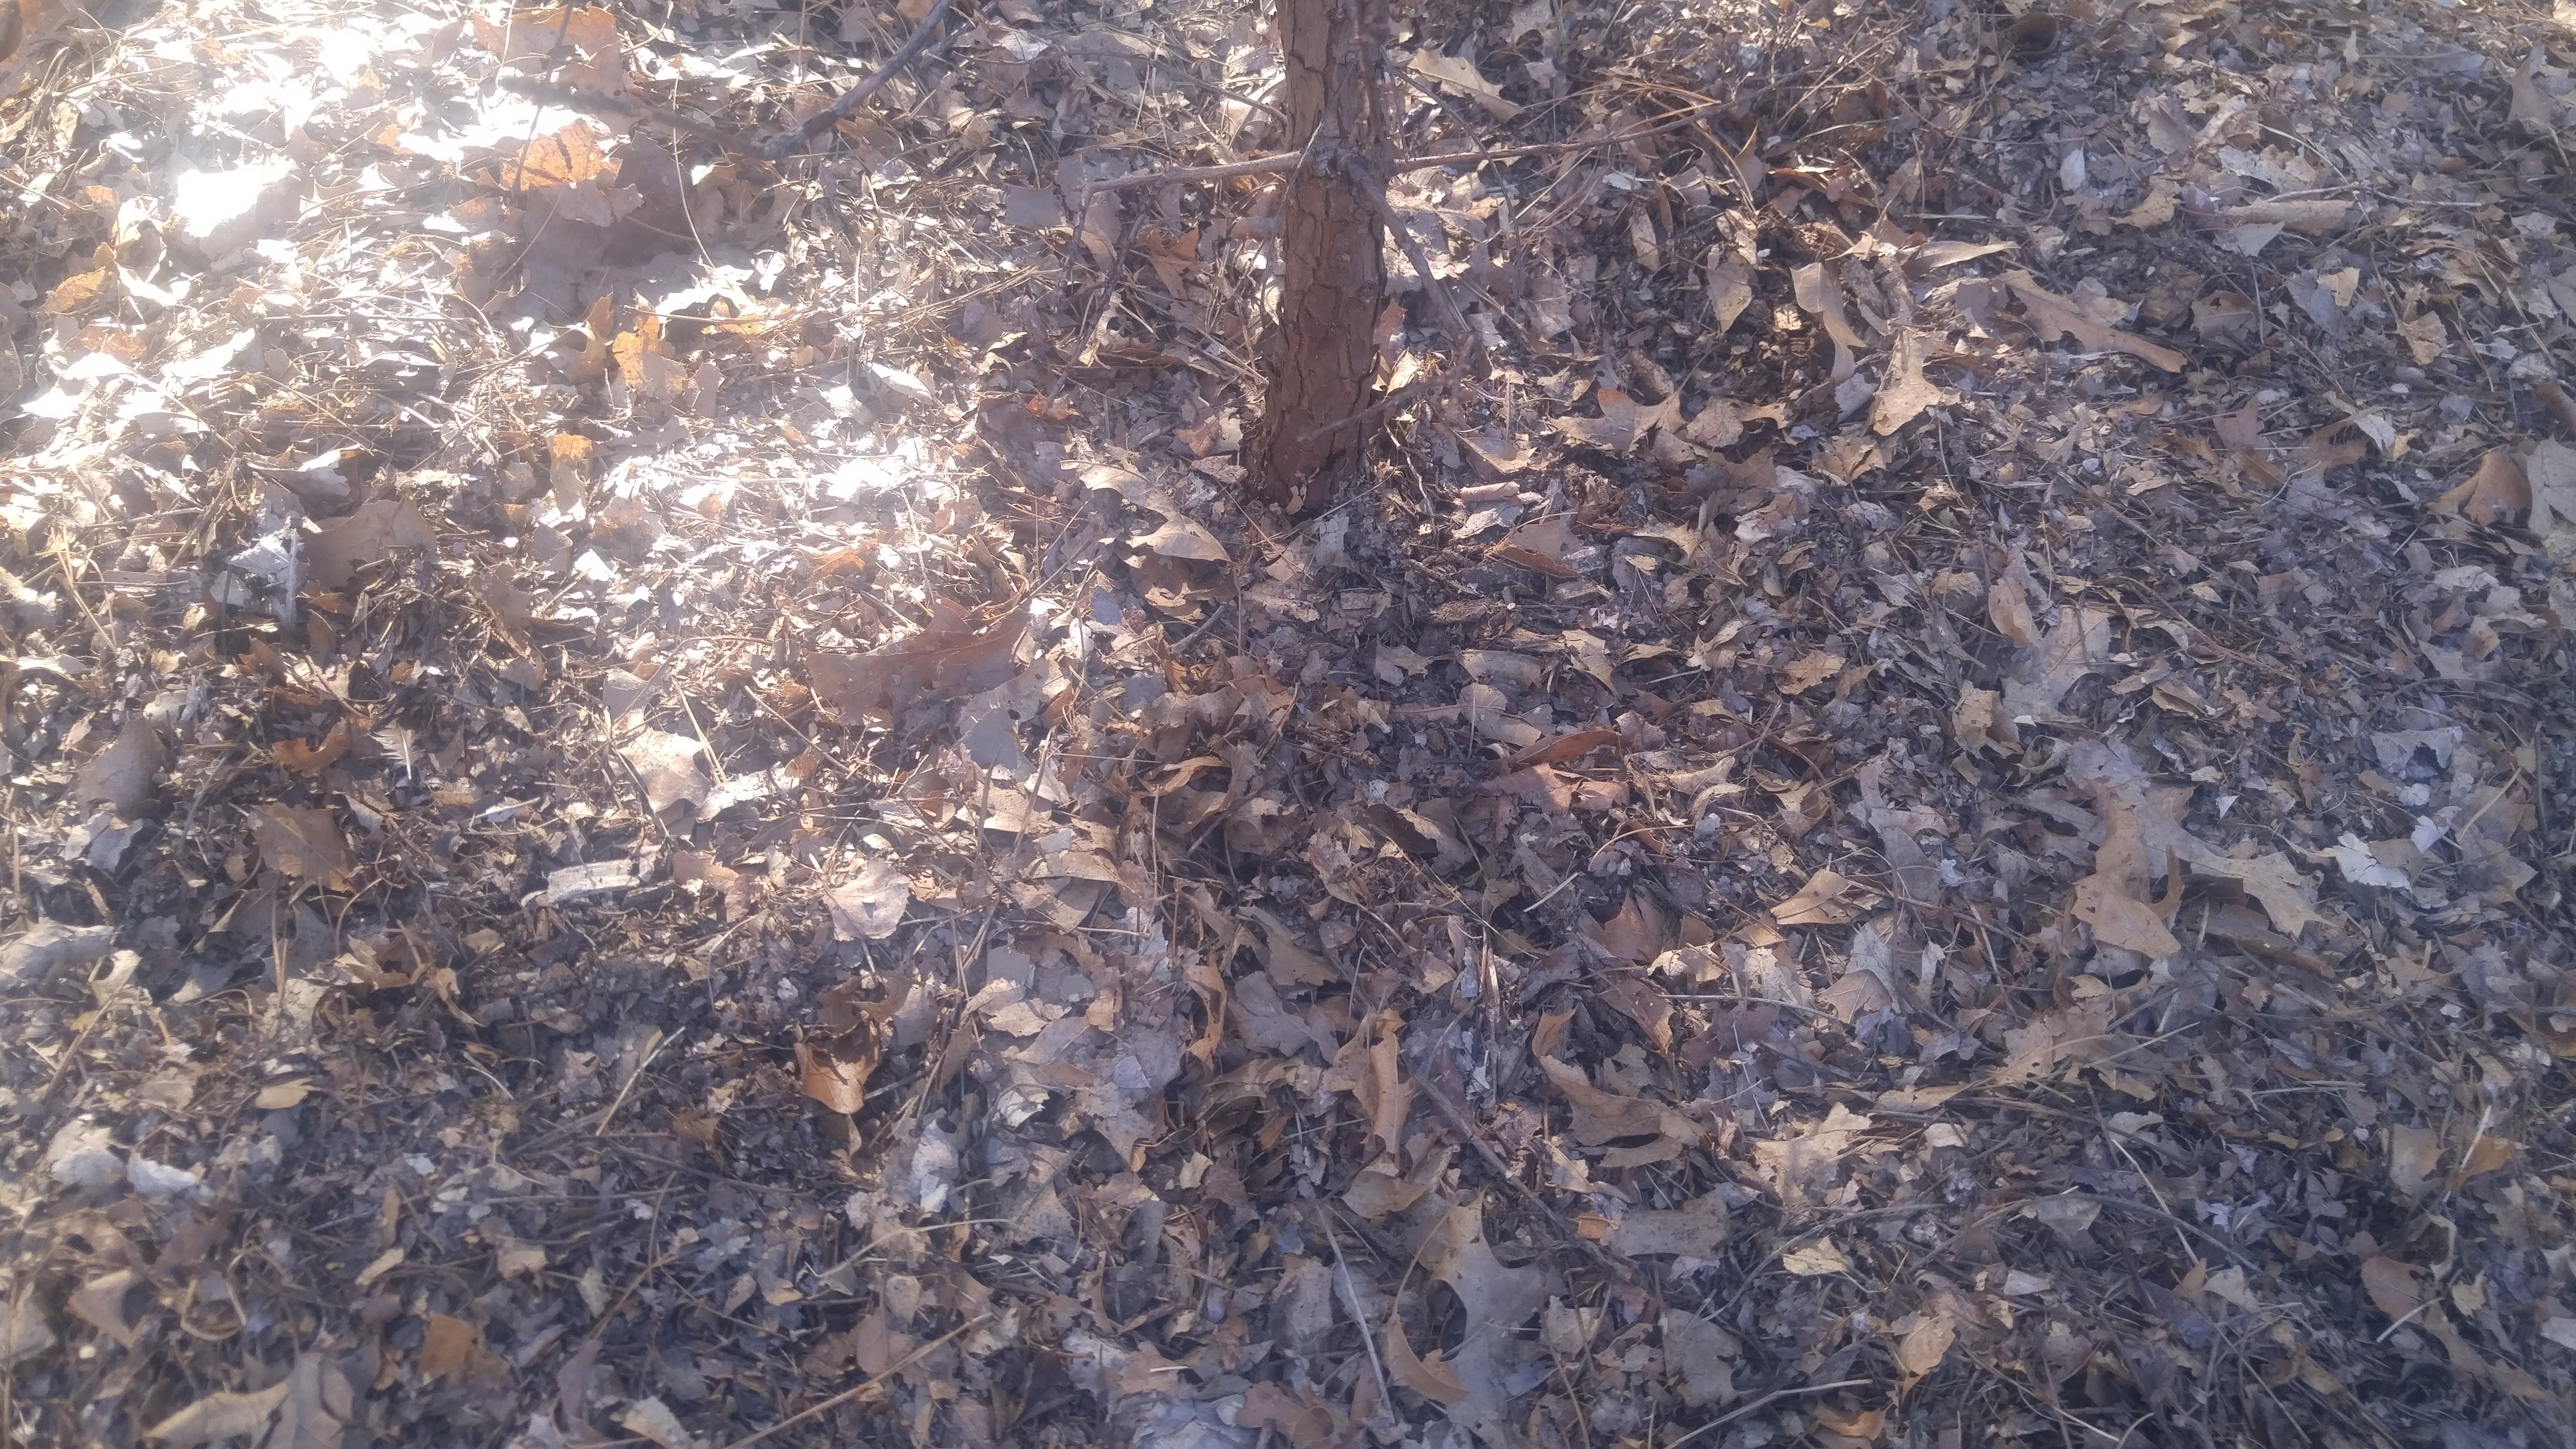
Here the mulch is applied about four feet in diameter.
The layering combination of subsoil in the hole, with topsoil over that then covered with the chips and leaves mimics the soil conditions of a forest. I don’t mix the layers, I let the soil microbes do their thing. Eventually as the mulch decomposes, humic acid and related compounds are formed providing an environment for a wide variety of beneficial soil microbes. All of that allows the tree to adapt to its new home and grow to its full potential.
Not everyone will want to fuss with their trees like this and some will say it’s overkill and I certainly wouldn’t expect a landscaper to do it. but it’s something I’ve found to work for me.
Bob